Adding Products to Your Odoo eCommerce Store: A Practical Workflow for HK SMEs
A hands-on guide to creating, publishing, and customising products in Odoo eCommerce — covering the frontend editor, backend configuration, bulk import, and per-page layouts.

Getting Products Online Without the Usual Friction
At APAA, most of the Hong Kong SMEs we onboard onto Odoo eCommerce share the same starting worry: "How long will it take to get my catalogue live?" The honest answer is that adding products is one of the easiest parts of running an Odoo store — once you understand the three routes available to you and when each one makes sense.
A web store gives your business a round-the-clock shopfront that customers across Hong Kong and beyond can reach at any hour. Odoo handles the heavy lifting: you create products, manage listings, and shape your storefront from one place, with no separate platform and no developer on standby.
This guide walks through every way to add a product — straight from the website editor (frontend), through the admin panel (backend), and in bulk via a spreadsheet — and then shows you how to give individual product pages their own personality.
Route One: Creating a Product From the Frontend
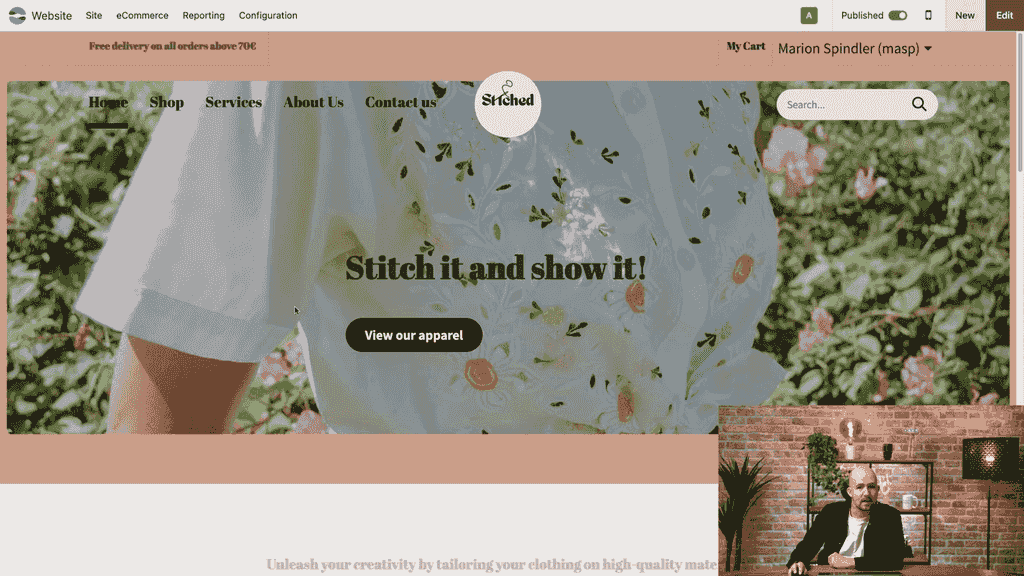
The quickest way to add a single product is to do it directly on your live shop page, exactly where your customers will see it.
- Open the Website app
- Go to your Shop page
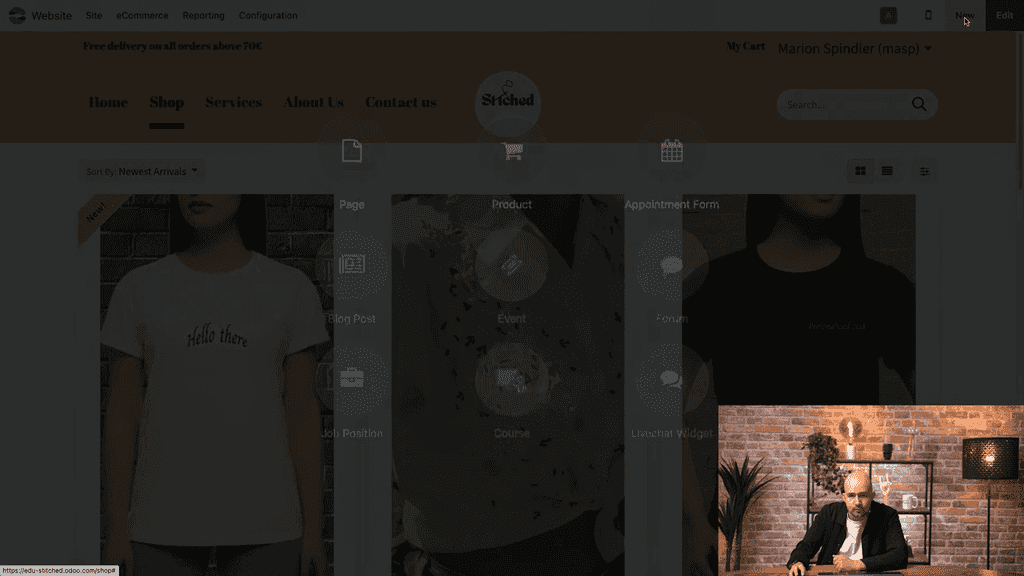
- Click the New button and choose Product
- Type the product name (for example, "White T-shirt — Embroidered with Love")
- Upload a product image

- Set the price (for example, €35)
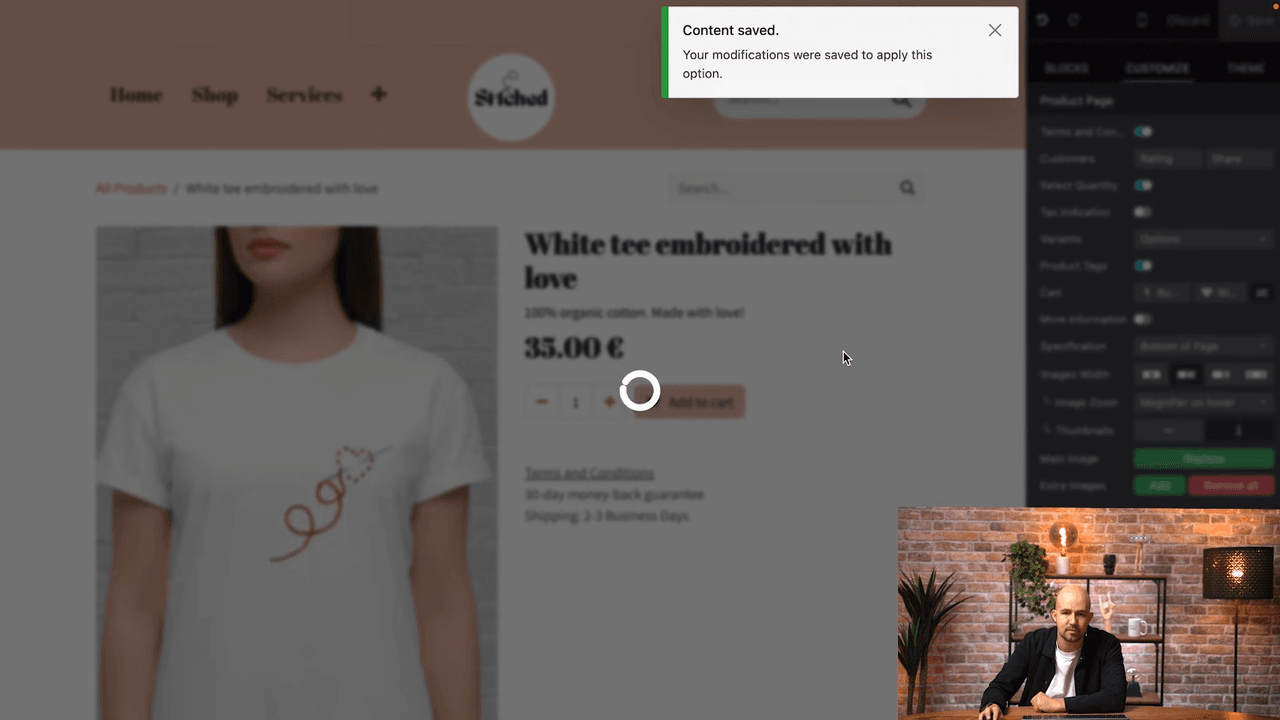
- Click Save
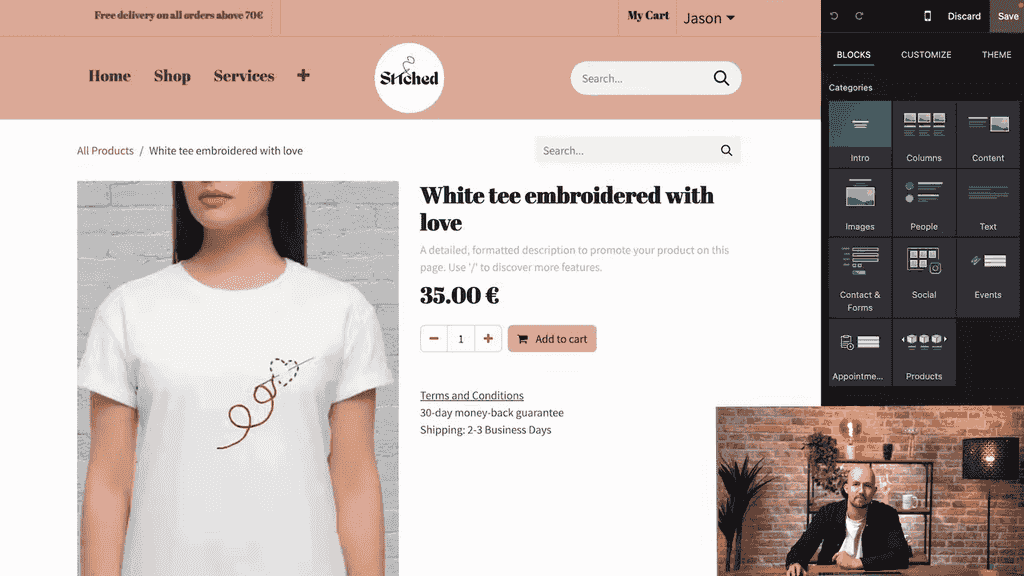
The product page appears straight away and is published automatically. This is the crucial distinction from creating products in the backend: anything you build on the frontend goes live the moment you save it. Keep that in mind if you are working on a live store during business hours.
Making the Page Worth Buying From
A bare page with nothing but a name and a price rarely turns a browser into a buyer. A few details change that:
- Description: Write a tight, focused product description that leads with what matters (for example, "100% organic cotton, made with love").

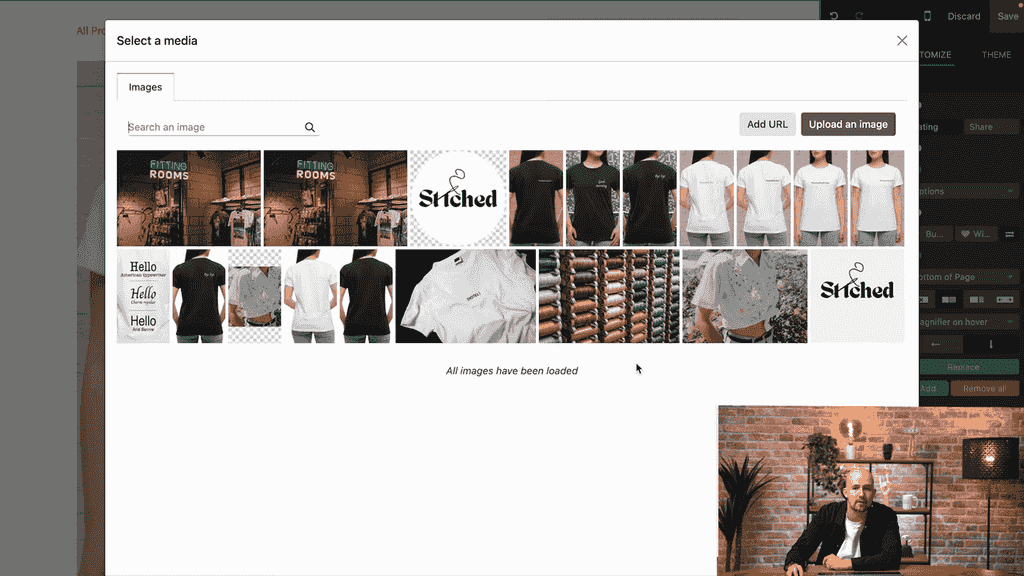
- Extra images: Use the add button in the image section to upload more photos from different angles.
Our advice to clients is to keep descriptions anchored to buyer decisions: materials, quality, and the one or two things that make this product different. Marketing fluff rarely earns its place on a product page.
Adding Social Sharing and Customer Ratings
Odoo lets you layer interactive features onto a product page through the Customize tab:
| Feature | What It Does |
|---|---|
| Share buttons | Adds social media icons so visitors can pass your product around |
| Rating option | Lets customers rate and review the product |
To switch these on:
- Click the Customize tab in the product page editor
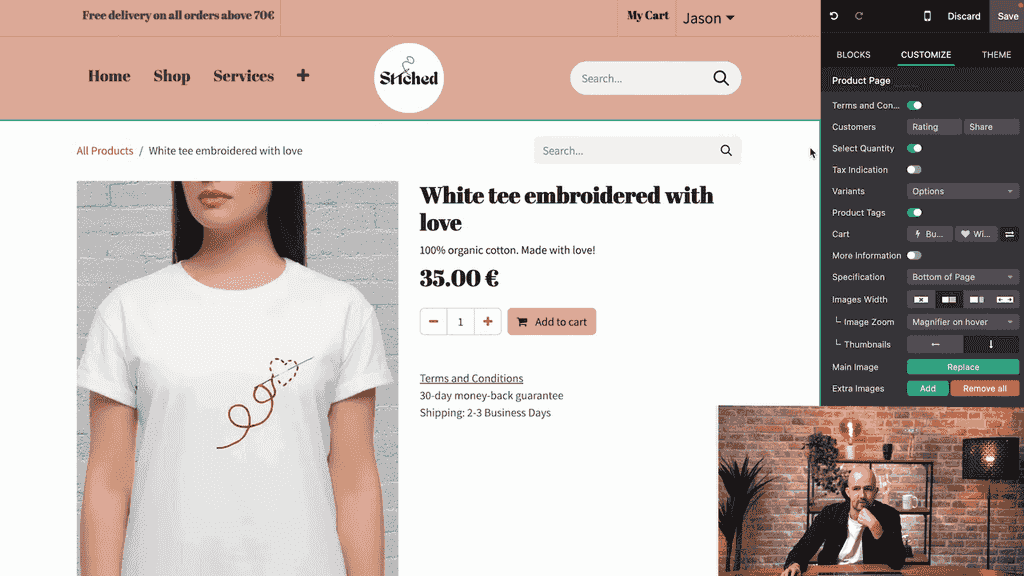
- Toggle on Share to display the social media icons
- Toggle on Rating to enable customer reviews
It is worth spending a few minutes exploring the rest of the options in this tab — the right combination depends on the kind of store you run.
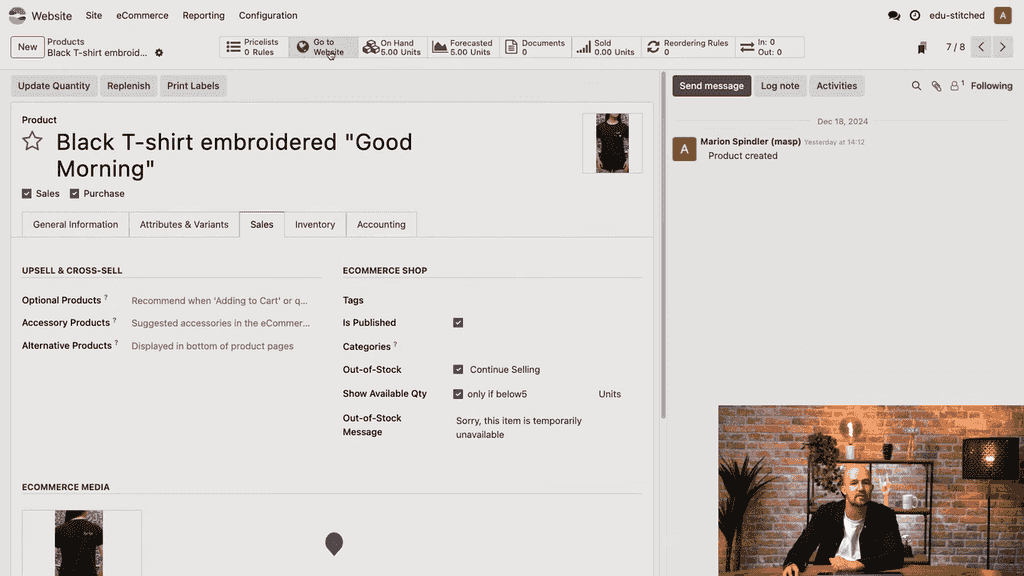
Route Two: Creating a Product From the Backend
You can also build products from the admin panel, which opens up a wider set of configuration options than the frontend editor.
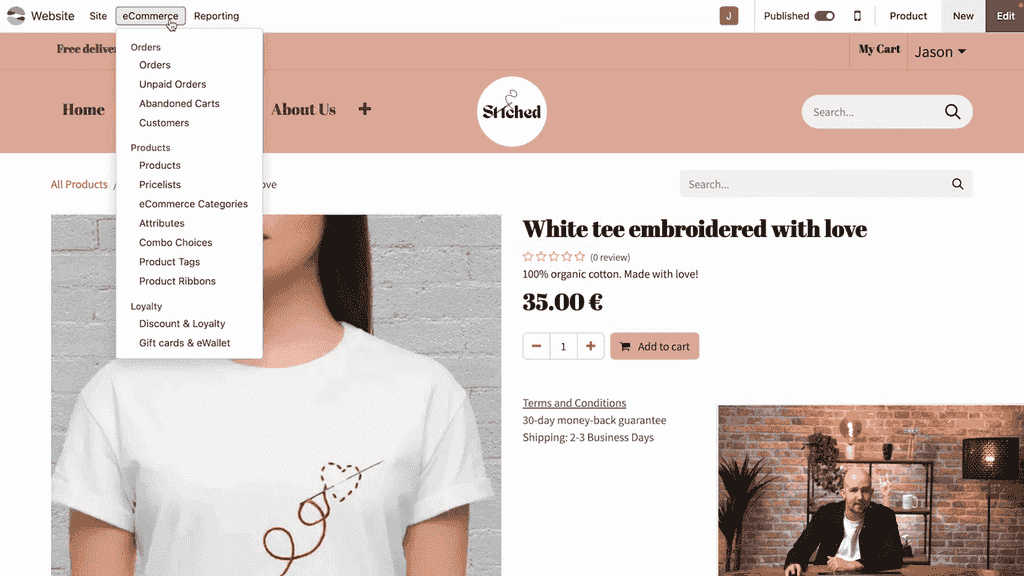
- Go to eCommerce > Products
- Click New to start a product
- Fill in the product details
- Move to the Sales tab
- Tick the Published checkbox so the product shows on your website
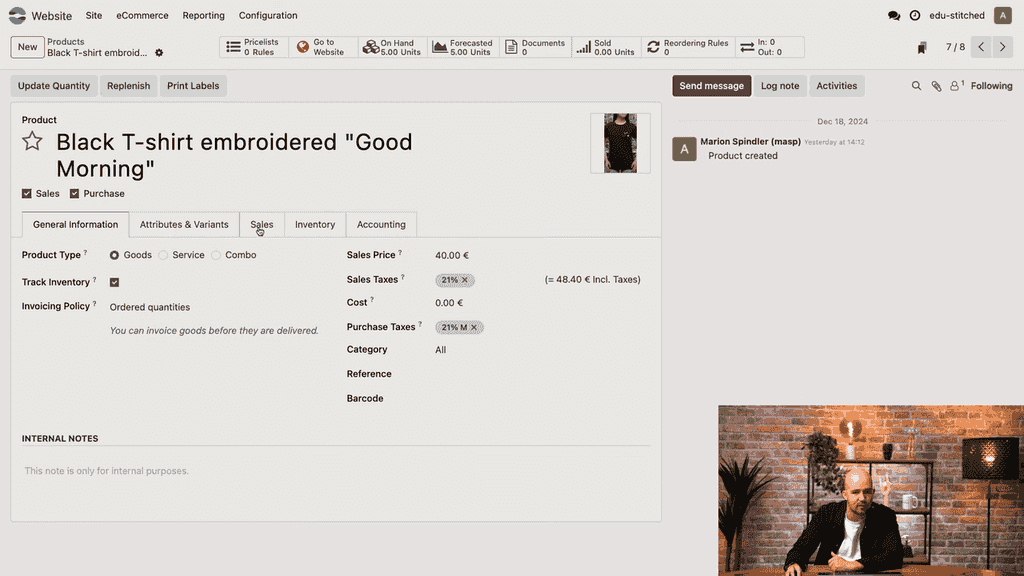
- Click Save
This is the trap that catches most new users: products created from the backend are not published by default. You have to tick "Published" in the Sales tab manually, or the product simply will not appear on your site. We have lost count of the times a client "couldn't find" a product they had carefully entered — the checkbox was the answer every time.
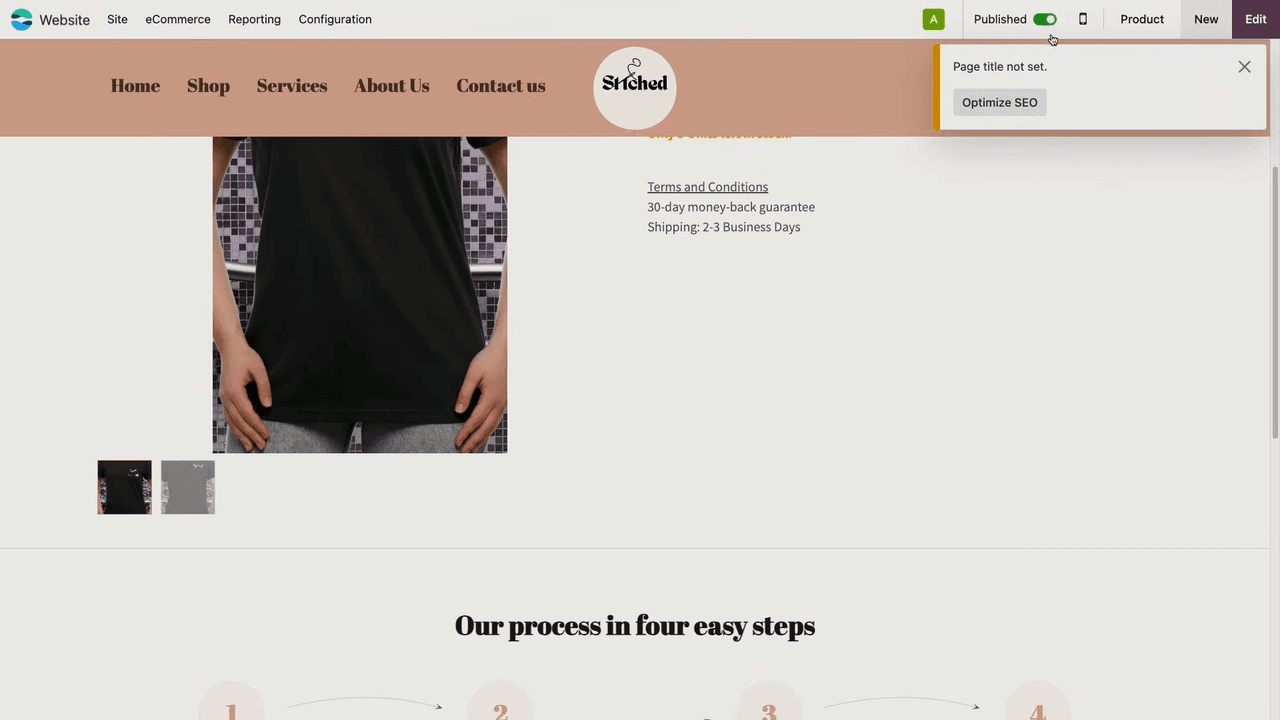
To preview the product on your live site, click Go to Website from the backend product page.
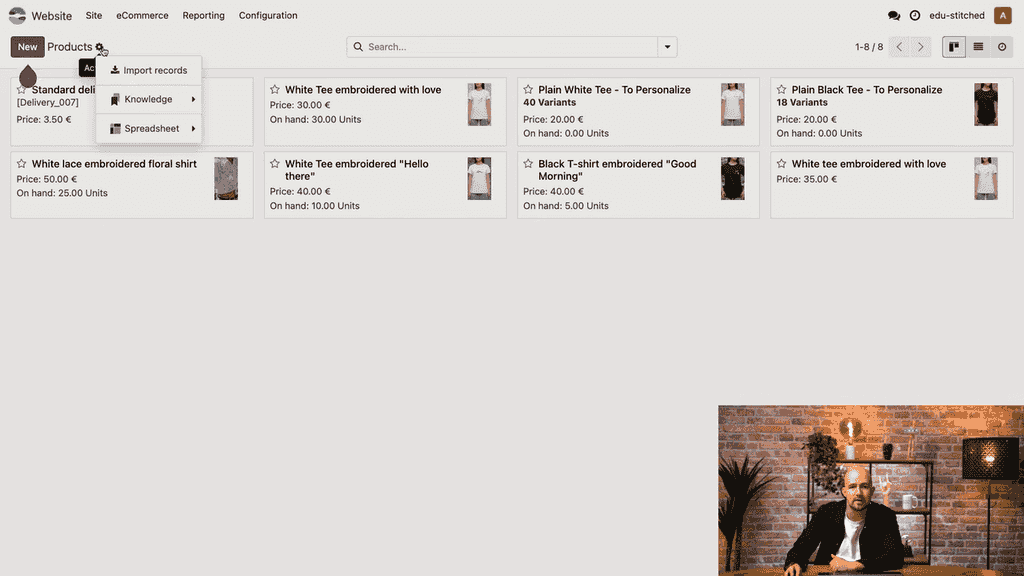
Route Three: Bulk Importing a Large Catalogue
If you are migrating an existing catalogue of dozens or hundreds of SKUs, entering them one by one is a waste of a working week. Odoo lets you import in bulk from a spreadsheet.
- Go to eCommerce > Products
- Click the gear icon
- Choose Import Records
- Click Upload Data File
- Upload your XLS or CSV file
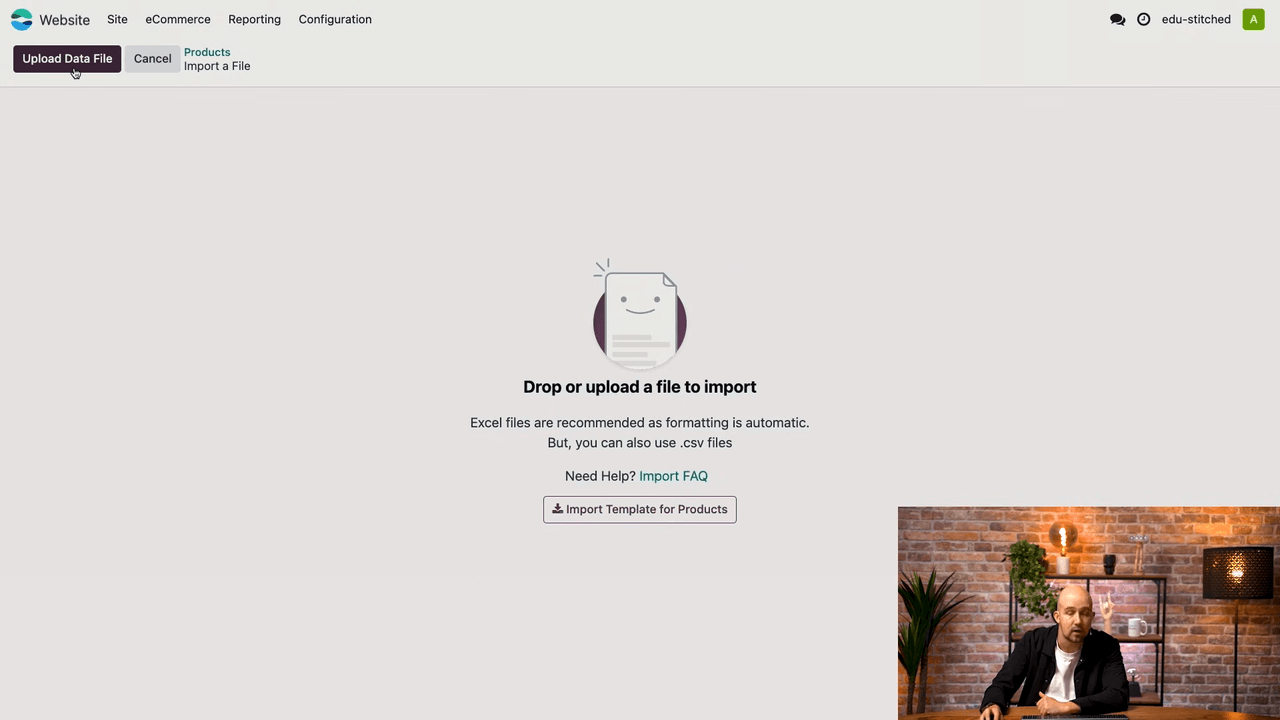
For the exact formatting rules and how to map your spreadsheet columns to Odoo fields, the Odoo online documentation is the authoritative reference. As a rule of thumb, export a sample template from Odoo first and match your data to it — that saves a lot of import errors.
Giving Each Product Page Its Own Layout
One thing many store owners do not realise: in Odoo, every product page can be customised independently with the website builder. Editing one page does not touch any of the others.
- Open the product page on your website
- Click Edit
- Drop in building blocks (steps, testimonials, feature lists, and so on)
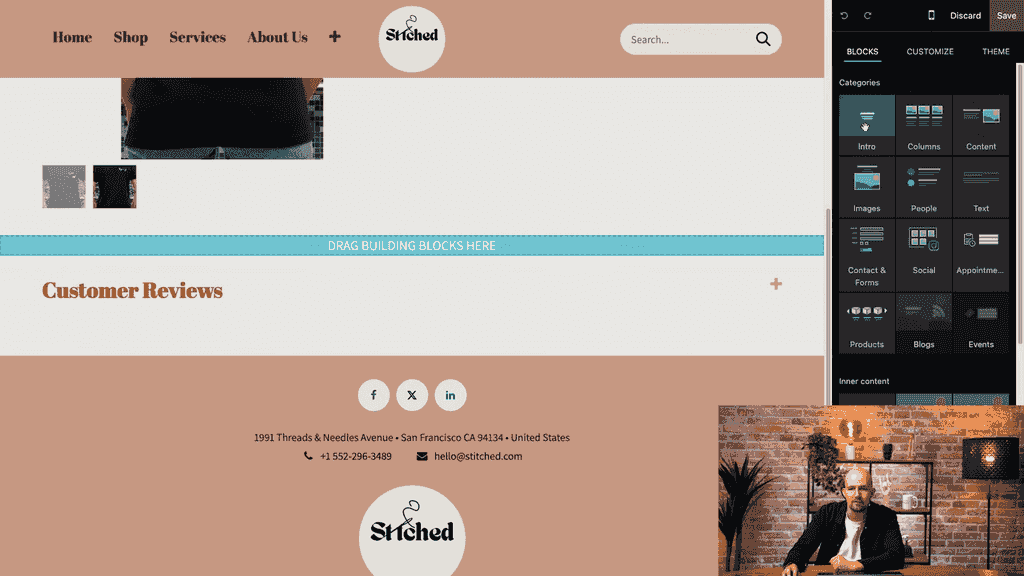
- Adjust the block's options — change connectors, toggle text visibility, fine-tune the styling
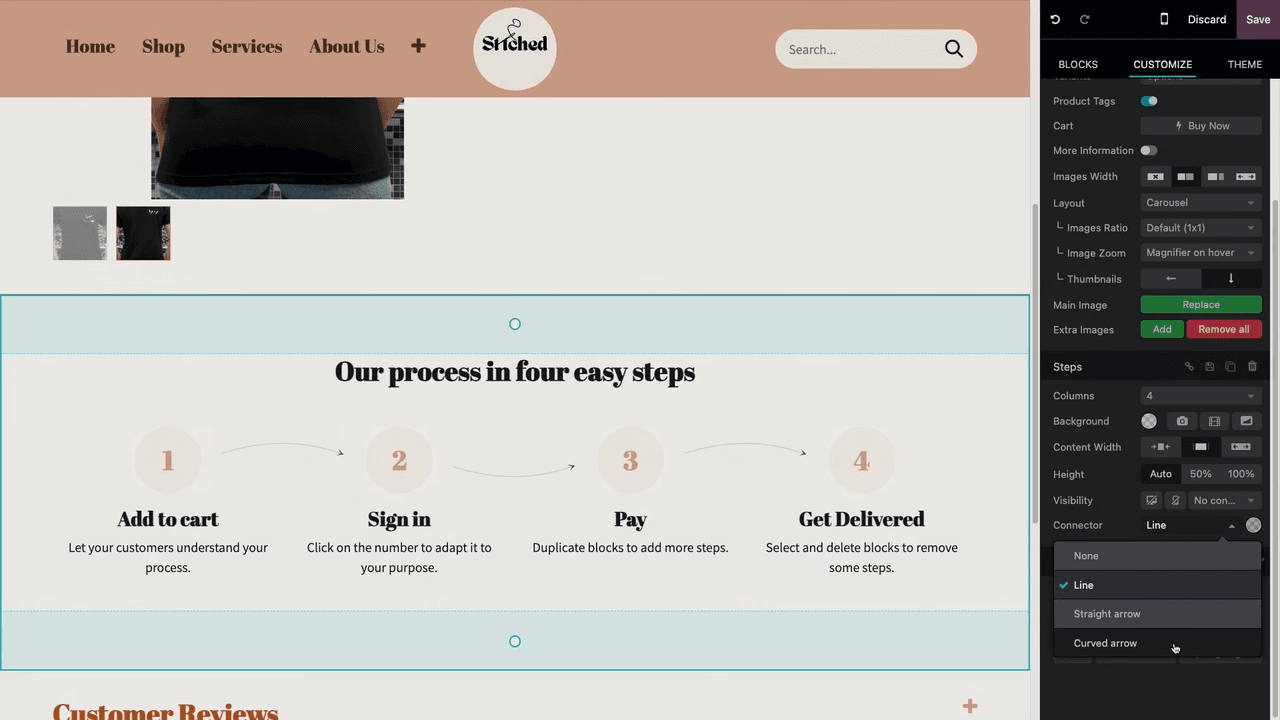
- Click Save
In practice, this means you might add a "Steps" block to a flagship product to tell the story of how it is made, while keeping a simpler product page clean and minimal. Each page can carry its own layout to match how important that product is to your business.
Where to Go From Here
You now have three ways to populate your Odoo eCommerce store: frontend creation for fast, one-off additions; backend creation when you need fuller configuration; and bulk import when you are loading a whole catalogue at once.
From here, the natural next steps for a HK SME store are:
- Setting up product variants (sizes, colours)
- Configuring payment methods and shipping rules that suit local and overseas customers
- Designing your shop page layout with categories and filters
- Turning on inventory tracking so stock levels stay accurate across channels
If you would like a hand mapping your existing catalogue into Odoo — especially if you are migrating from another platform and want the import done cleanly the first time — get in touch with the APAA team and we will walk you through it.