Scanning Receipts and Delivery Orders with Odoo Barcode: A Faster Warehouse Workflow
How Hong Kong SMEs can use the Odoo Barcode app to receive purchase orders and validate deliveries with a handful of scans instead of dozens of clicks.

Why Manual Receipts Slow a Hong Kong Warehouse Down
At APAA, the Hong Kong SMEs we work with rarely have a spare pair of hands on the warehouse floor. Receipts and deliveries get processed by whoever is closest to the desktop, and every order means opening a transfer, clicking through line by line, adjusting quantities, and confirming. It works, but in a small unit where rent is charged by the square foot and staff are already stretched, those clicks add up to real lost time across a day of inbound and outbound goods.
The Odoo Barcode module removes most of that friction. Instead of navigating the screen, your staff scan products straight off a barcode scanner, and the action is recorded. What used to be a multi-click sequence becomes a few quick scans.
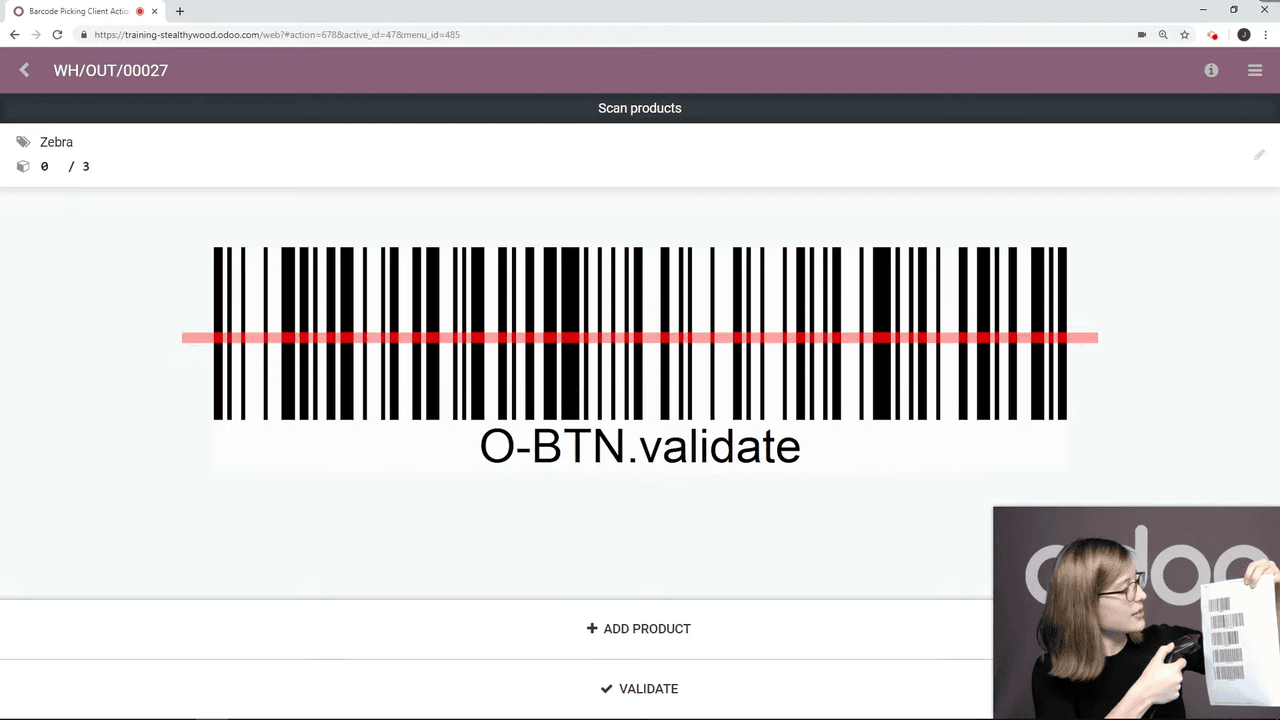
What surprises most teams is that barcodes in Odoo are not only for identifying products. They can also trigger operations — Validate, Discard, and Cancel — so the whole receiving and dispatch process can run almost hands-free at the packing bench.
Getting the Barcode Module Ready
Before anyone scans a single carton, you need to install and switch on the module.
Install the Barcode App
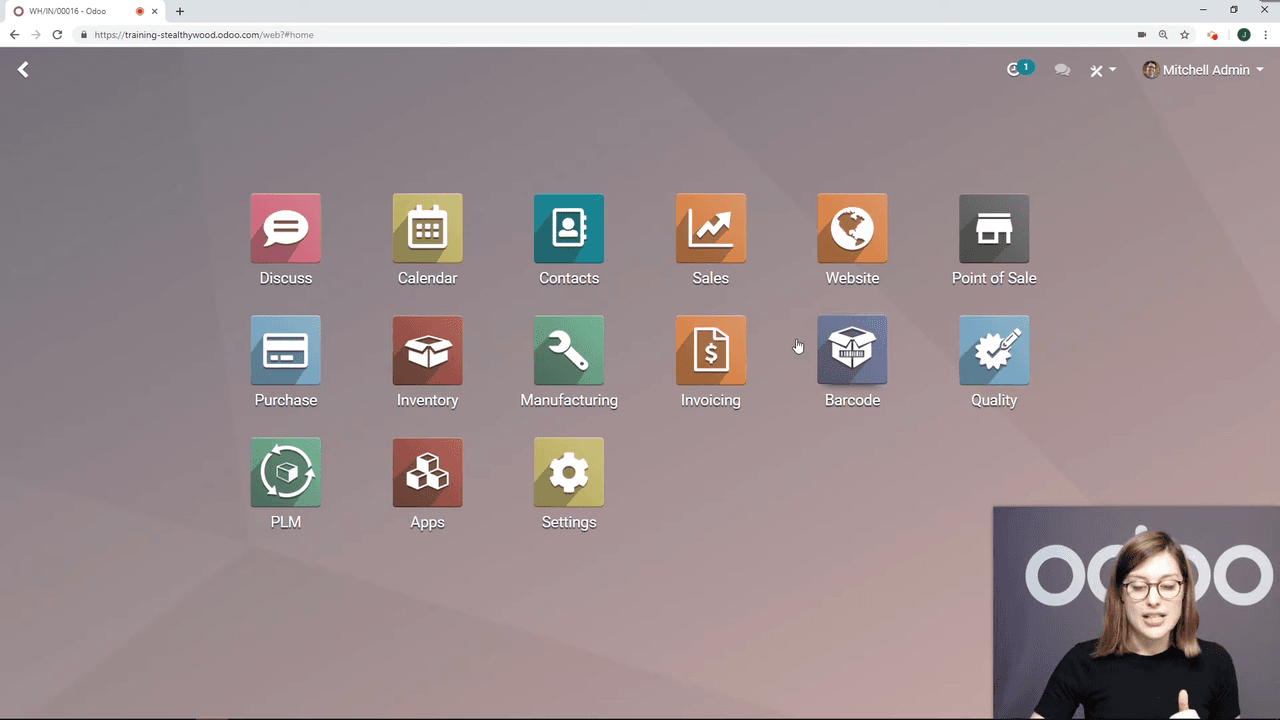
Open Apps, search for "Barcode," and install the module if it is not already active on your database.
Turn On Barcode Scanners
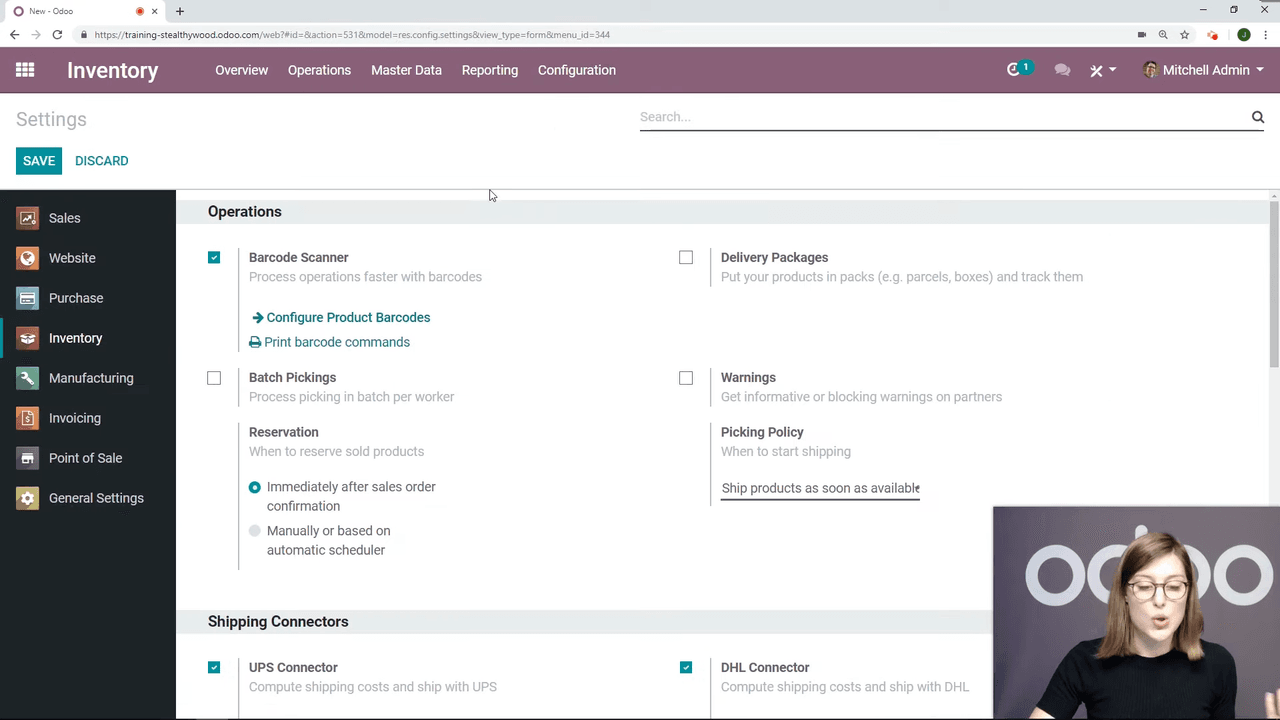
Go to Inventory > Configuration > Settings. In the Barcode section, switch on the option to use barcode scanners, then Save.
Print Your Command Barcodes
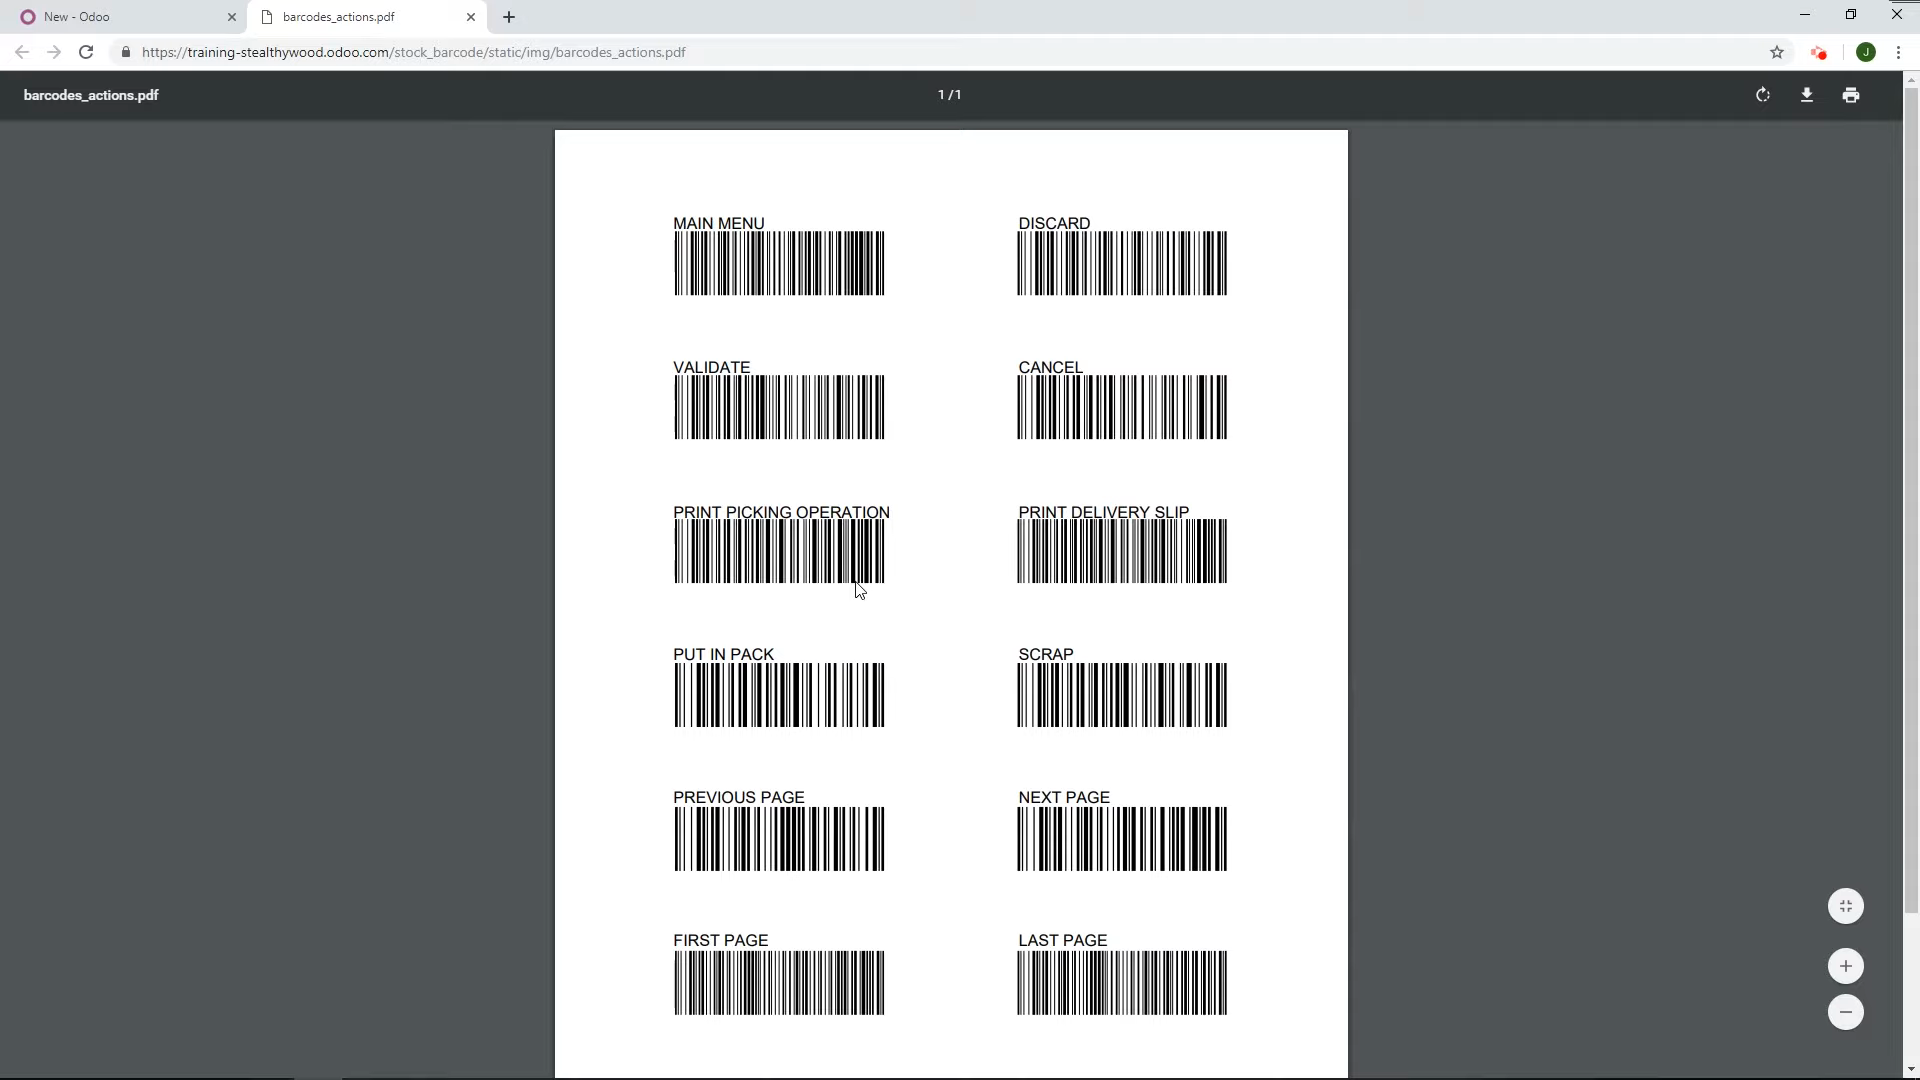
Still in Settings, click Print Barcode Commands. Odoo generates a PDF of action barcodes:
- Validate — confirms the current operation
- Discard — cancels changes
- Cancel — aborts the operation
Print this sheet and keep it at the packing station. In our experience, taping it to the bench beside the scanner is the single change that makes staff actually adopt the workflow.
How Operation-Type Barcodes Work
Odoo automatically generates a barcode for each operation type in your warehouse:
| Operation Type | Example Barcode Label |
|---|---|
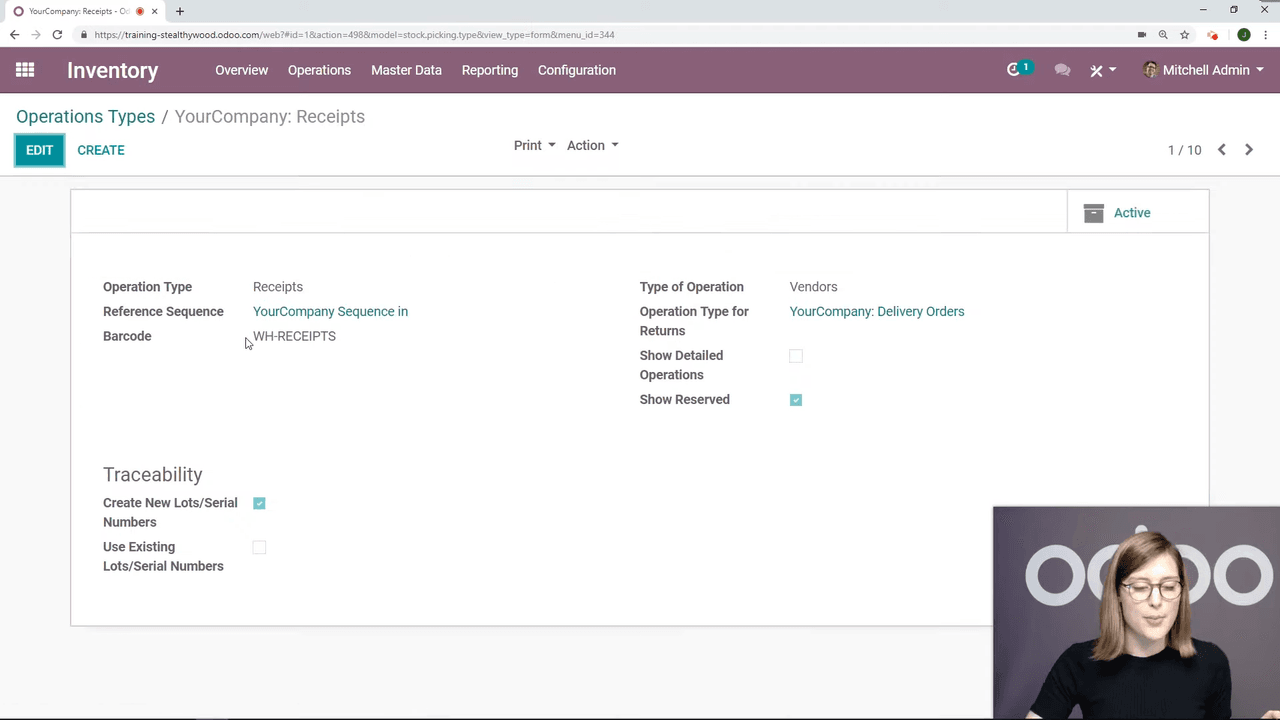
| Receipts | WH-RECEIPTS |
| Delivery Orders | WH-DELIVERY |
| Internal Transfers | WH-INTERNAL |
You will find these under Inventory > Configuration > Operation Types. Scanning an operation type's barcode opens that operation directly in the Barcode app — so a staff member can begin a fresh receipt or delivery without touching the keyboard.
Receiving a Purchase Order by Scanning
Here is the step-by-step flow for booking goods in with the scanner.
Open a New Receipt
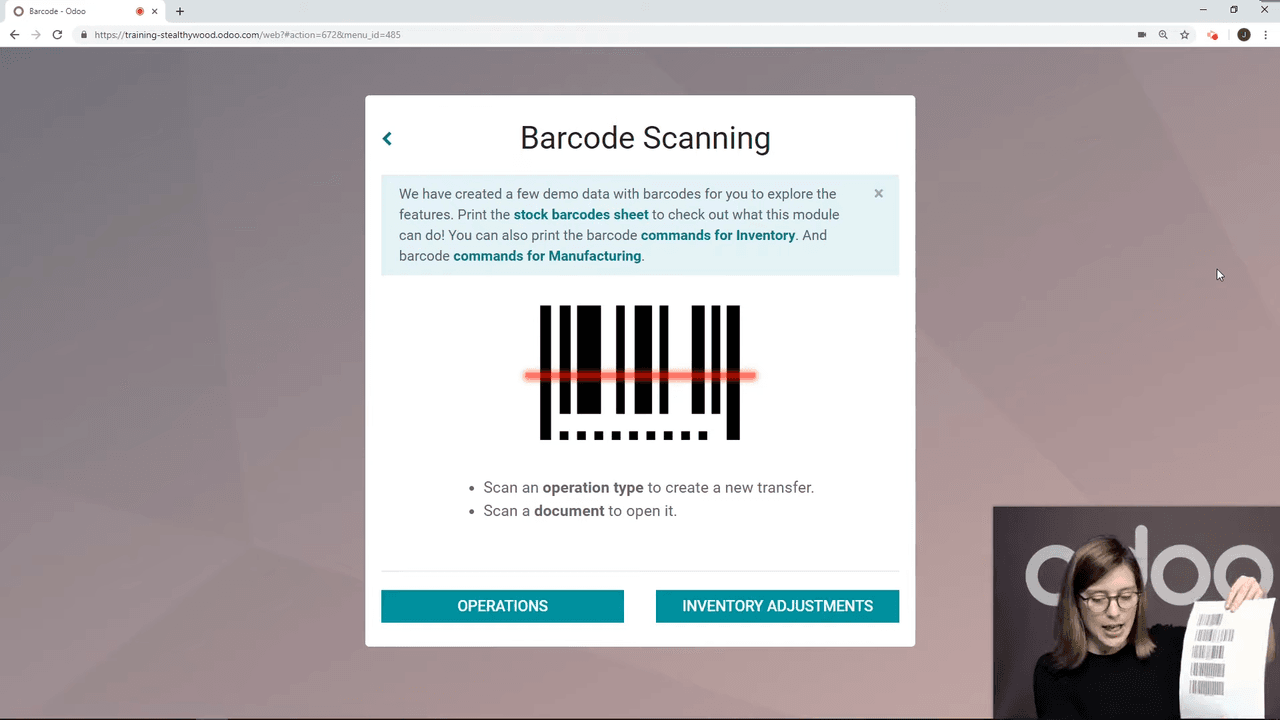
- Open the Barcode app
- Scan the Warehouse Receipts operation barcode
- A new receipt opens, ready for product scanning
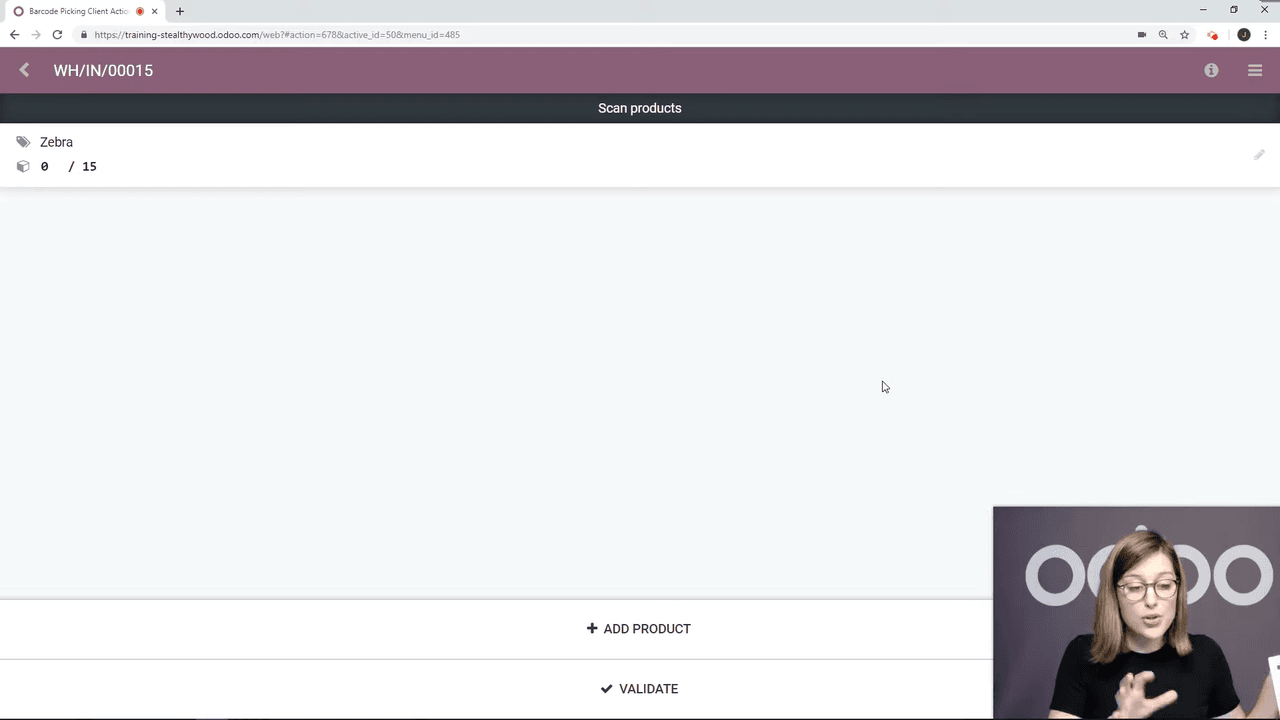
Scan the Products In
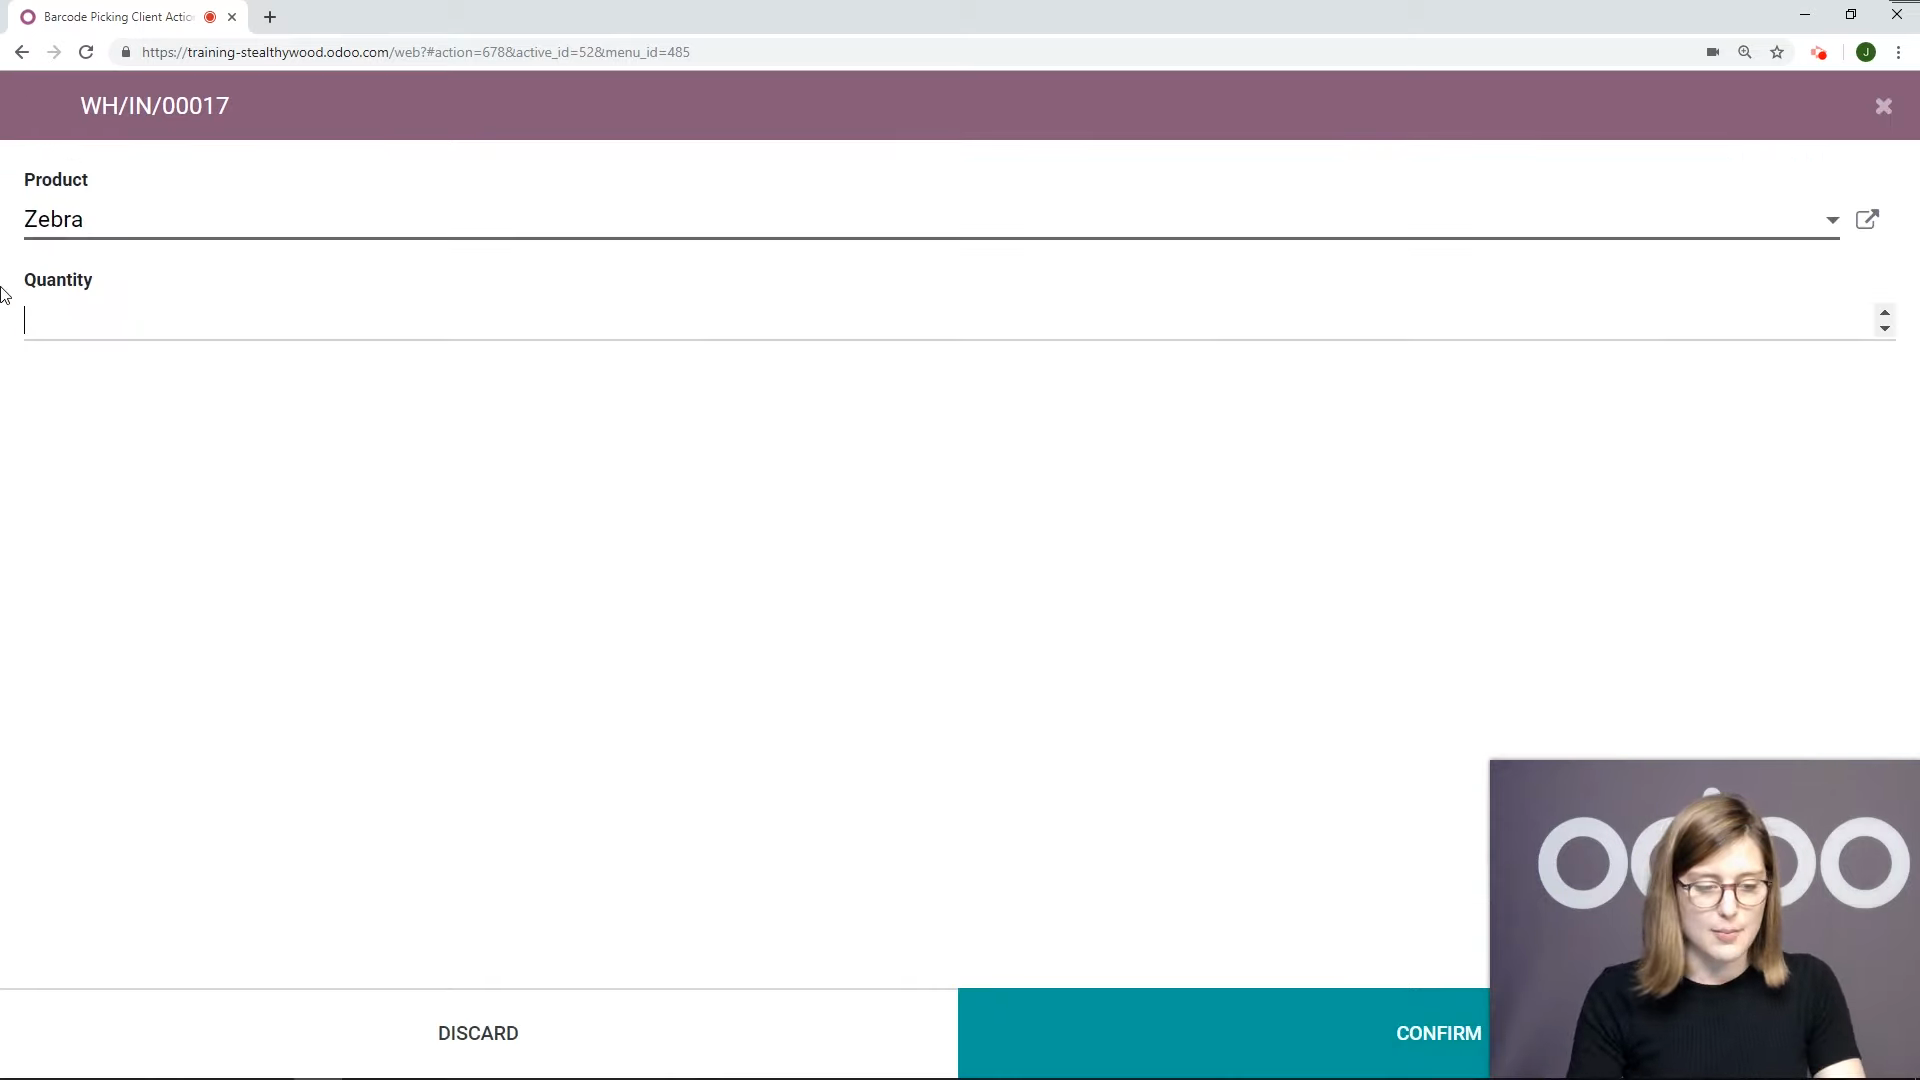
- Scan the product barcode (for example, the product "Zebra")
- Adjust the quantity if needed (for example, change it to 20 units)
- Confirm the quantity
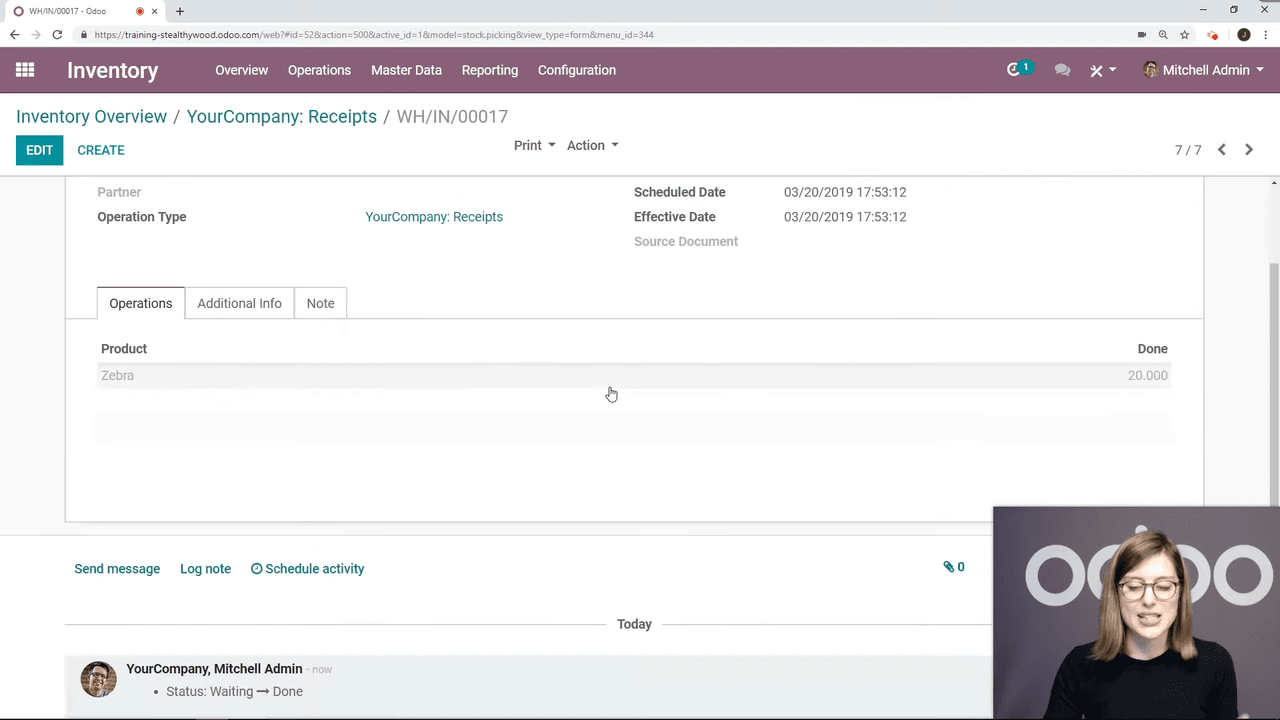
Validate the Receipt
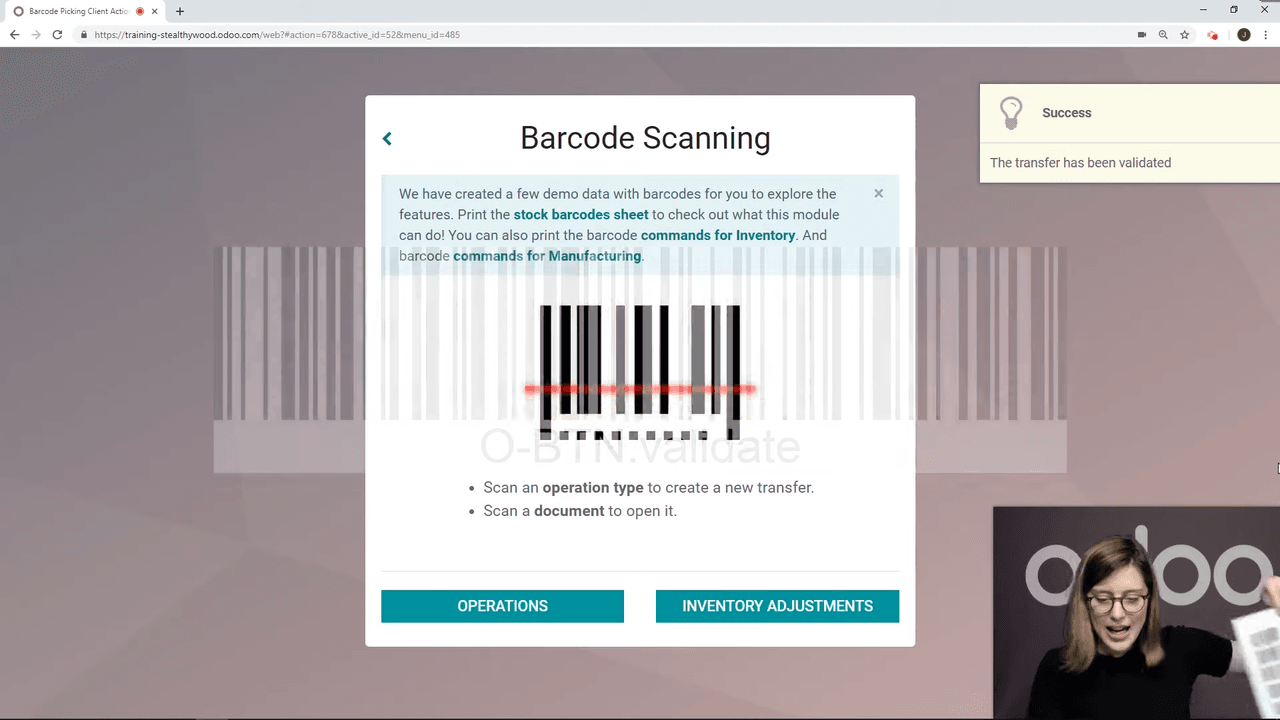
- Scan the Validate action barcode
- The transfer is validated immediately
- A confirmation appears: "The transfer has been validated"
To double-check, open Inventory > Receipts — the new receipt will show as "Done."
Validating a Receipt Tied to a Purchase Order
When the inbound goods come from a purchase order raised in the Purchase app, you can still close the receipt by scanning:
- Open the purchase order and go to its receipt
- Click Print Picking Operations to generate a PDF carrying the order's barcode
- Open the Barcode app
- Scan the picking operation barcode — the receipt appears
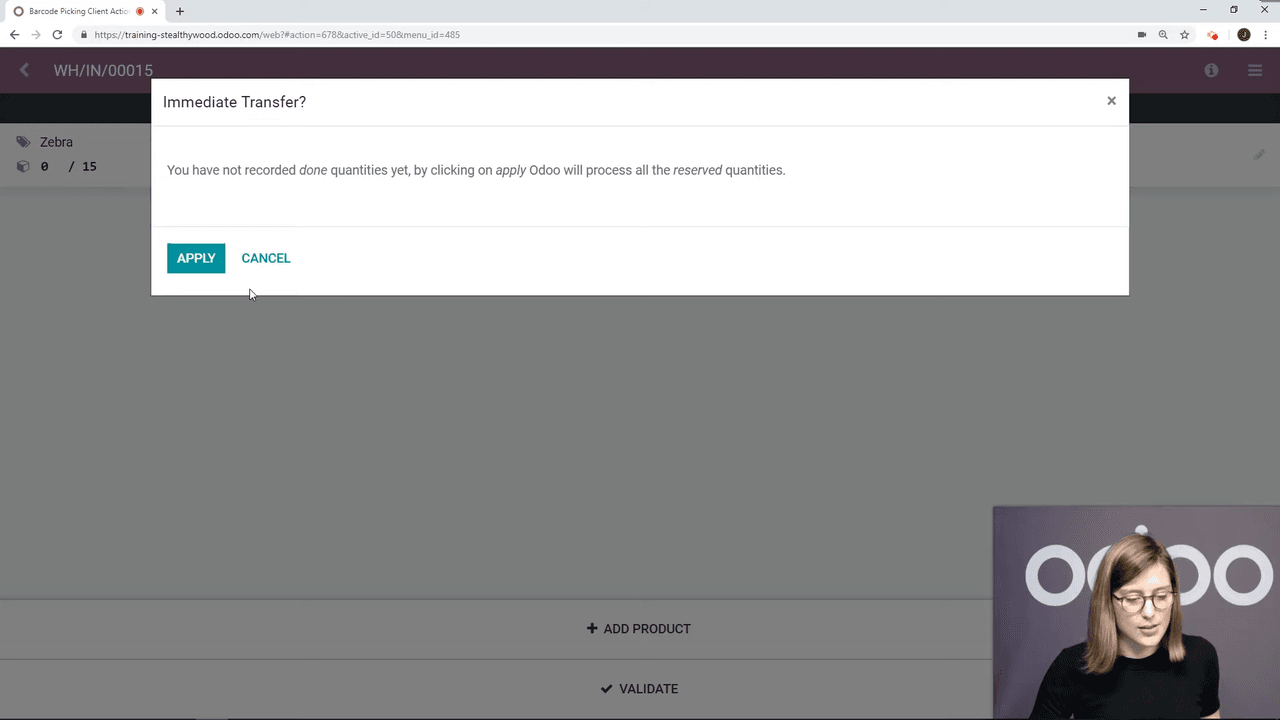
- Scan the Validate action barcode
- If no quantities were manually recorded, Odoo applies the reserved quantities for you
- Click Apply on the confirmation popup

Dispatching a Delivery Order from Sales
The same idea covers outbound shipments:
- Create a sales order and confirm it
- Go to the delivery order and click Print Picking Operations
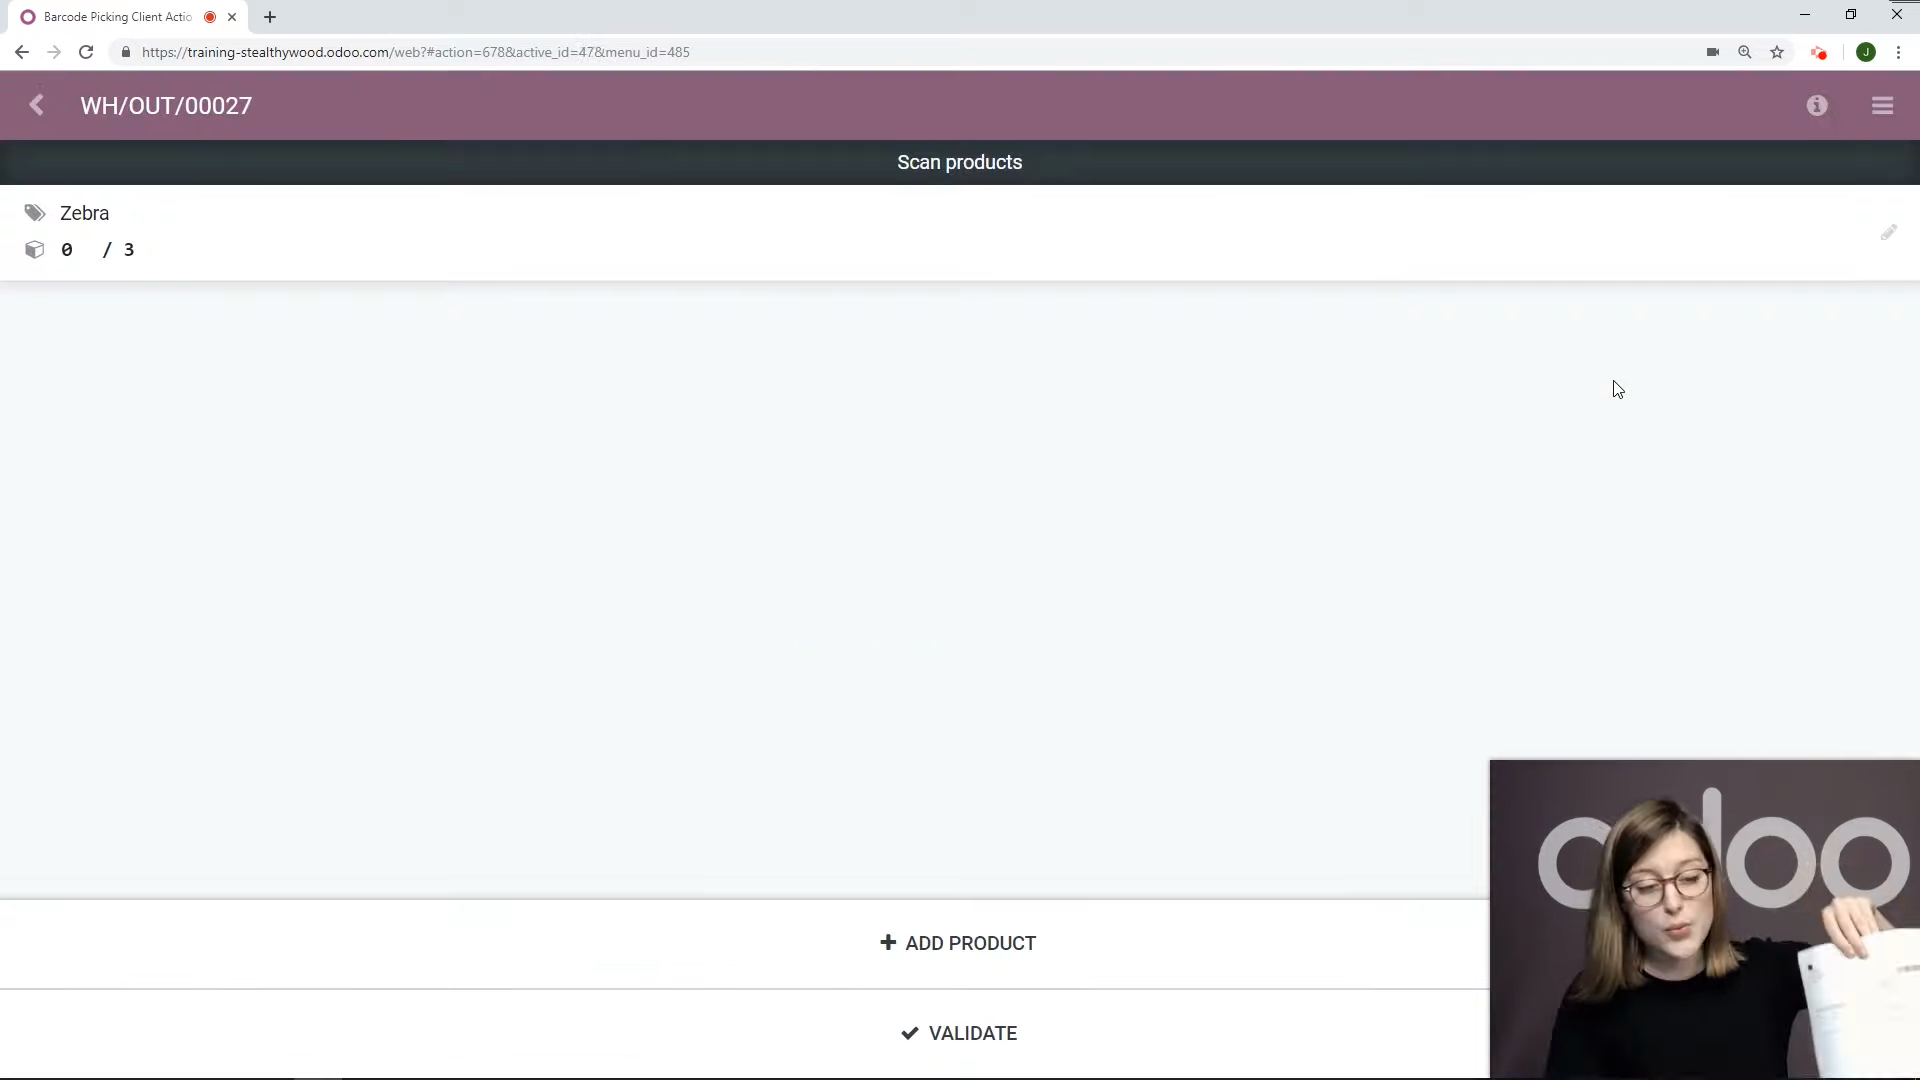
- Open the Barcode app
- Scan the picking operation barcode
- Review the product details and quantities
- Scan the Validate action barcode
- Confirm the transfer
When the done quantities are already recorded, validation completes with no popup at all.
Practical Tips We Give Our Clients
- Print and post your command sheets. Keep Validate and Discard barcodes at every workstation, not just one.
- Lean on picking-operation PDFs. Each purchase or sales order can carry its own scannable barcode, so staff never have to search for the right order.
- Record done quantities where you can. This skips the confirmation popup during validation and keeps the line moving.
- Test your scanner before go-live. Confirm the browser or Odoo instance recognises it — a scanner that drops characters will frustrate the team on day one.
Where to Take It Next
If your business handles a steady stream of receipts and deliveries, the Barcode module is one of the cheapest ways to claw back time on the floor. Install it, print your command barcodes, and run one test receipt so the team gets comfortable before it touches live stock.
Once that is bedded in, multi-step routes such as pick-pack-ship combined with scanning unlock another tier of efficiency for higher-volume operations.
If you would like help setting up barcode scanning for your Hong Kong warehouse — from hardware selection to operation-type configuration — talk to APAA and we will map it to your workflow.