Managing Contacts and Importing Data in Odoo: A Setup Guide for SMEs
An APAA step-by-step guide to creating, organising, and bulk-importing contacts in Odoo — covering contact types, the key form fields, export, and a clean data migration.

Almost every Odoo project APAA runs for a Hong Kong SME starts in the same place: the contacts. Before a single quote goes out or an invoice gets raised, the customer and vendor list has to live somewhere reliable. For most businesses arriving at Odoo, that list is currently scattered across spreadsheets, email threads, a few WhatsApp chats, and the odd sticky note. The result is the usual: time lost hunting for a phone number, and the quiet risk of acting on data that went stale months ago.
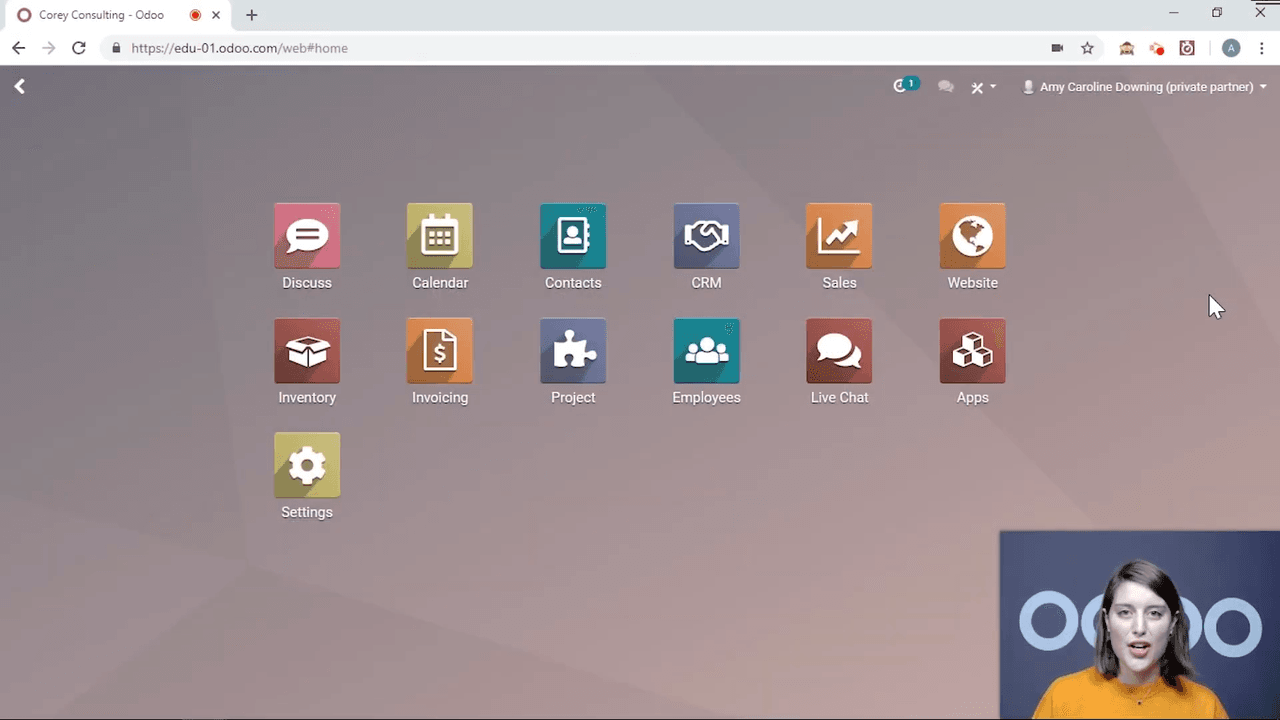
Odoo's Contacts app fixes that by giving you one source of truth. Every contact you create is available across every Odoo app — CRM, Sales, Invoicing, and the rest. This guide walks through how the contact record is structured, the fields worth filling in, and — the part that matters most during onboarding — how to import an existing list cleanly without a mapping headache.
Company vs Individual Contacts
Odoo recognises two contact types:
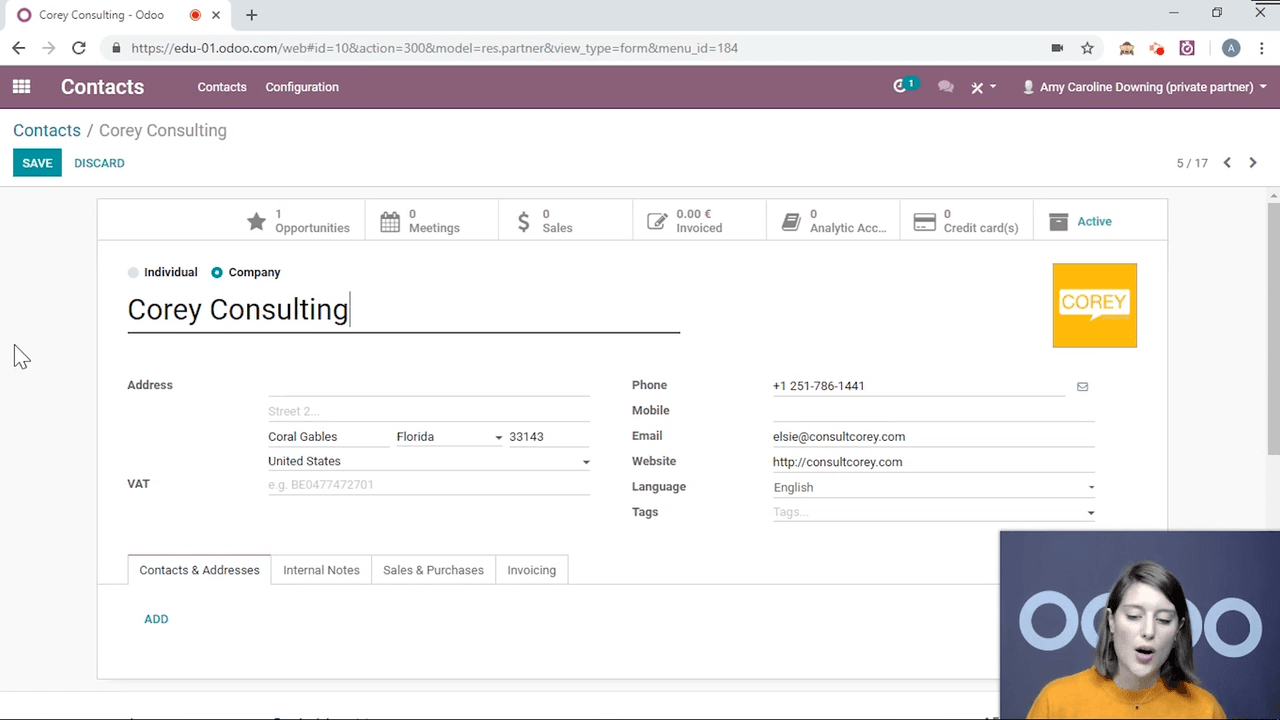
- Company — a business entity (e.g. "Corey Consulting")
- Individual — a person, optionally linked to a company
Open a contact and click edit, and the first field lets you choose between the two. For an individual, an extra Company field appears so you can tie them to their employer.
Linking Individuals to Companies
When you link an individual (say Amy) to a company (say Corey Consulting):
- The company name shows below the individual's name.
- Clicking that company name jumps straight to the company contact.
- The company's own contact list automatically lists the linked individual.
That two-way link keeps your organisational structure clear — useful when you deal with several people inside the same client.

The Key Fields on a Contact Record
Basic Information
Every contact form carries fields for:
- Address
- VAT number
- Email and phone numbers
- Website
- Preferred language
- Job position (individuals only)

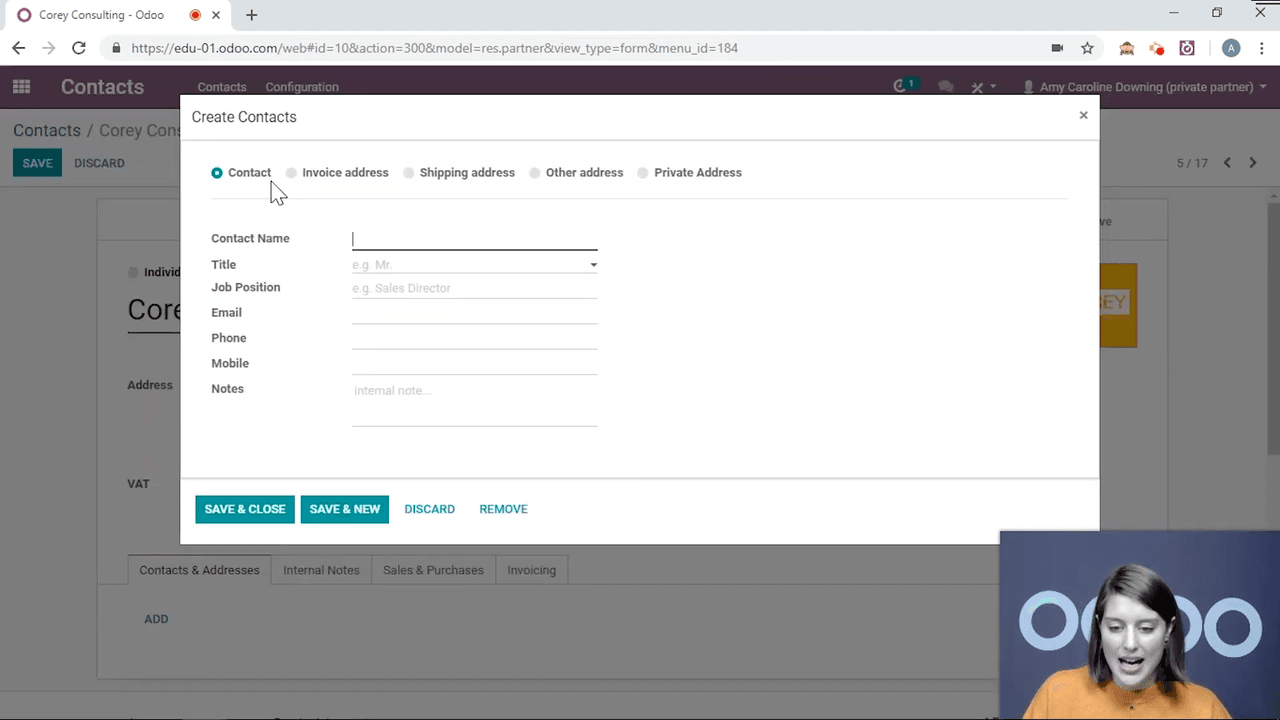
Contacts & Addresses Tab
A single contact can hold multiple addresses:
- Contact — a person at that company
- Invoice address — where invoices go
- Shipping address — where goods are delivered
- Private address — a personal address
- Other address — any additional location
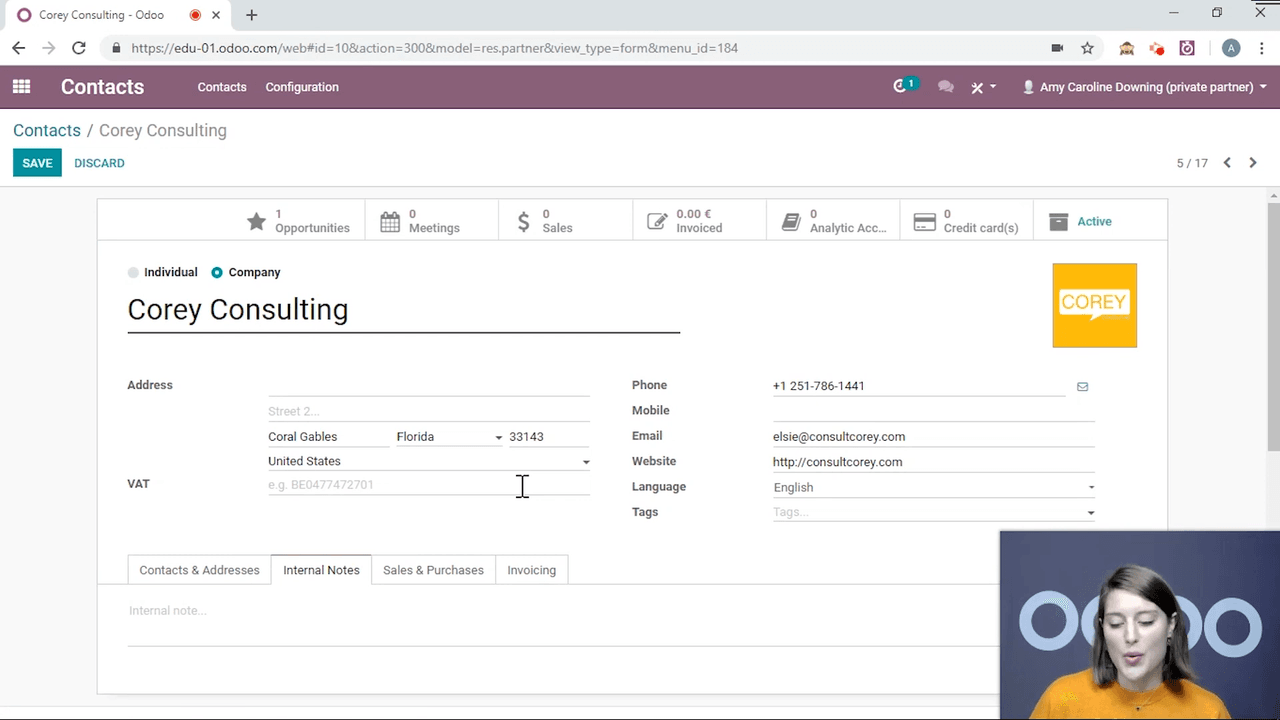
Internal Notes Tab
Add notes that only your team sees — handy for reminders like "preferred customer" or special handling instructions.
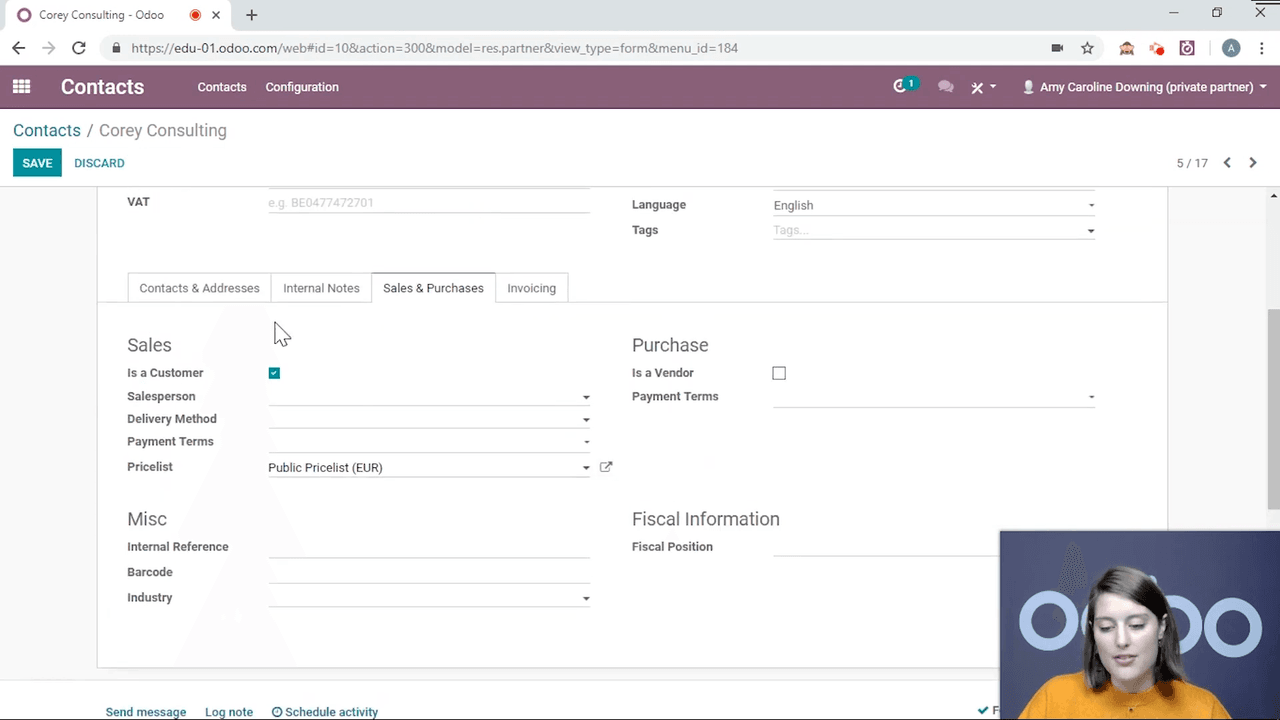
Sales & Purchases Tab
| Field | Purpose |
|---|---|
| Customer / Vendor toggle | Classify the contact's role |
| Salesperson | Assign a dedicated sales rep |
| Delivery method | Set the preferred shipping option |
| Payment terms | Define credit terms specific to this contact |
| Price list | Apply a custom price list |
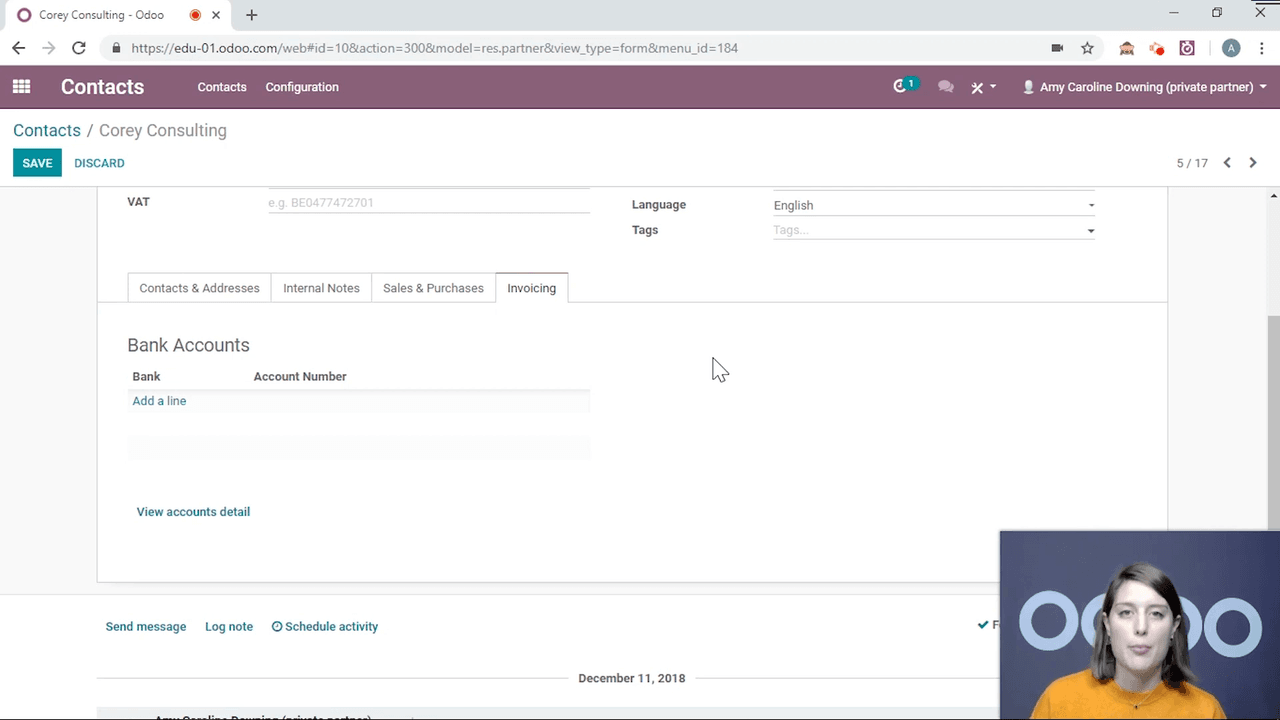
Invoicing Tab
Store the contact's bank account details here. This is especially worthwhile for vendors you pay regularly — the bank information auto-fills onto payment orders.
Miscellaneous Fields
Further fields cover internal reference, barcode, industry, and fiscal information.
Smart Buttons: Every Interaction at a Glance
At the top of each contact form, smart buttons surface related records from right across Odoo:
- CRM opportunities
- Scheduled meetings
- Sales orders
- Invoices
- Analytic accounts
Click any one to jump straight to those records — the contact becomes a single window onto your entire relationship with that customer.

Archiving and Reactivating Contacts
When you stop dealing with a contact for a while:
- Open the contact.
- Click Archive.
Archived contacts drop out of the default list view but stay searchable, and the full history is preserved. When the relationship picks back up, just reactivate the contact. We almost always recommend archiving over deleting — you keep the record of past dealings either way.
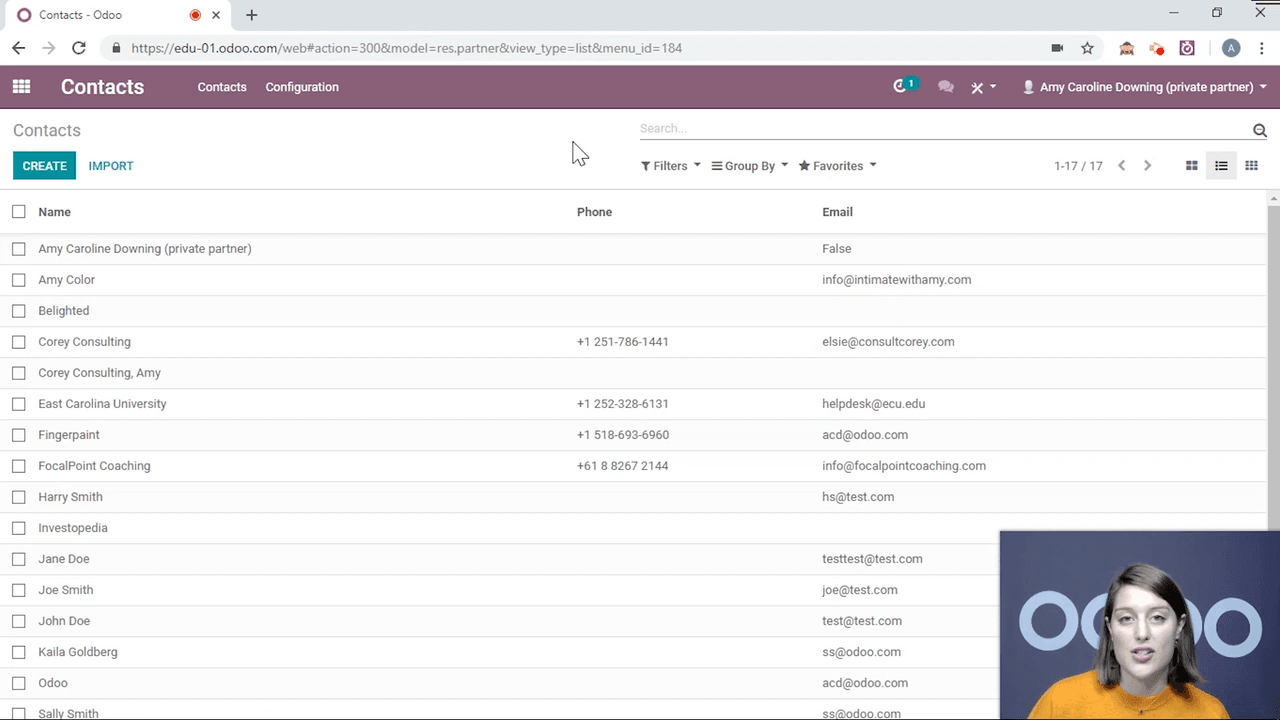
List View and Bulk Actions
Switch to list view for anything bulk. Select several contacts, then use the Action menu to:
- Archive multiple contacts at once
- Export the data to Excel or CSV
- Delete contacts permanently
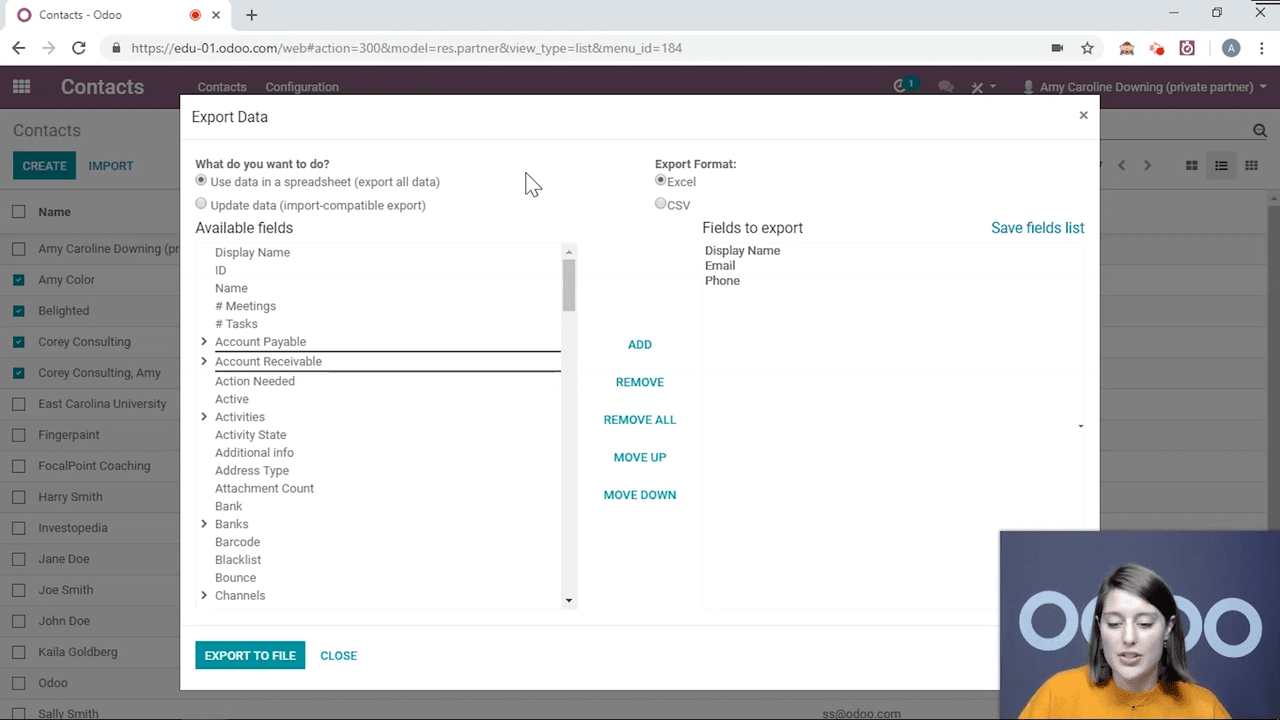
Exporting Contacts
Odoo gives you two export modes:
- Standard export — downloads the selected fields to Excel or CSV.
- Import-compatible export — formats the column headers so the file can be re-imported into Odoo with no field-mapping trouble.
If you plan to edit data externally and bring it back in, always use the import-compatible export. It saves a lot of grief on the way back.
Importing Contacts Into Odoo
For a business migrating to Odoo or running a large contact list in spreadsheets, the import feature is where the real time savings sit. This is also the step we most often see done badly, so it pays to follow it in order.
Step 1: Prepare Your File
Use the import-compatible export as your template. This guarantees the column headers line up exactly with the field names Odoo expects — which is what stops the mapping from going sideways.
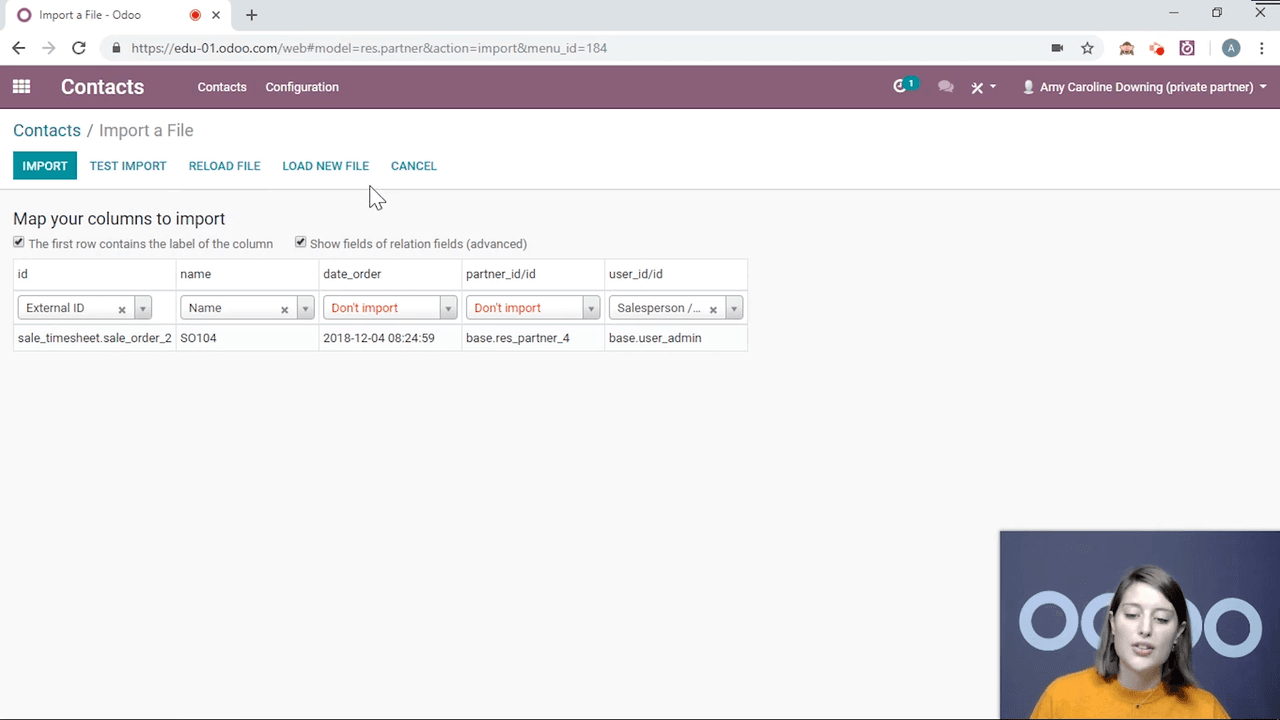
Step 2: Load and Map Fields
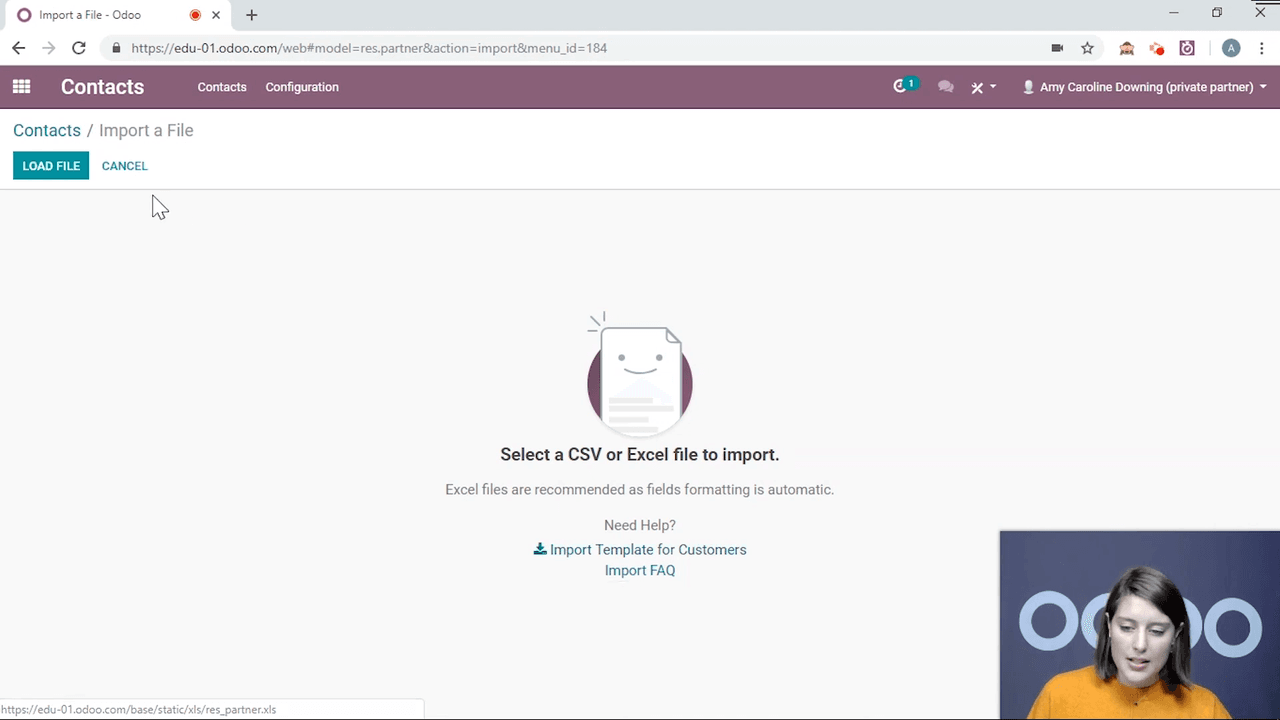
- Go to Contacts and click Import.
- Click Load File and select your spreadsheet.
- Odoo auto-maps the columns to fields based on the header names.
- Anything it cannot match shows "Don't Import" — adjust those manually.
Step 3: Test, Then Import
Click Test Import to validate the data before you commit. If no errors come back, go ahead with the full import. Skipping the test is how a thousand-row mistake ends up in production — it takes seconds and saves hours.
Tips for a Clean Contact Setup
- Start with companies, then add the individuals linked to them.
- Use the import-compatible export as your spreadsheet template.
- Test the import before committing a large dataset.
- Archive rather than delete — you keep the relationship history.
- Fill in payment terms and price lists early so downstream documents auto-populate.
Where This Leads
With your contacts in place, they slot straight into the rest of Odoo:
- Set up your first CRM pipeline to track opportunities.
- Raise sales orders linked to your new contacts.
- Configure invoicing with contact details already filled in.
Getting the contact data clean and complete at the start is the single highest-leverage thing you can do in an Odoo rollout — every module downstream inherits it. If you would like APAA to handle the migration, validate your data, and set the import up properly, get in touch.