Running Email Campaigns in Odoo: A Practical Guide for Hong Kong SMEs
A hands-on walkthrough of Odoo Email Marketing for HK SMEs — building mailing lists, composing and testing emails, organising campaigns, and reading the metrics that tell you what actually worked.

Why Email Still Outperforms for HK SMEs
At APAA, the Hong Kong SMEs we work with are often surprised that we still recommend email as a core marketing channel in 2026. Social ads feel newer, WhatsApp feels more immediate — but email keeps winning on the numbers that matter to a small business. It reaches a large audience at almost no cost, it lets you tailor the message to each recipient, and crucially it is action-oriented: people reply, click through, sign up, and buy straight from the inbox.
The catch is that email only works when it is organised. A scattershot blast to your entire contact list, sent from a personal Gmail account, does more harm than good. Odoo's Email Marketing module gives you the structure to do it properly — composing, scheduling, sending, and measuring campaigns all from one screen, with the same contact database your sales and accounting teams already use.
This guide walks through the module the way we set it up for clients, from your first email to reading campaign metrics.
Composing and Sending Your First Email
Open the Email Marketing app and you land on an overview of every email in the system — drafts, queued, and sent. That single view is already an improvement over the typical SME setup, where nobody quite knows what went out and when.

To build a new email, the flow is short:
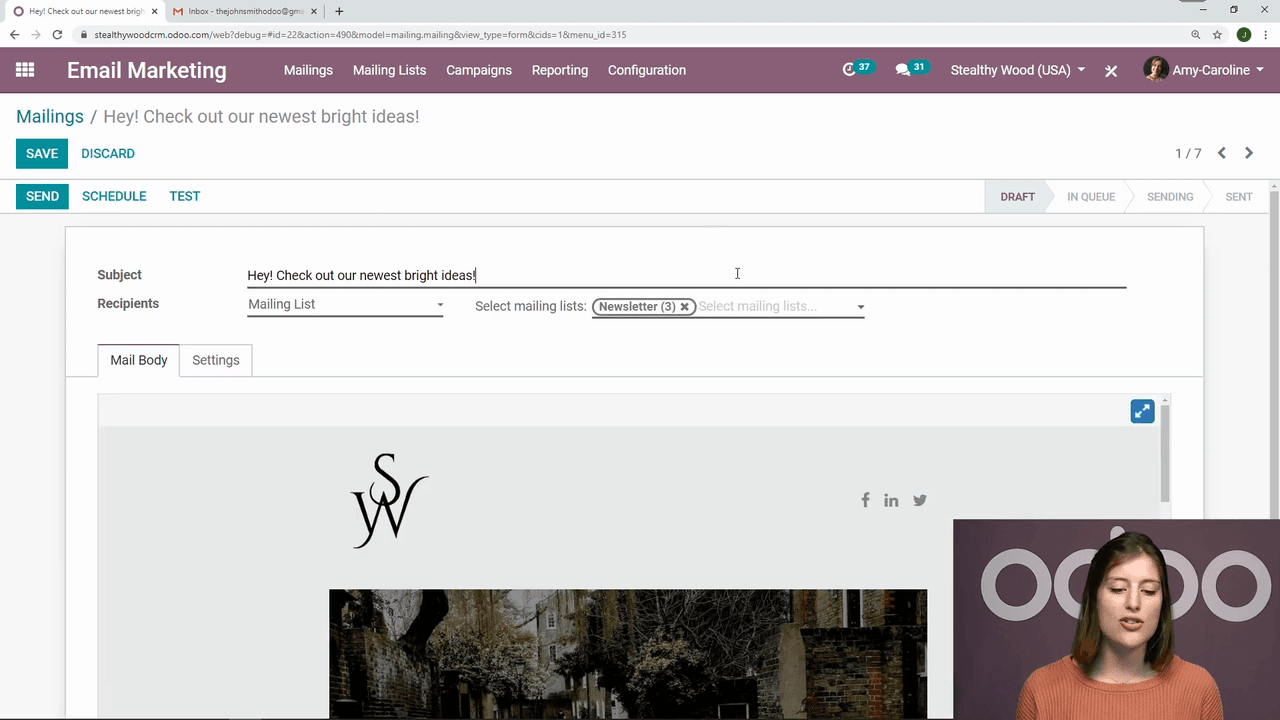
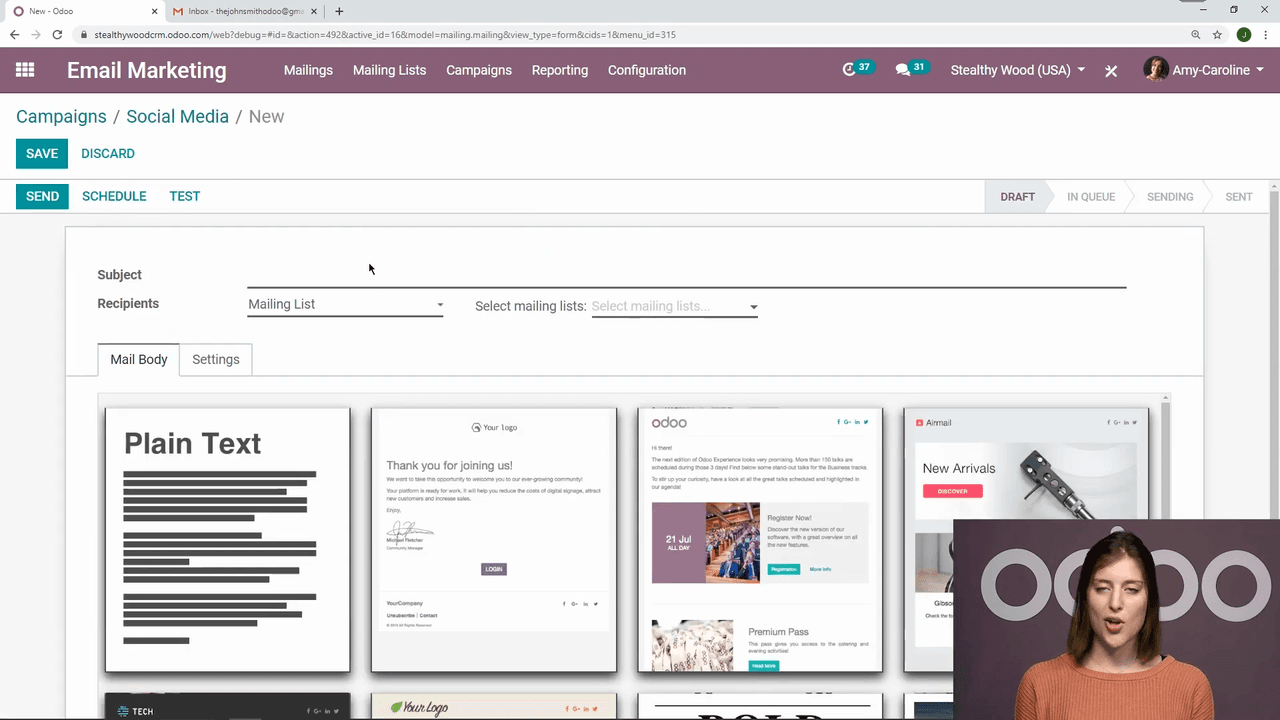
- Click Create, or reopen an existing draft.
- Write a subject line — keep it clear and compelling; this is what decides whether the email gets opened at all.
- Choose your recipients by selecting one or more mailing lists.
- Pick an email template from Odoo's built-in library.
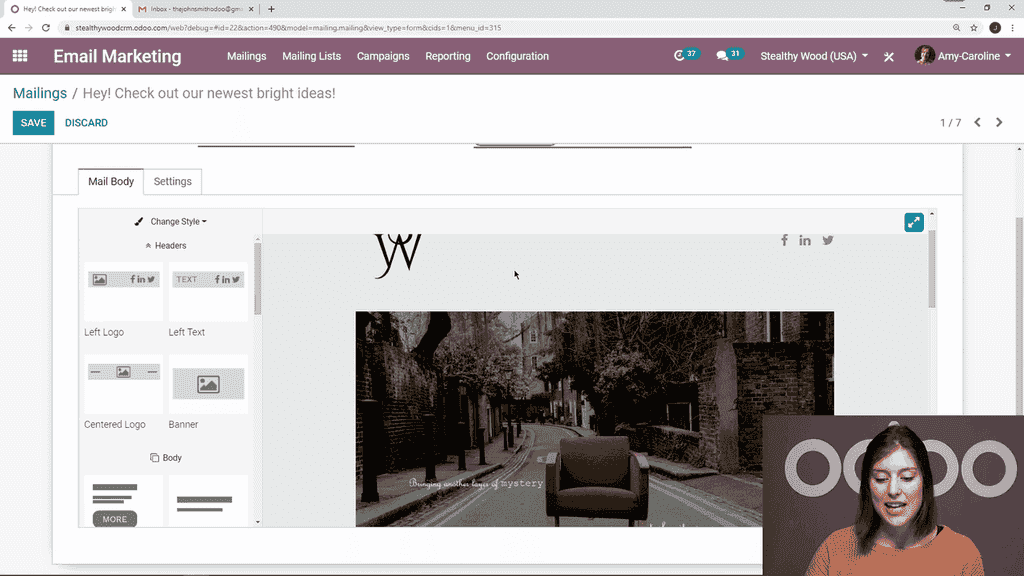
- Customise it with your own images and copy using the drag-and-drop editor.
Send Now or Schedule for Later
When the email is ready, you have two options:
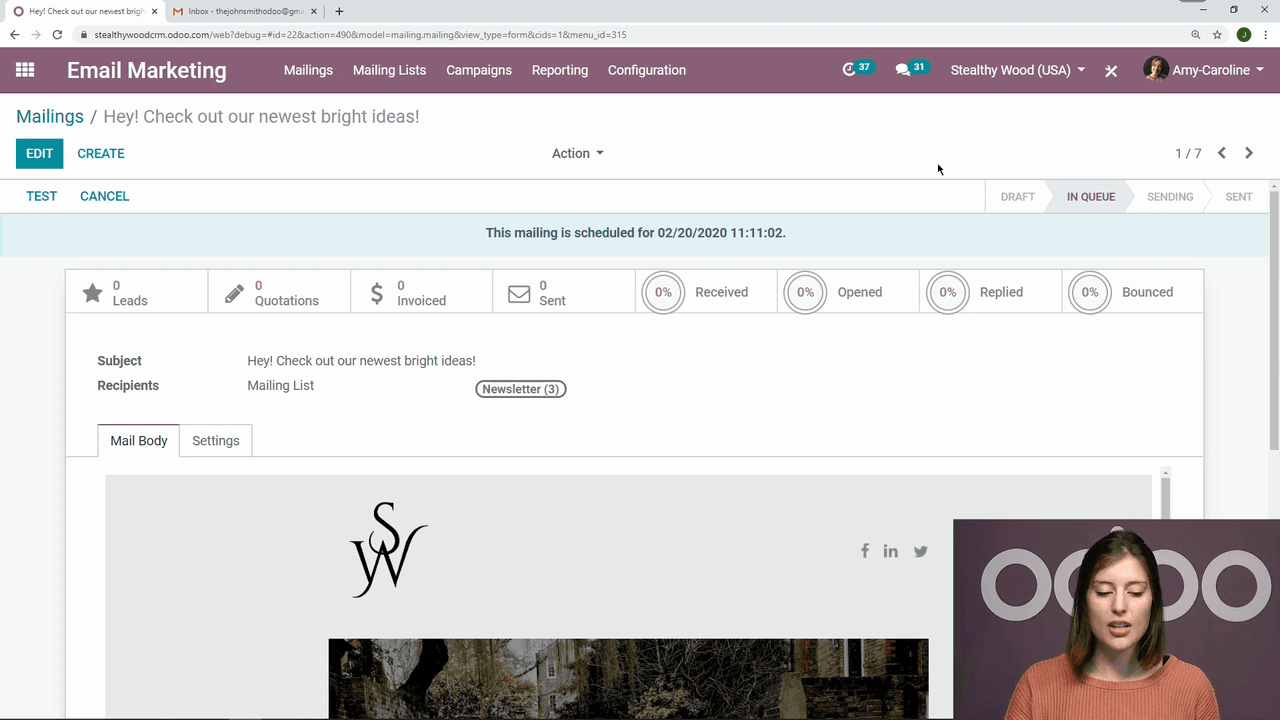
- Send immediately — Odoo queues the email and dispatches it on the next scheduled run, typically within an hour.
- Schedule for later — pick a specific date and time, which is what we usually recommend so your message lands when your audience is actually checking their inbox.
After you click Send, Odoo asks for a confirmation to guard against accidental sends. The email then moves from Draft to In Queue. While it sits in the queue you can still cancel it if you spot a mistake — it simply drops back to Draft for editing. We have saved more than one client from a typo this way.

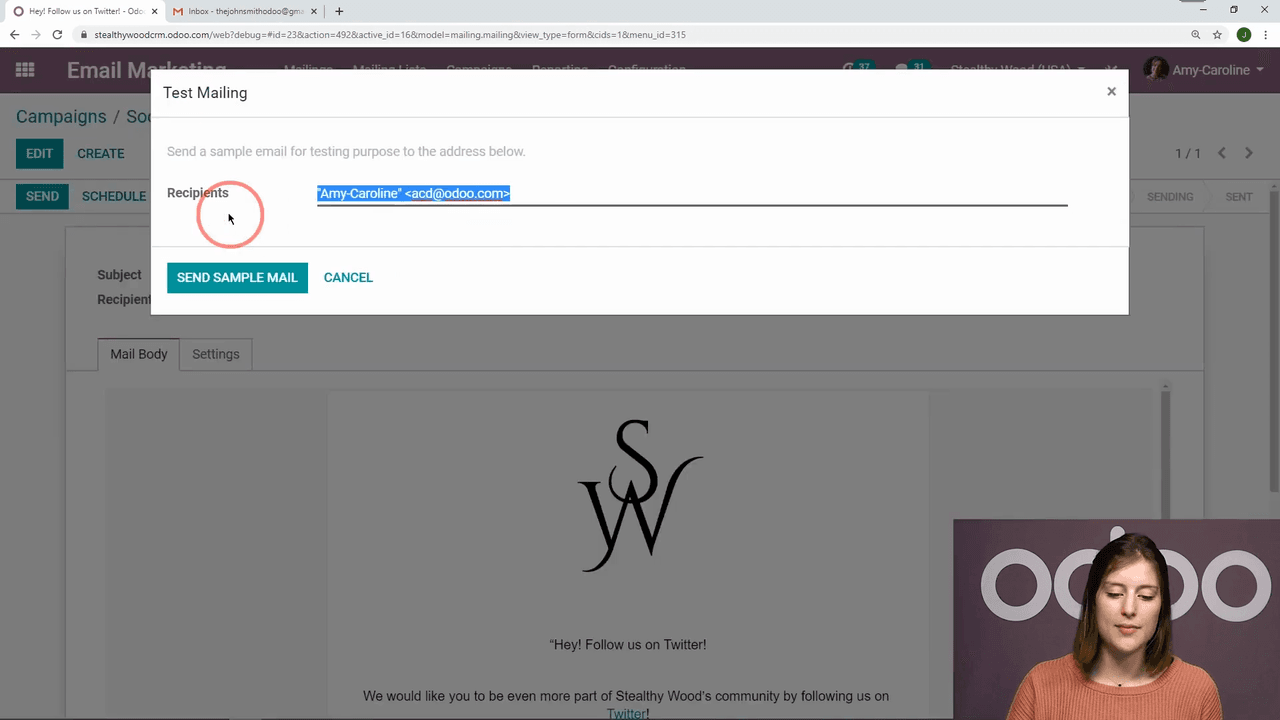
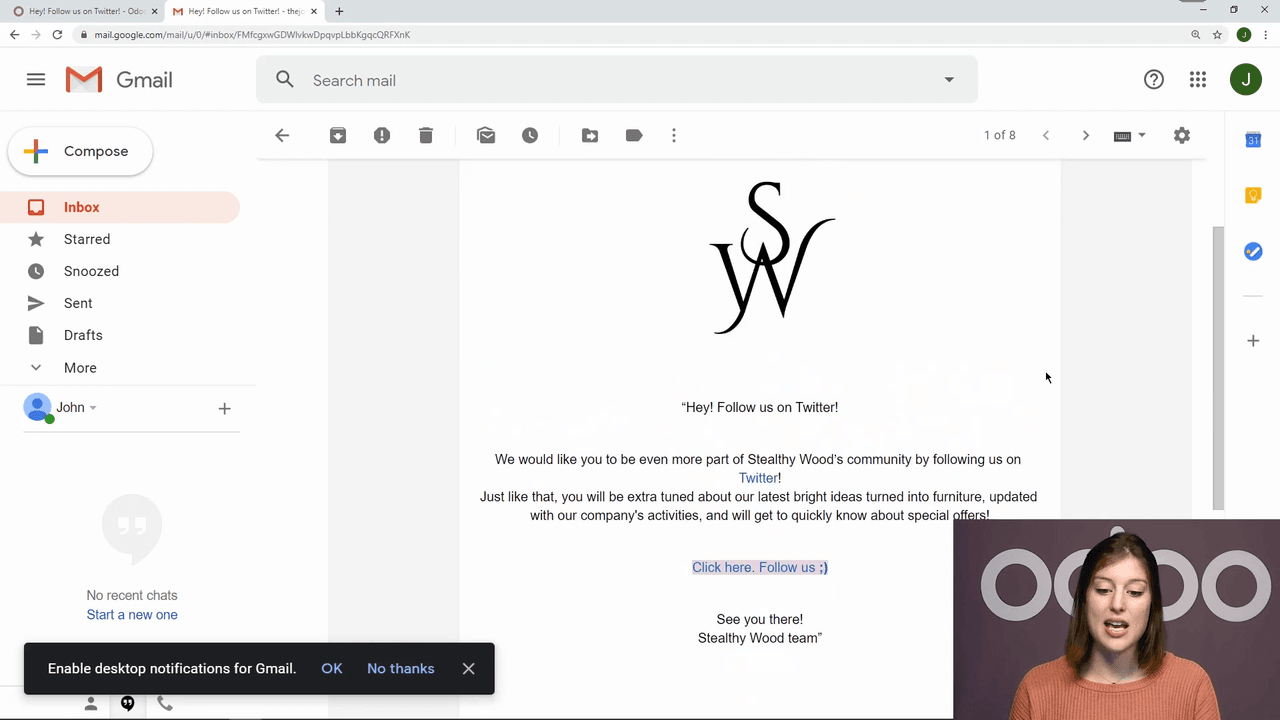
Always Test Before You Hit the Full List
Before sending to your whole list, use the Test button to fire a sample to a single address — your own. This shows you exactly how the email renders in a real inbox: layout, images, and every link. The five minutes this takes is the cheapest insurance you will ever buy in marketing.
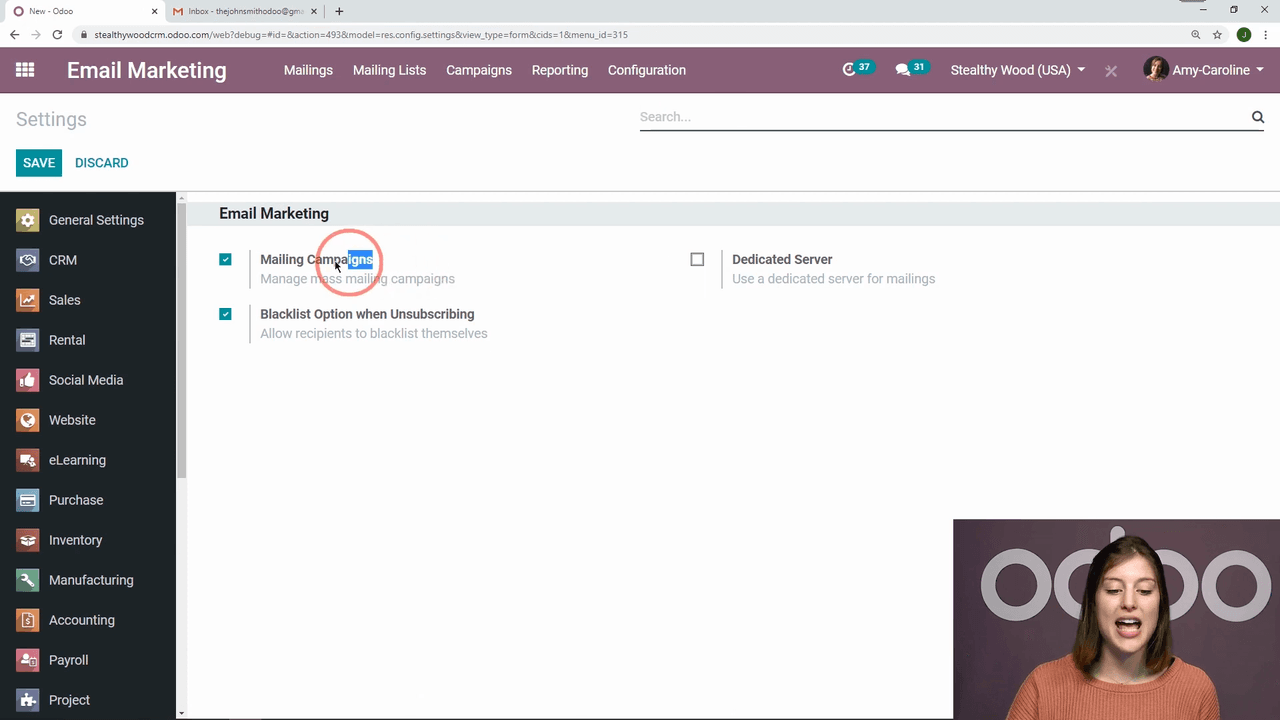
Grouping Your Marketing into Campaigns
Once you are sending more than the occasional one-off, campaigns become essential. A campaign groups related marketing activity and centralises the metrics across channels — email, SMS, social media, and push notifications — so you can judge an initiative as a whole rather than email by email.
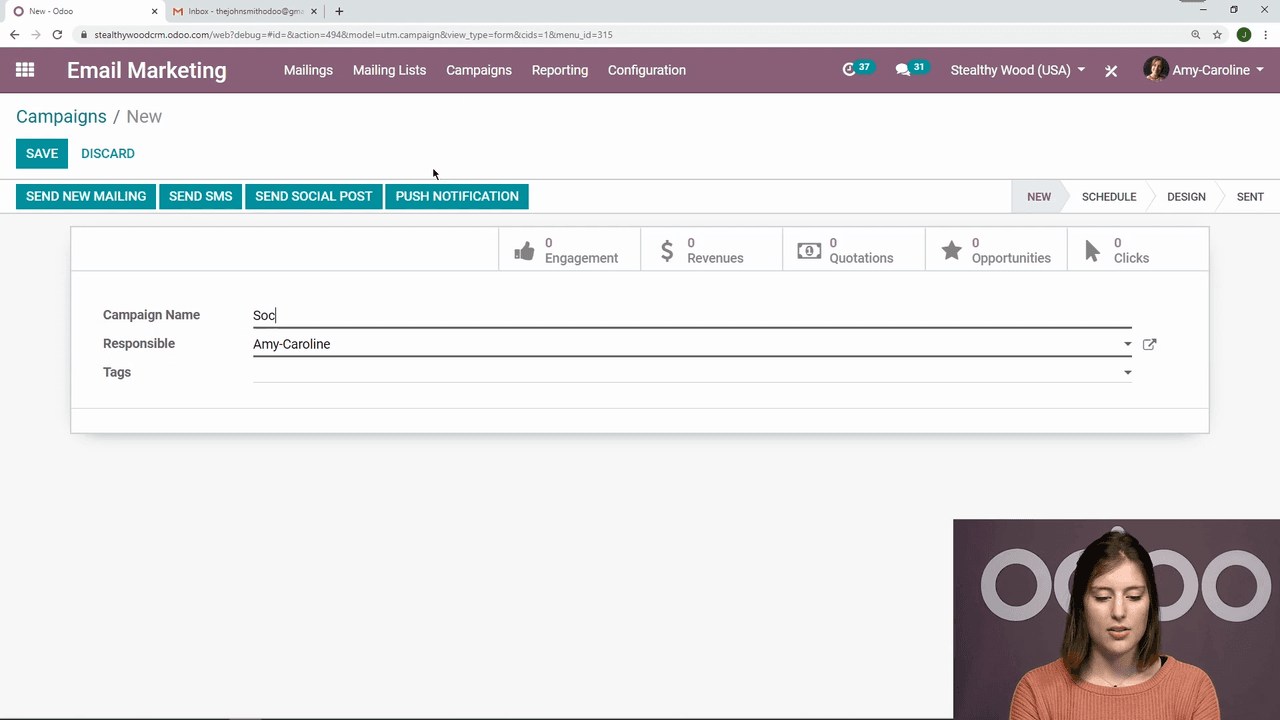
Set Up a Campaign
- Enable Mailing Campaigns under Configuration > Settings in Email Marketing.
- Go to Campaigns and click Create.
- Name the campaign and assign a responsible person.
- Add tags for easy filtering later — for example "2026 Q1", "Newsletter", or "Product Launch".
Add Emails to the Campaign
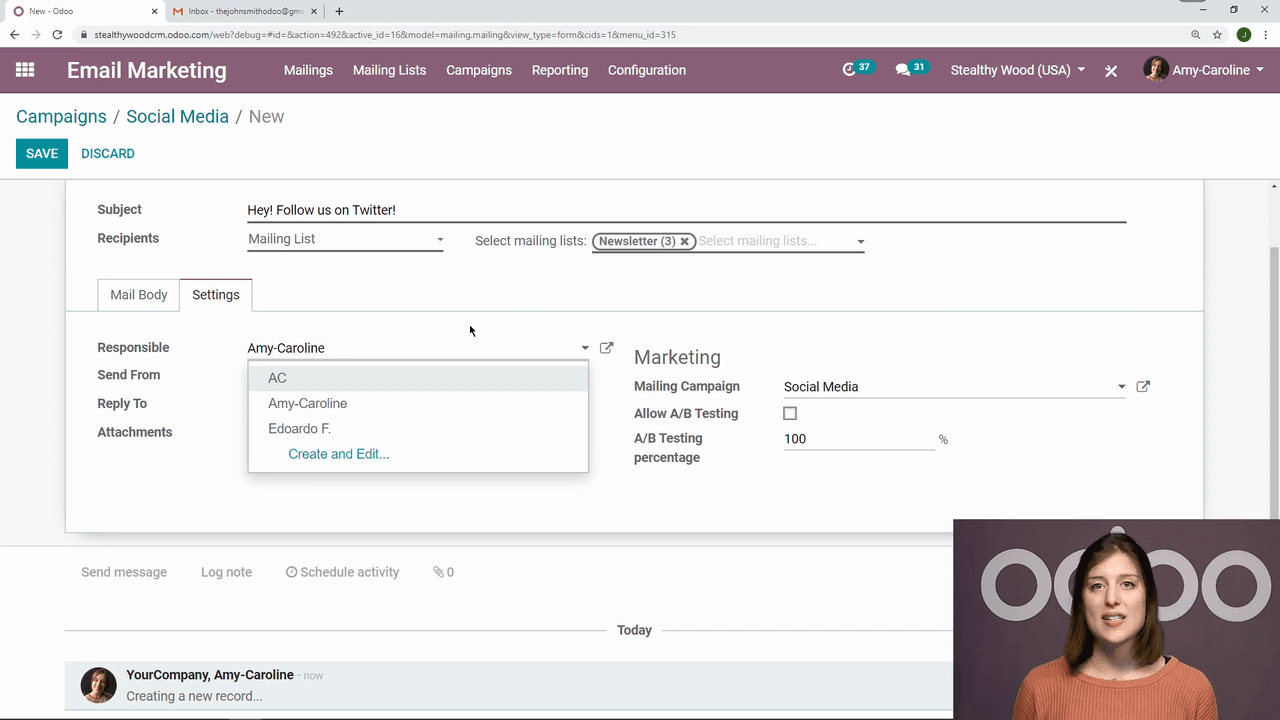
Inside a campaign, create a new mailing. Each email under the campaign can carry its own settings:
- Its own subject line and recipients.
- A different responsible person — handy when team members own different communications.
- A custom sender address and reply-to address, so replies land in the right inbox.
- File attachments.
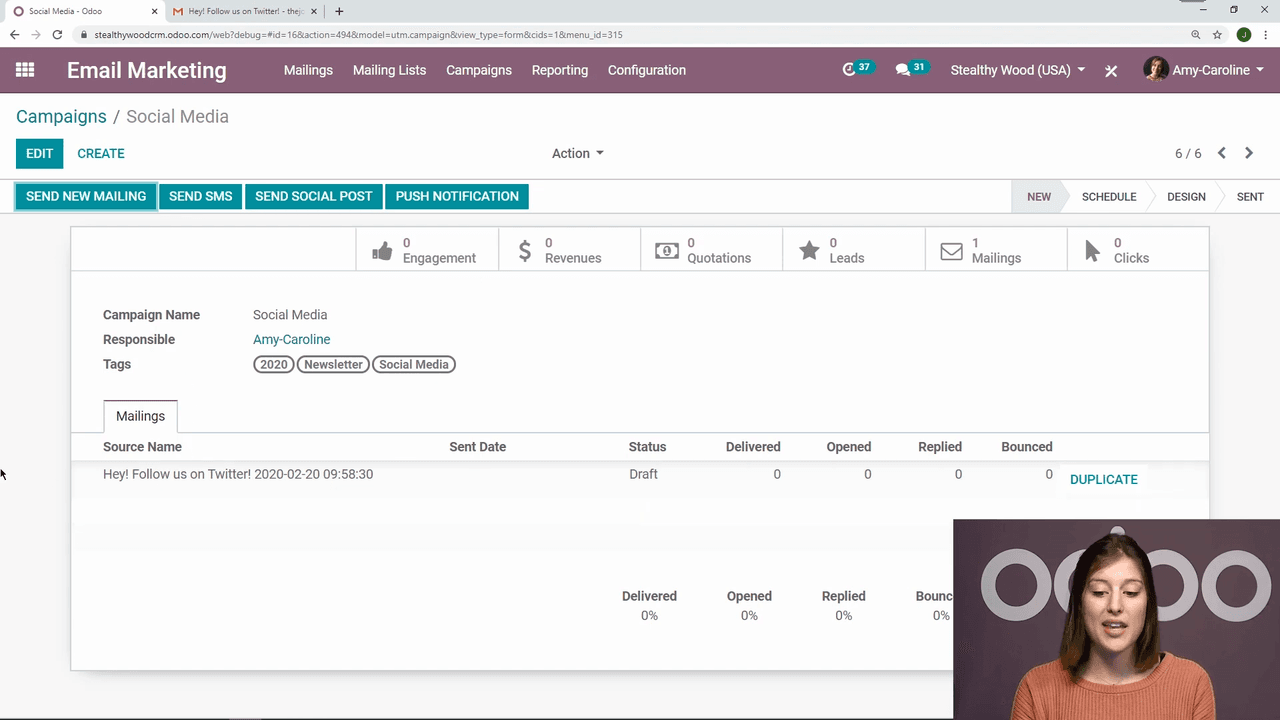
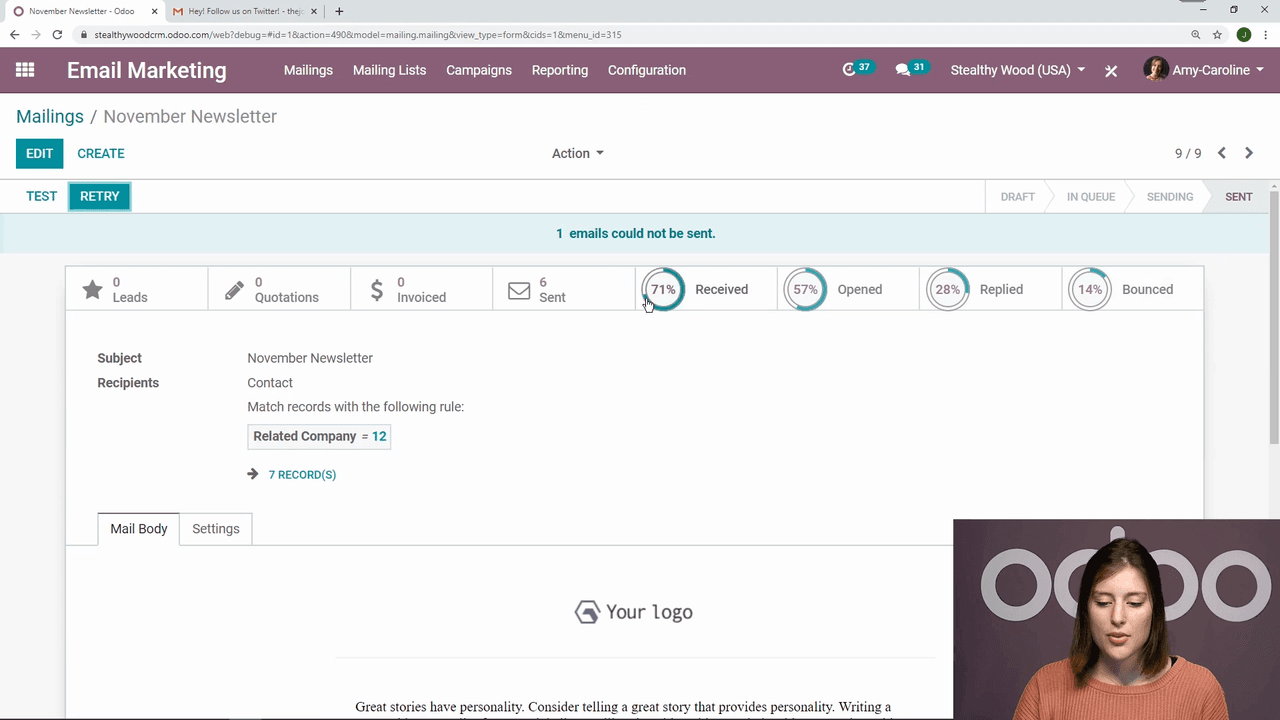
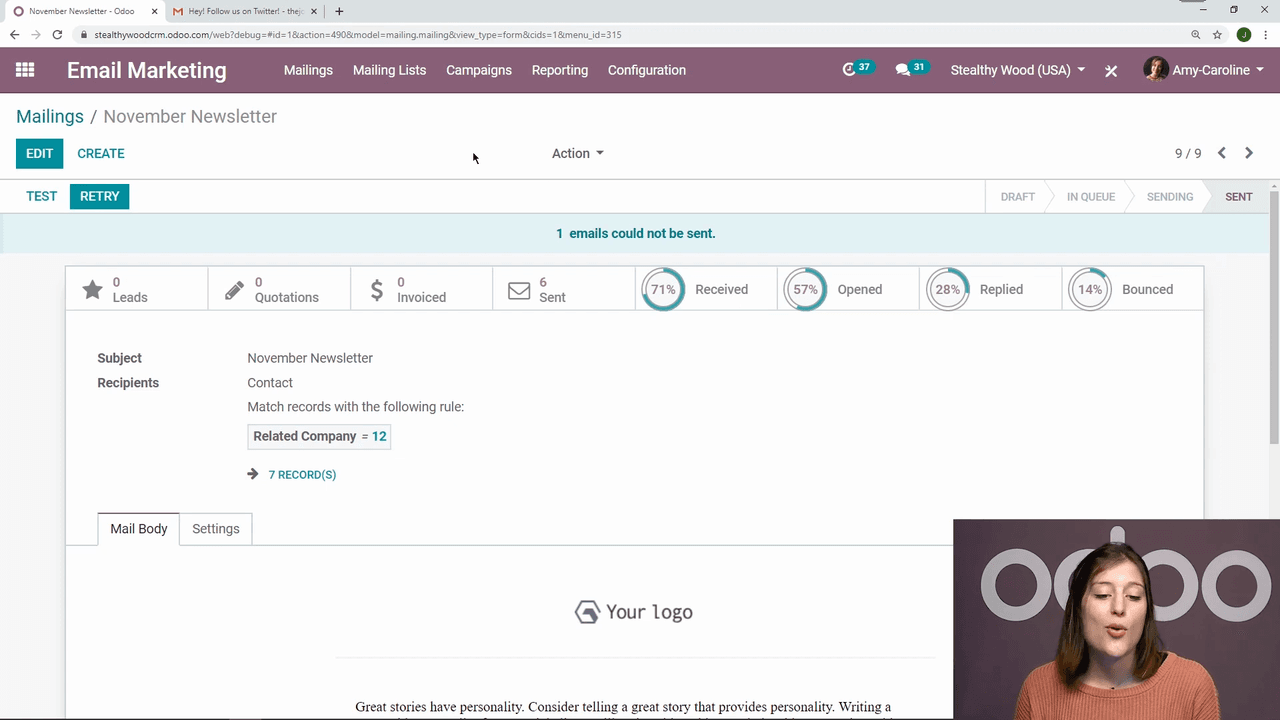
Read the Metrics That Matter
The campaign overview lists every associated email alongside its status and performance:
- Delivered — successfully reached the recipient's inbox.
- Opened — the recipient opened it.
- Replied — the recipient replied directly.
- Bounced — the email could not be delivered.
You can read these figures per email or aggregated across the whole campaign. For the SMEs we advise, the bounce rate is the first number to watch — a climbing bounce rate is an early warning that your contact data needs cleaning.
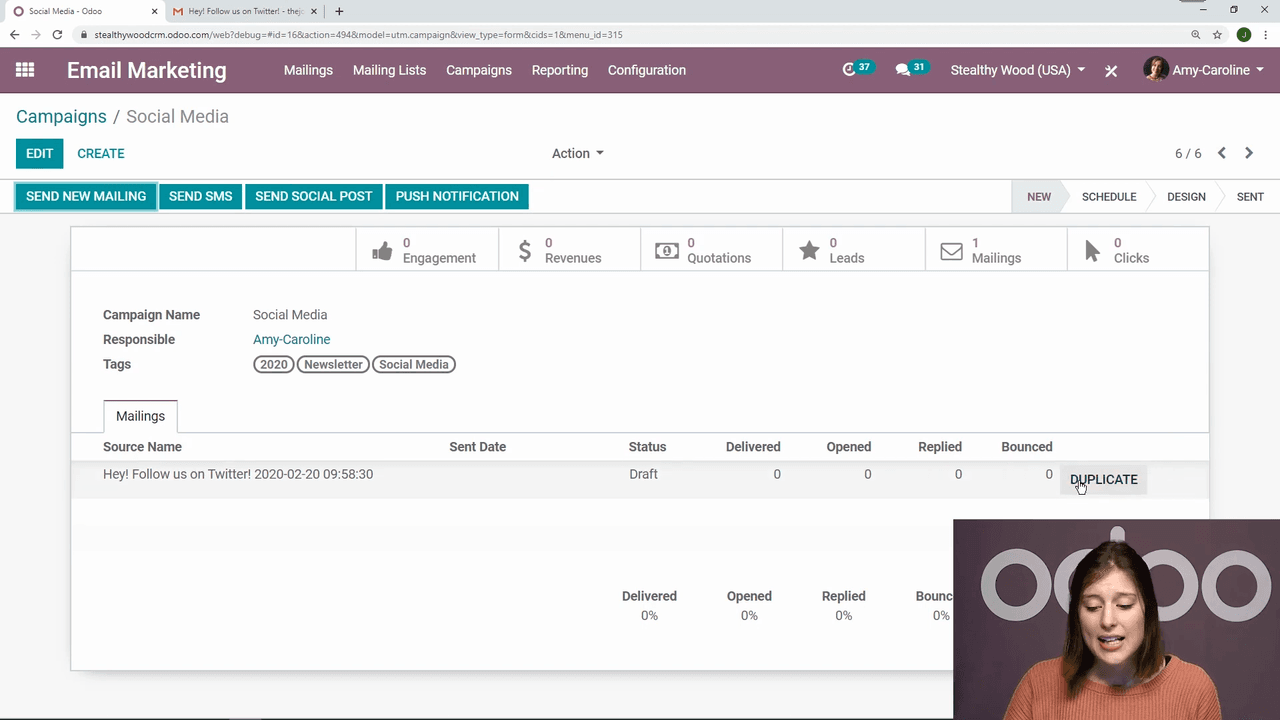
Reusing What Works: Duplicating Emails and Campaigns
When an email performs well, or you have sunk real effort into its design, there is no reason to rebuild it from scratch. Duplicate it and use it as a starting point:
- From within a campaign, click the Duplicate button on any email.
- From the email itself, go to Action > Duplicate.
- You can also duplicate an entire campaign to reuse its whole structure.
Duplicated emails open as fresh drafts, ready to tweak. Over time this builds you a small library of proven layouts that new staff can run with confidently.
Mailing Lists: The Foundation Everything Sits On
Mailing lists sort your contacts into targeted groups, and getting them right is what separates email that converts from email that gets ignored. From the Mailing Lists menu you can:
- Create new lists — segment contacts by interest, subscription type, or any criteria that matters to your business.
- Manage contacts — view and edit who belongs to each list.
- Use multiple lists — select more than one as recipients when you send.
Well-organised lists are the foundation of effective email marketing. Segment your audience properly and each group receives content that is actually relevant to them — which is exactly what keeps your open rates healthy and your unsubscribes low.
Getting Started
If you are setting up Odoo Email Marketing from scratch, the order we recommend is:
- Install the Email Marketing module from the Odoo Apps menu.
- Enable Mailing Campaigns in settings if you want campaign-level organisation.
- Build your first mailing list and import or add contacts.
- Design your first email on one of Odoo's built-in templates.
- Test, send, and review the results — then iterate.
The real advantage of running this inside Odoo rather than a standalone tool is that your marketing, sales, and contact data all live in one place. The same person who opened your newsletter becomes a lead your sales team can see, with no copying between systems.
If you would like help setting up Email Marketing as part of a wider Odoo rollout for your Hong Kong business, talk to the APAA team — we will get the foundations right so your campaigns are working from day one.