Odoo Sales for Beginners: Creating Your First Quotation
A step-by-step walkthrough for HK SMEs on creating, customising, and sending your first quotation in Odoo Sales — covering customers, products, sections, and turning a quote into a confirmed order.

The Quote Is Where the Sale Begins
At APAA, we tell every Hong Kong SME starting out with Odoo the same thing: selling effectively begins with the right tools. Without a streamlined system, your salespeople burn time on manual data entry and chasing paperwork instead of closing deals. Odoo Sales fixes that by automating quotation creation, customer management, and order processing — so the team can spend its energy where it counts.
This guide walks you through creating your very first quotation in Odoo Sales, from adding a customer to converting the quote into a confirmed order. It is the natural starting point for anyone new to the system.
Adding a Customer to the Quotation
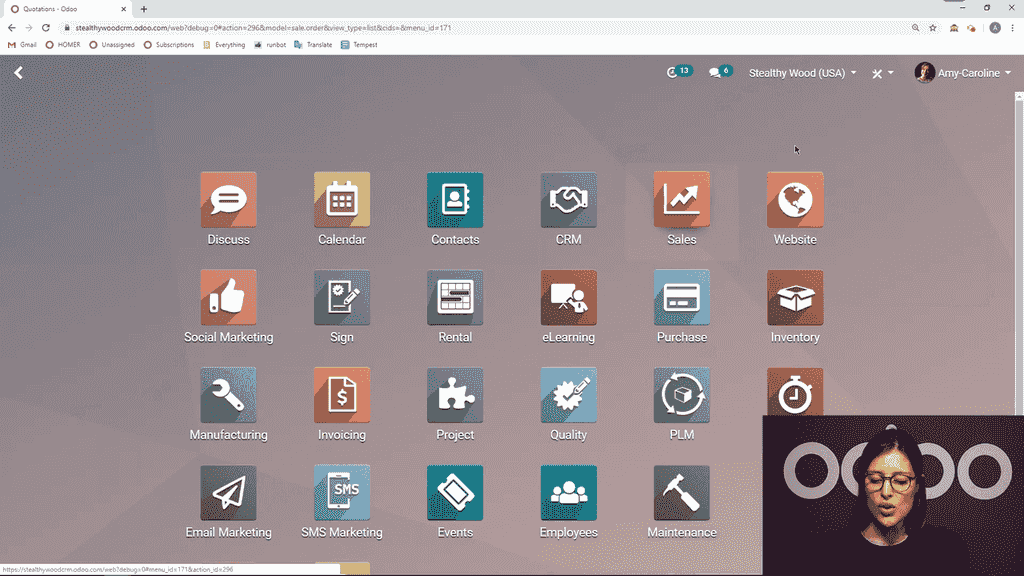
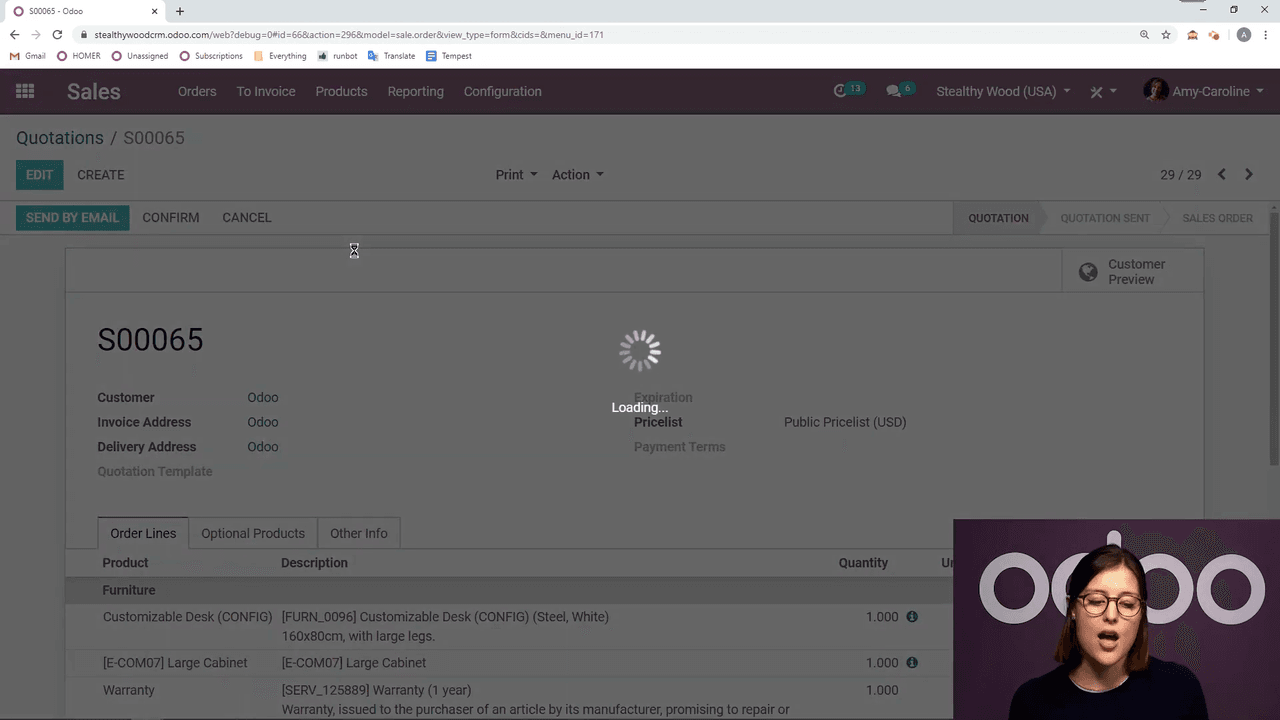
To start, go to Sales > Orders > Quotations and click Create.
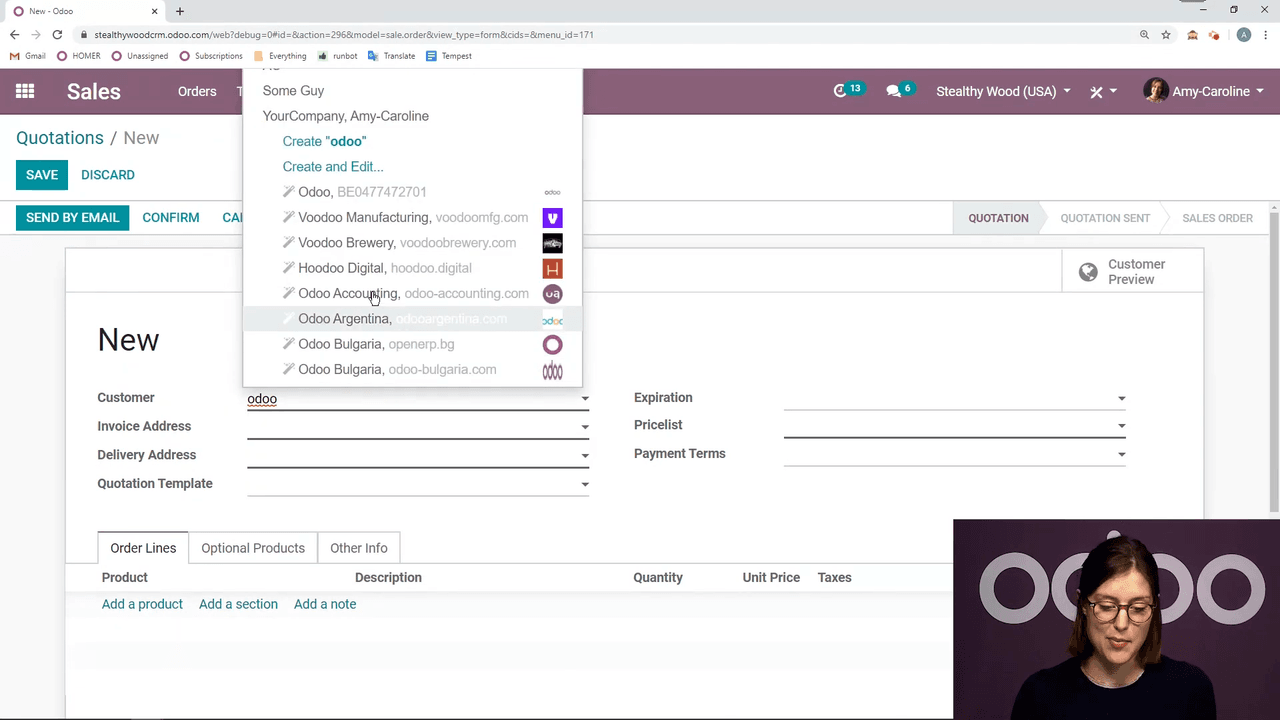
The first job is adding your customer, and you have two ways to do it:
- Select an existing contact from your database.
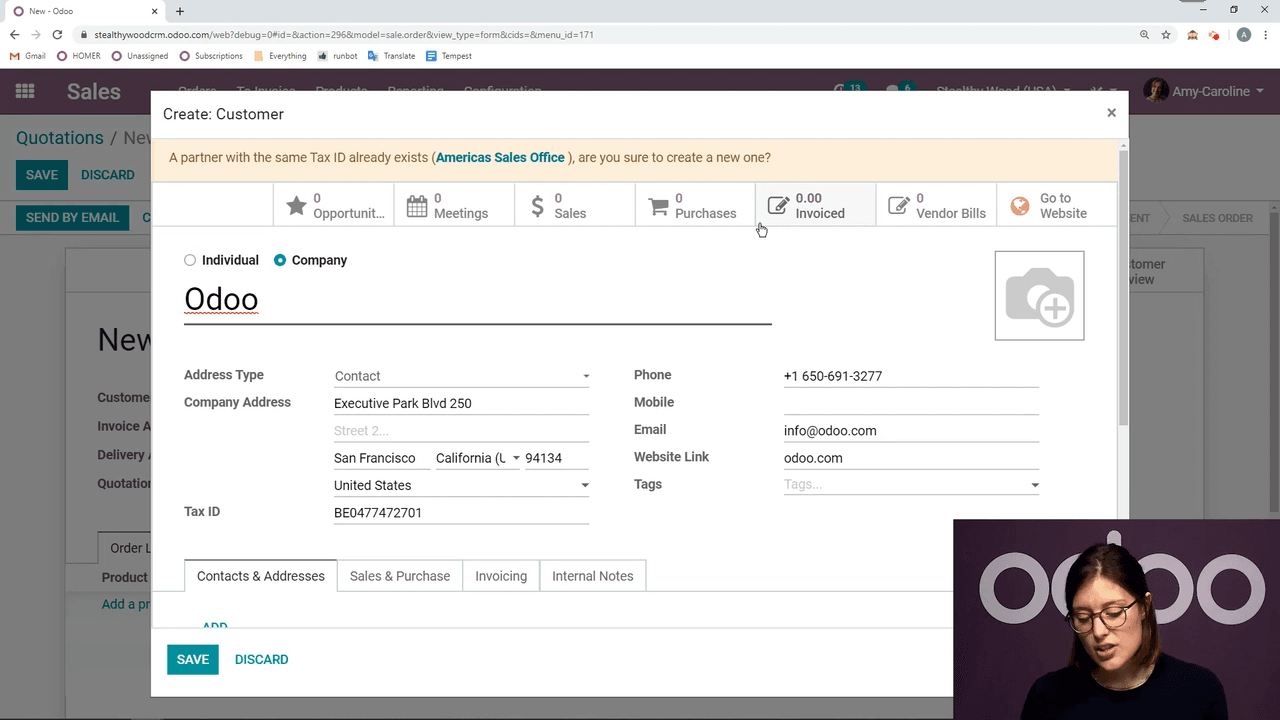
- Use Odoo's auto-complete — type a company name and Odoo searches an external database, returning matches with details already filled in: address, tax ID, phone number, email, and website.
Once a contact is created through auto-complete, you can edit any field on the spot before saving. For HK SMEs onboarding a steady stream of new clients, this alone removes a lot of manual typing and the errors that come with it.
Adding Products and Using the Product Configurator
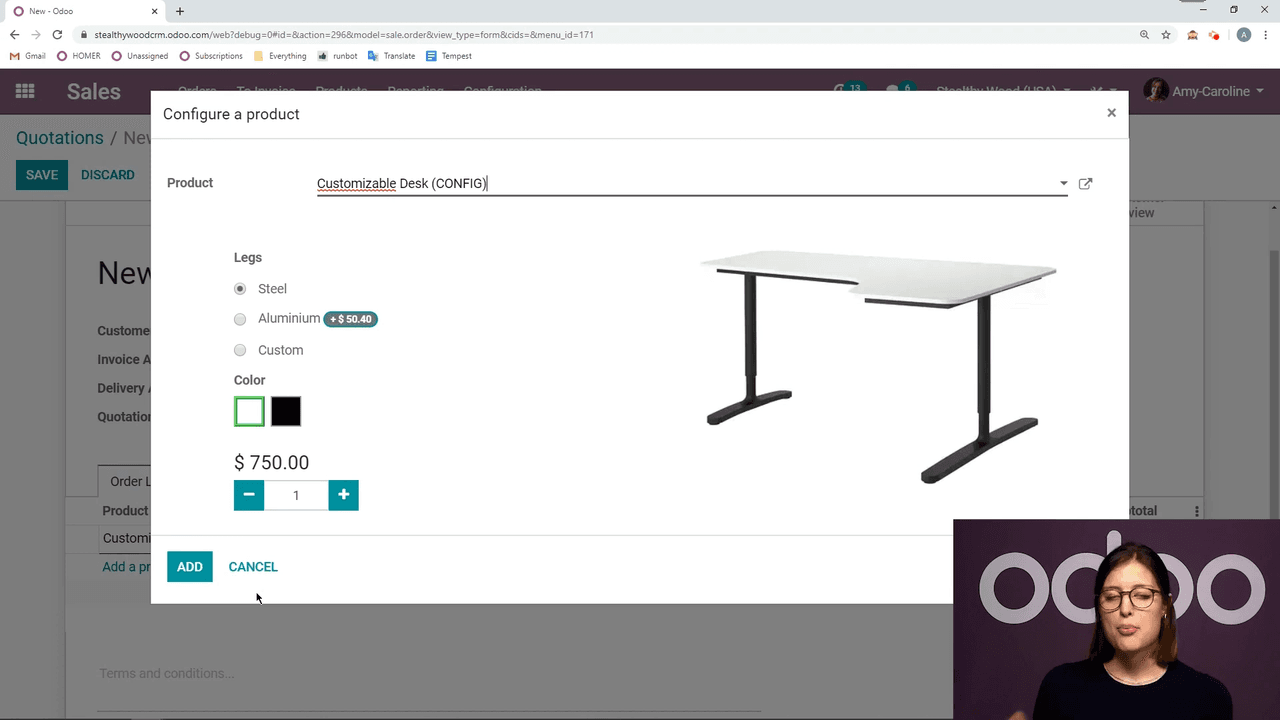
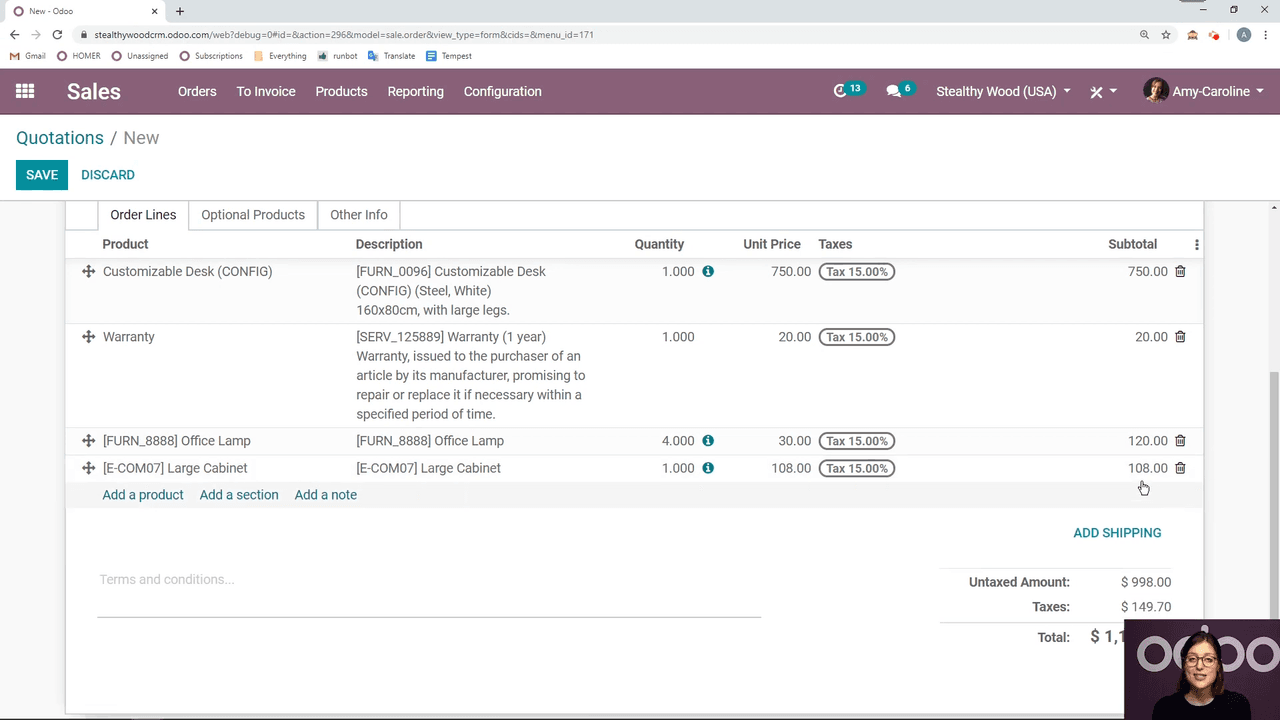
Click Add a product in the order lines to start building the quote. When you select a product that has variants, Odoo's Product Configurator opens, letting you pick the exact variant your customer wants.
A few features make this part faster:
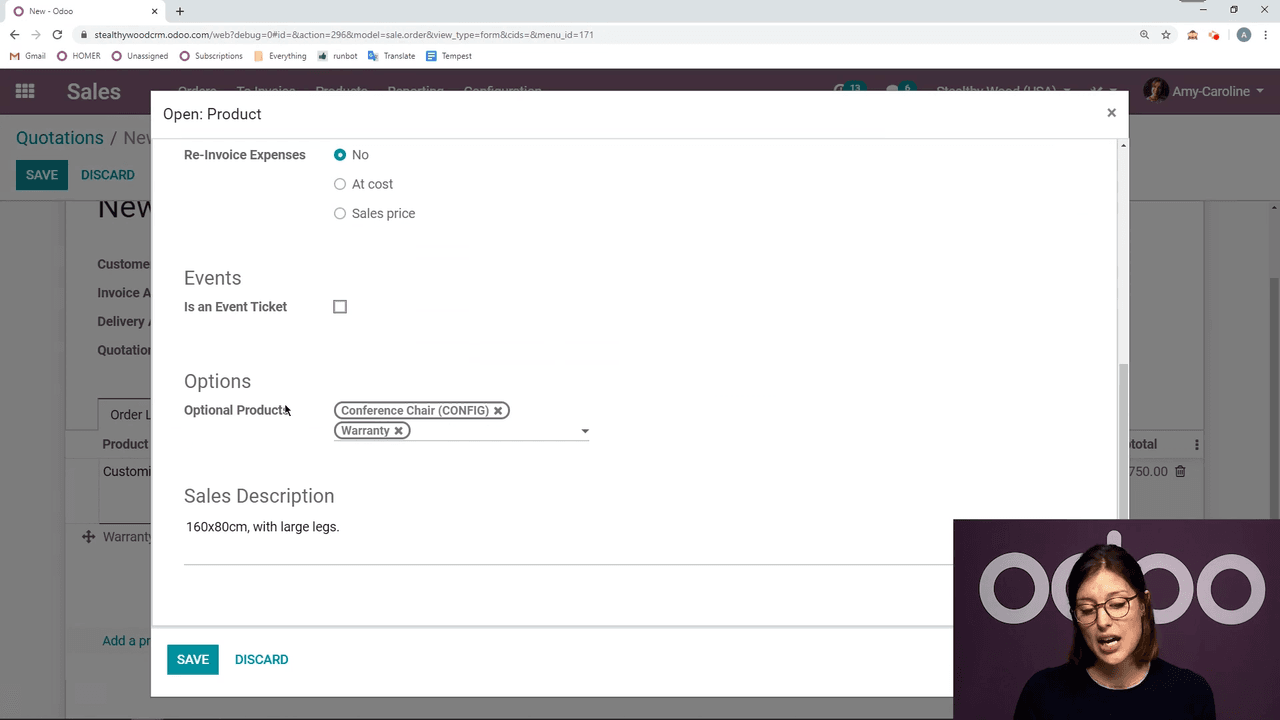
- Optional products — pre-configured suggestions appear automatically. You set these up in the product template under the Sales tab > Options.
- Manual adjustments — change the quantity and unit price directly on the order line.
- Equation support — type a calculation such as
=9*12straight into a numeric field and Odoo works out the result instantly. It is a small touch, but it saves reaching for a calculator on every quote.
Organising the Quotation with Sections and Notes
A tidy quotation is far easier for a customer to read and approve. Odoo gives you two tools for this.
Sections
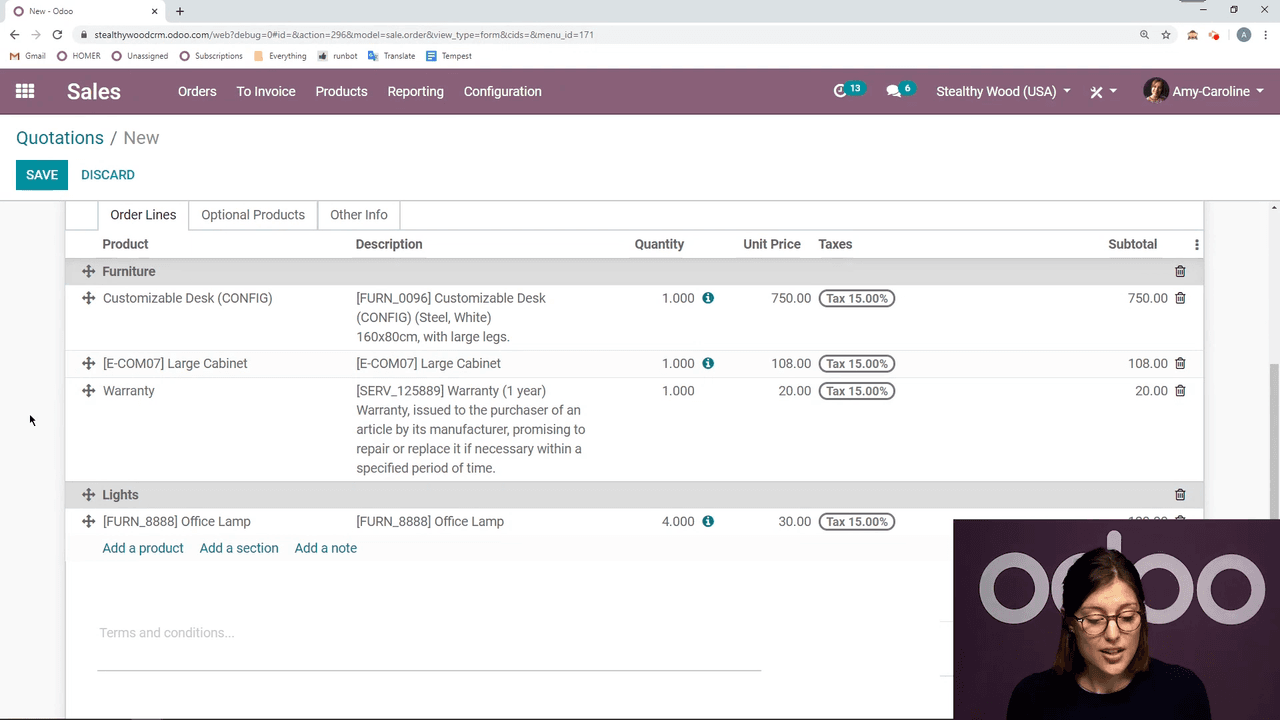
Click Add a section to group related products together. For example:
| Section | Products |
|---|---|
| Furniture | Customizable Desk, Large Cabinet |
| Lights | Office Lamp |
Drag and drop sections and products to reorder them however you like.
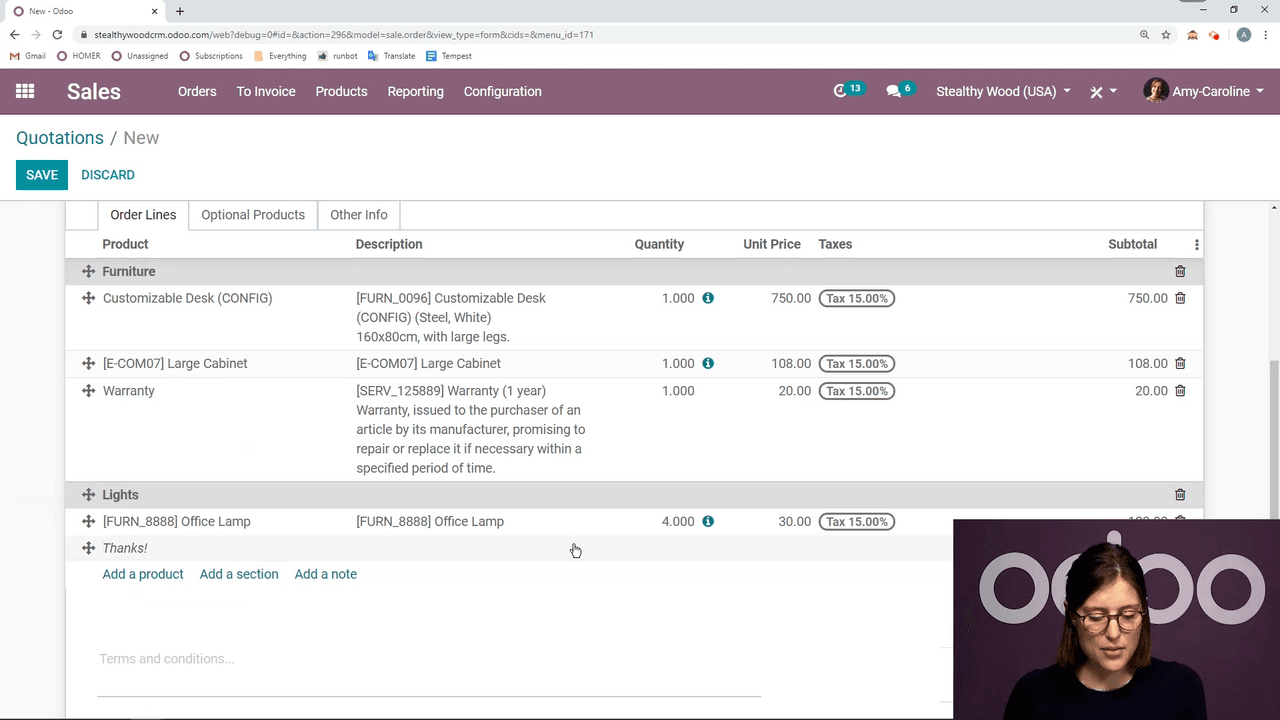
Notes
Click Add a note to drop custom text anywhere in the quotation. Notes are handy for a thank-you line, special terms, or any extra context the customer should see.
Sending the Quotation to Your Customer
When the quote is ready, you have two ways to deliver it:
- Print — go to Print > Quotation/Order to generate a downloadable PDF.
- Send by Email — click Send by Email to open an editable email template with the quotation already attached.
The email template is fully editable. Adjust the greeting, add a personal message, or simply leave the default text and hit Send.
Tracking and Confirming the Order
After sending, Odoo keeps the whole conversation in one place.
- Chatter — see the sent email, the PDF attachment, and the full communication history right on the quotation record. No more digging through your inbox to find what you sent.

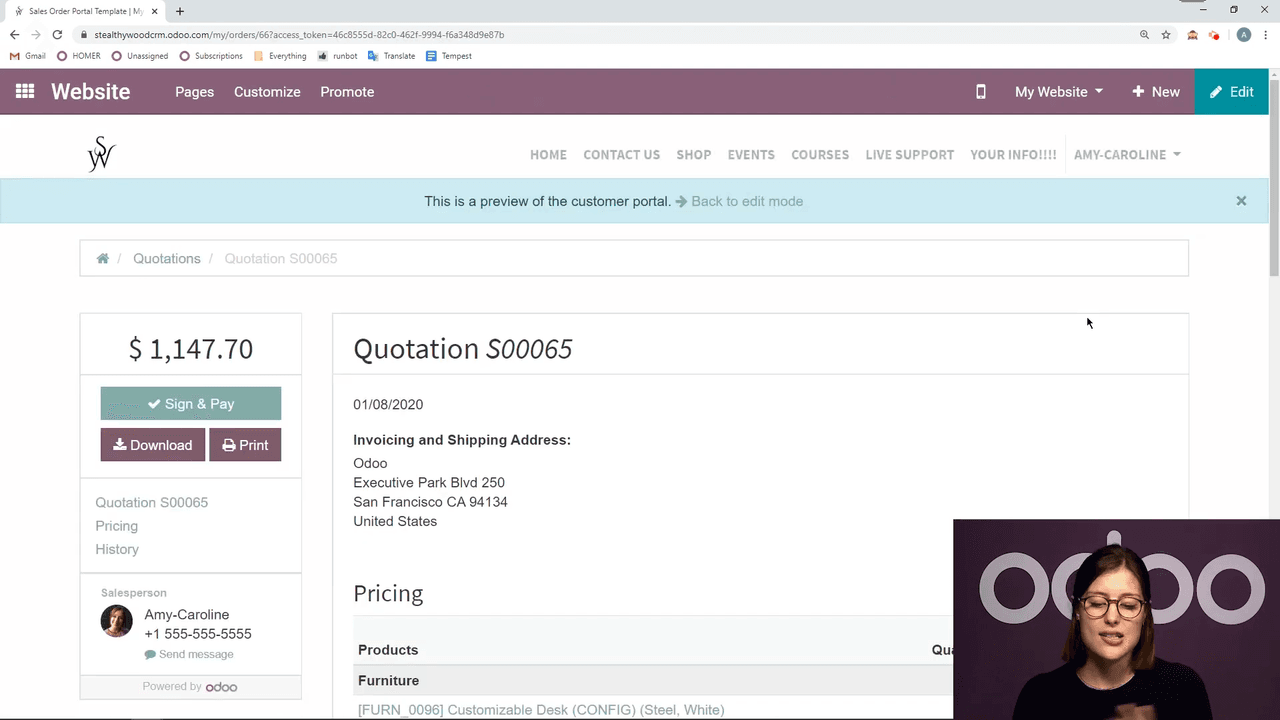
- Customer Preview — click Customer Preview to see exactly what your customer sees in the online portal, where they can sign and pay.
From Quotation to Sales Order
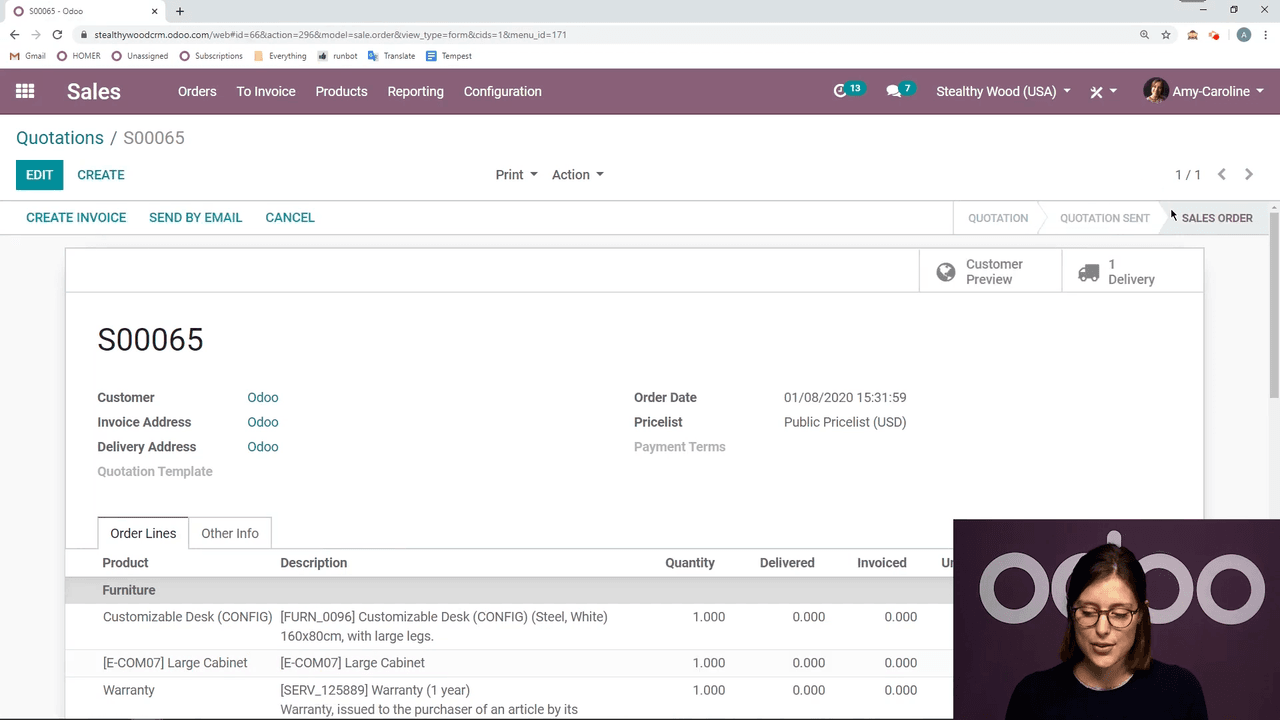
When the customer accepts — online or verbally — click Confirm to turn the quotation into a sales order. That one click triggers:
- A status change from Quotation Sent to Sales Order.
- Automatic delivery order generation, if the products need shipping.
- The option to create an invoice.
You can also resend the quote by email or cancel the order if circumstances change.
The Quotation Workflow at a Glance
- Go to Sales > Orders > Quotations.
- Click Create.
- Add the customer — manually or via auto-complete.
- Add products, including variants and optional items.
- Organise with sections and notes.
- Send by email or print as a PDF.
- Confirm to convert into a sales order.
Where to Go Next
Once the basics feel comfortable, these related Odoo Sales features are worth exploring:
- Product Variants — build configurable products with multiple options.
- Quotation Templates — save reusable layouts so you are not starting from scratch each time.
- Online Payment — let customers pay directly from the quotation portal.
- Sales Pipeline — track opportunities all the way from first lead to close.
Mastering the quotation is the foundation everything else in Odoo Sales builds on. If you would like APAA to set up Odoo Sales for your Hong Kong business — configured around your products, pricing, and workflow — reach out to our team.