Bulk-Updating Your Chart of Accounts in Odoo via Spreadsheet Import
How HK SMEs can edit, add, and retire accounts in Odoo at scale using export-and-import — plus the one account you must never touch: Current Year Earnings.

At APAA, a common moment in a Hong Kong SME's Odoo journey arrives a few months after go-live: the chart of accounts needs tidying. New expense categories have appeared, a few accounts were never used, and some names no longer reflect how the business actually books things. Editing those one screen at a time in Odoo is fine for a handful of changes — but for a real clean-up across dozens of accounts, it is slow and easy to get wrong.
The faster route is spreadsheet import. You export your existing chart, make all your edits and additions in the familiar spreadsheet environment your bookkeeper already lives in, then push every change back into Odoo in one pass. This guide walks through the full cycle — export, edit, add, retire, re-import — and flags the one account you must leave strictly alone.
Why Use Spreadsheet Import
Editing accounts individually works when you have small changes. But a business with a large chart of accounts needs a method that scales. Spreadsheet import lets you make bulk edits and additions where reviewing a hundred rows takes a glance, then apply them all to Odoo at once — far quicker, and far easier to sanity-check, than clicking through each account in turn.
Step 1: Export Your Current Chart of Accounts
Begin by pulling your existing accounts out of Odoo.
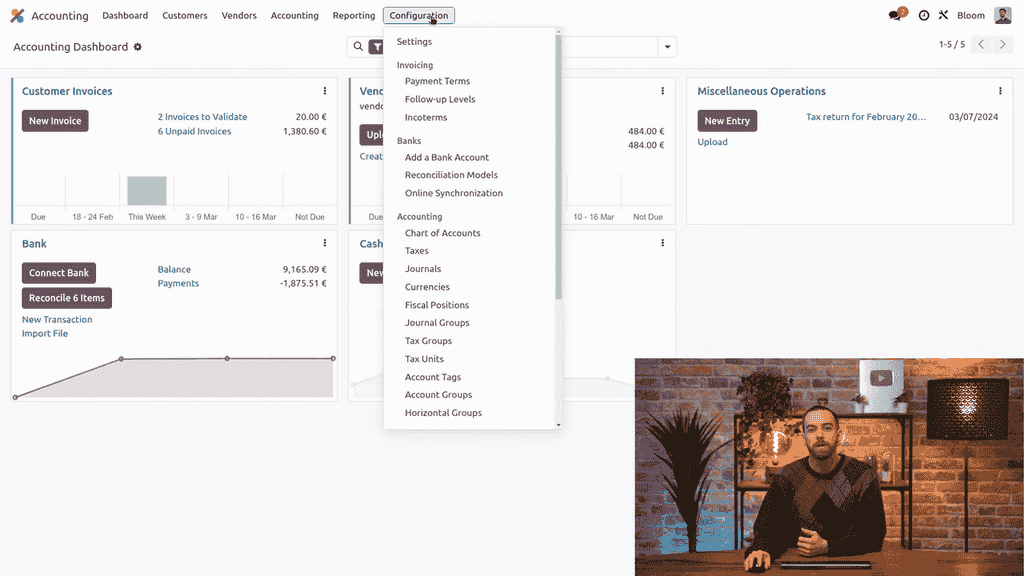
- Open the Accounting app
- Go to Configuration > Chart of Accounts
- Tick the top checkbox to select the accounts on screen, then click Select All to include every page
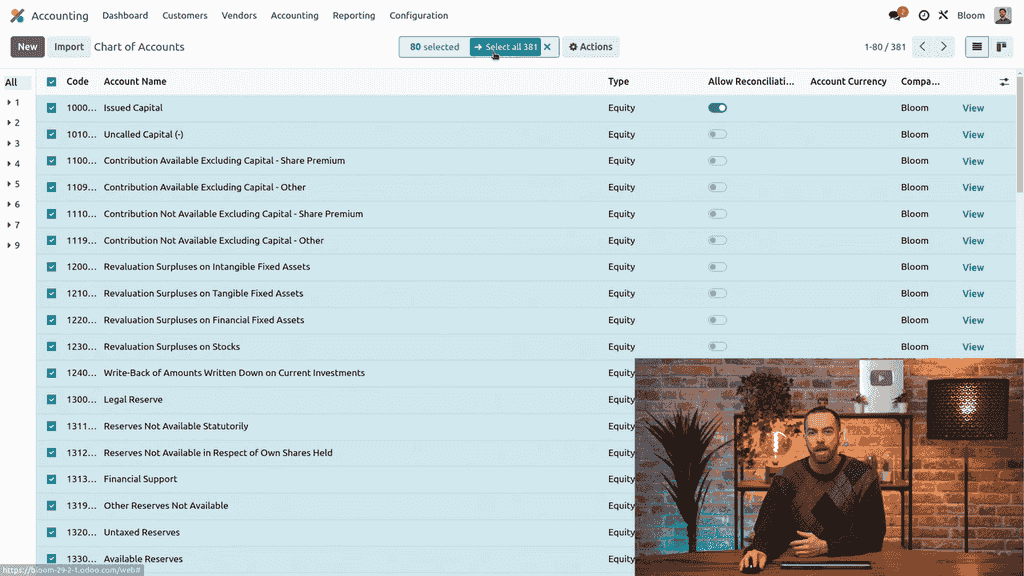
- Click Actions > Export

- Tick I want to update data — this is the critical step. It tells Odoo you are updating existing accounts, not creating duplicates of them

Building a Reusable Export Template
While you are here, set up an export template containing only the fields you need, and save it for next time:
- Code — the account number
- Account Name — the display name
- Type — the account category (expenses, income, and so on)
- Allow Reconciliation — whether the account supports reconciliation
- Deprecated — whether the account is inactive
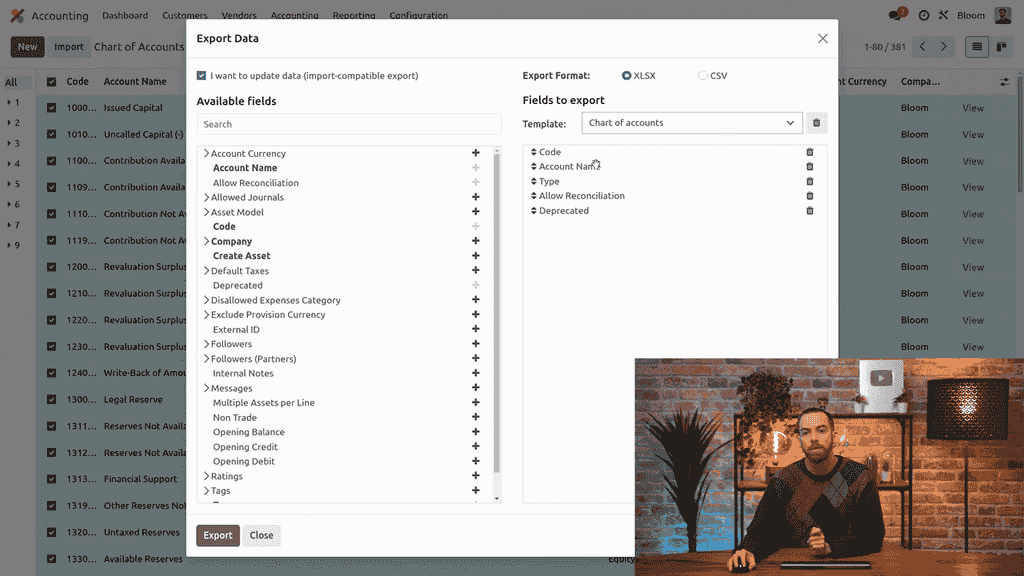
Drop fields with the trash icon, add them with the plus icon, then save the template so the next clean-up is even quicker.
Step 2: Edit Accounts in the Spreadsheet
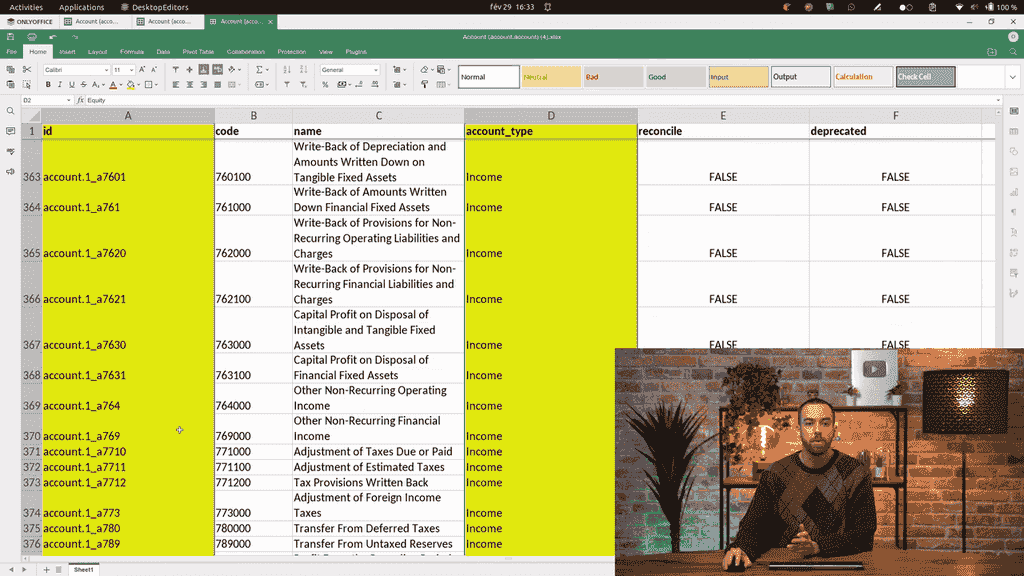
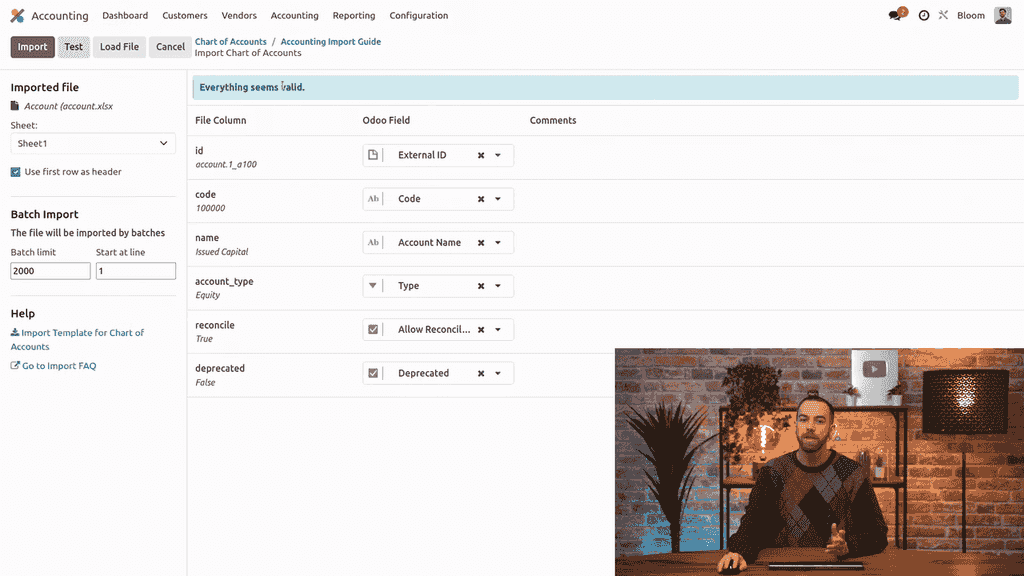
Open the exported file in your spreadsheet application. You will see the fields you chose, plus an External ID column that Odoo uses internally to recognise each record.

Columns to Leave Alone
Mark these two columns read-only so nobody changes them by accident:
- External ID — Odoo's internal identifier for existing records. Change it and Odoo can no longer match the row to the right account
- Account Type — altering this on an existing account can throw off your reports

What You Can Freely Edit
These are safe to change as much as you like:
- Account names
- Reconciliation settings
- Deprecated status
A Note on Account Codes
Whether you can change account codes depends on the accounting standards of the jurisdiction you operate under:
- In Belgium, France, and similar jurisdictions: the leading digits of the code determine how accounts group in reports — so do not change the leading digits.
- In other countries: only the account type drives reporting, so codes can be edited more freely.
Check the rules that apply to you before touching any account code.
Step 3: Add New Accounts
To add an account, scroll to the bottom of the spreadsheet and fill in a new row:
| Field | What to enter |
|---|---|
| Code | A unique account number |
| Account Name | A descriptive name |
| Type | The account category (for example, Expenses) |
| Allow Reconciliation | TRUE or FALSE |
| Deprecated | FALSE |
| External ID | Leave blank — Odoo assigns one automatically |
A practical tip: if you are not sure what account type or reconciliation setting a new account should have, find the most similar existing account and copy its configuration. It is the safest way to keep your new account behaving like its peers.
Step 4: Retire Accounts You No Longer Use
If certain accounts are no longer needed, set their Deprecated column to TRUE rather than deleting them. This matters: deleting an account that has already been used in journal entries can trigger errors. Deprecating it keeps the history intact while removing the account from active use.
Step 5: Import the Updated Spreadsheet
With your edits done:
- Save the spreadsheet file
- In Odoo, go to the Chart of Accounts list view
- Click the Import button
- Choose Import Chart of Accounts

- Click Upload File and select your spreadsheet

- Wait for the validation message — a blue "Everything seems valid" confirmation means your data is clean and ready
- Click Import
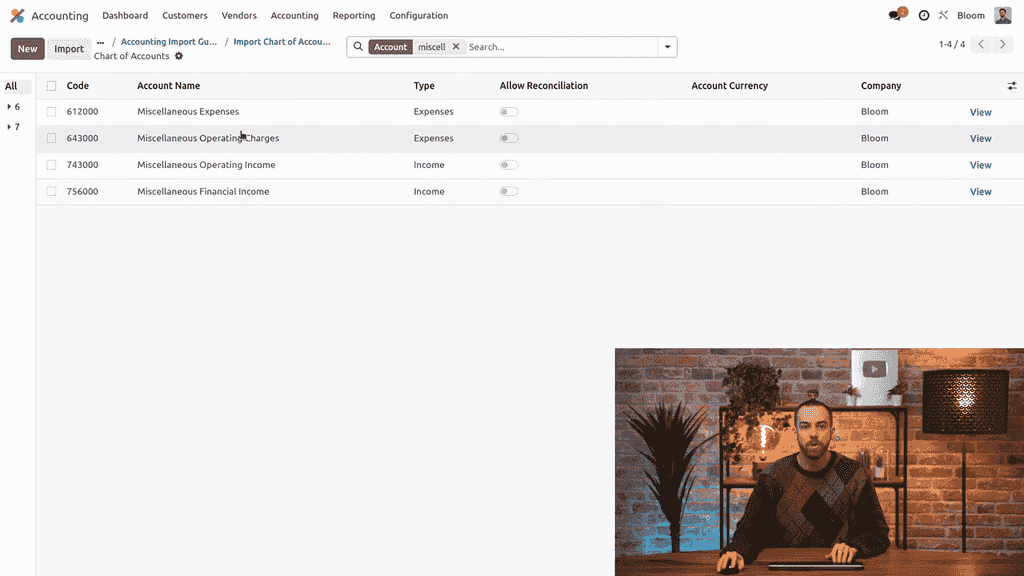
Once imported, browse through your chart of accounts to confirm every change landed correctly. Do not skip this check — a quick scan is what catches a mis-mapped column before it becomes a reporting problem.
The One Account You Must Never Touch: Current Year Earnings
Odoo ships with a special account whose type is Current Year Earnings. This account automatically sums all your income and expense accounts at the end of the fiscal year — it is the mechanism behind your year-end close. Treat it as off-limits:
- Do not rename, deprecate, delete, or otherwise modify this account
- Do not create a second account with the same type
Tampering with this account — or duplicating its type — will break your year-end closing process. This is the single most important rule in this whole exercise, so make sure whoever edits the spreadsheet knows to leave that row exactly as it is.
Summary
Bulk-updating your chart of accounts through spreadsheet import saves real time over editing accounts one by one. The cycle:
- Export with I want to update data enabled
- Edit names, reconciliation, and deprecation status in the spreadsheet
- Add new accounts at the bottom with unique codes
- Deprecate unused accounts rather than deleting them
- Re-import the file into Odoo and verify
Done this way, your chart of accounts stays accurate and current without the tedium of one-by-one edits — and your year-end stays clean because the Current Year Earnings account is left untouched.
If your chart of accounts needs restructuring to match how your Hong Kong business actually reports — or you would simply like the first import done and verified for you — the APAA team can set it up.