Building Smarter Contact Forms in Odoo Website: A Hands-On Guide for HK SMEs
How to set up Odoo Website contact forms that feed straight into CRM, Helpdesk, or Project — covering form actions, tabs, field types, and conditional visibility.

The Form Is Where the Enquiry Becomes Work
At APAA, the Hong Kong SMEs we work with often treat their website contact form as an afterthought — a name, an email, a message, and a reply-to address that lands in someone's personal inbox. It collects enquiries, but it doesn't actually move them anywhere. By the time the message is read, forwarded, and chased up, a prospective customer has often already messaged a competitor.
The advantage of running your site on Odoo Website is that a form doesn't have to stop at email. The same form block can open a CRM lead, raise a Helpdesk ticket, or create a task in Project — so the moment a visitor hits Submit, the enquiry becomes a piece of work assigned to a real person, tracked to completion.
This guide walks through how we set those forms up: choosing the right action, handling multiple forms on one page, customising fields, and using conditional visibility to keep things short without losing the detail you need.
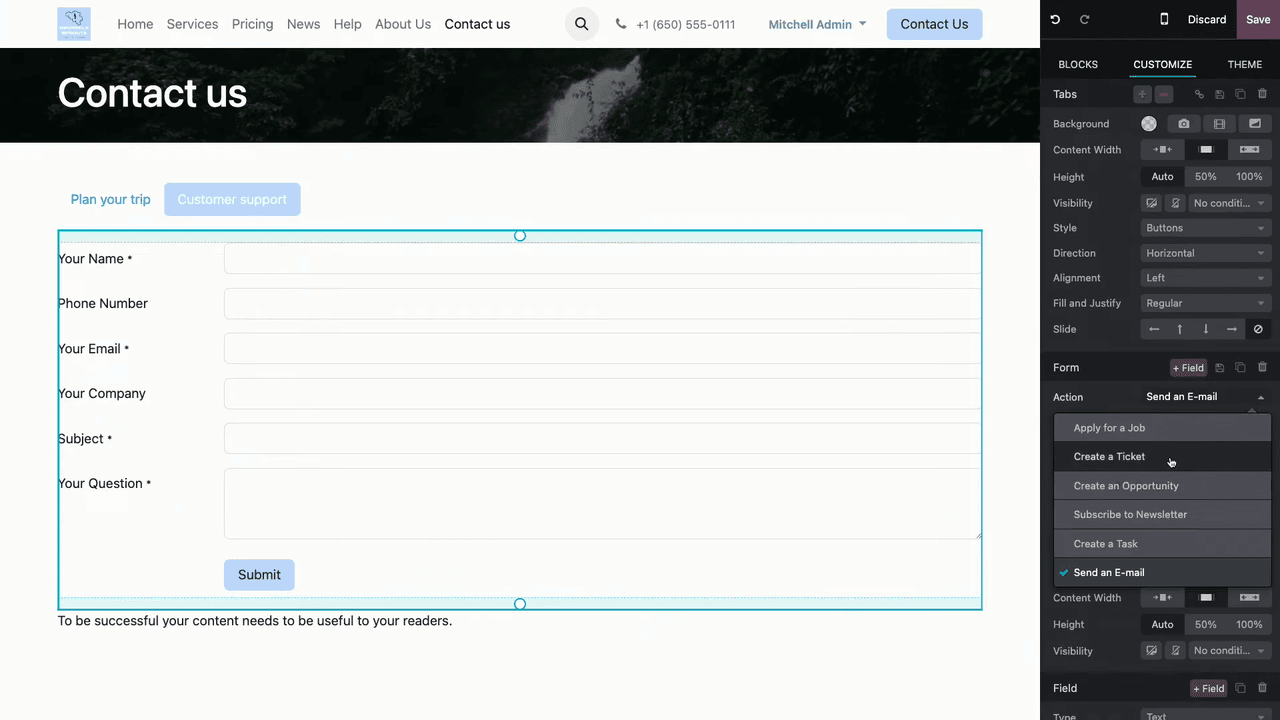
Start with the Action, Not the Fields
Every Odoo form is tied to a single action that fires when a visitor submits it. Which actions are available depends on the Odoo apps you have installed:

- Send an email — delivers the submission to a specified email address.
- Create an opportunity — adds a lead in CRM, with an assigned sales team and salesperson.
- Create a task — generates a task in the Project app.
- Create a ticket — opens a support ticket in Helpdesk.
A form supports only one action at a time. Set this before you touch the fields — the available field options shift depending on the action you pick, so choosing the action first saves you from reconfiguring later.

Putting Several Forms on One Page with Tabs
A common situation: you want a sales enquiry form and a support form on the same page, but each needs a different action. Rather than stacking two forms awkwardly, use the Tabs building block to keep the page tidy.
- Open the website editor and search for Tabs in the building blocks.

- Drag the Tabs block onto your page.
- Rename each tab to something meaningful — for example, "Plan Your Trip" and "Customer Support".
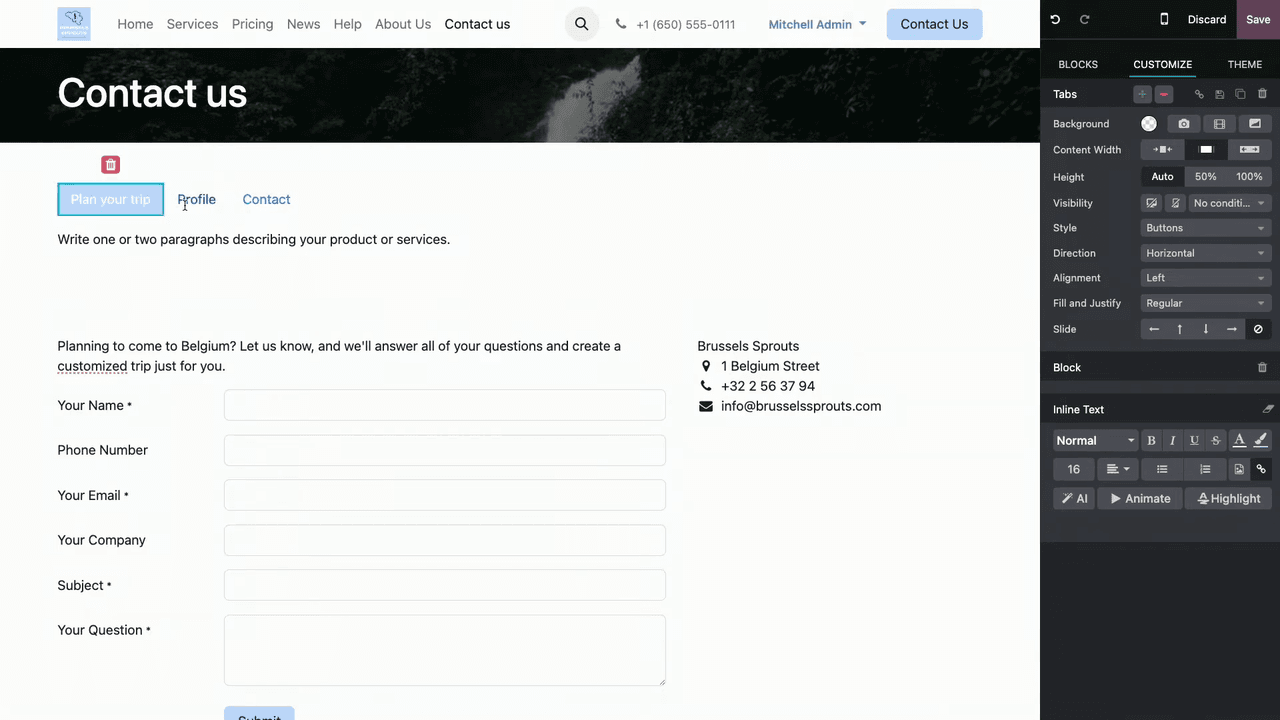
- Remove any extra tabs you don't need.
- Drag a Form block into each tab.
- Set a different action for each form.
The result is one clean page that quietly routes a sales enquiry to CRM and a support request to Helpdesk, without the visitor ever needing to know the difference.
Shaping the Fields Around the Data You Actually Use
A form should ask for exactly what you'll act on — no more. Odoo gives you full control over which fields appear and how they behave.
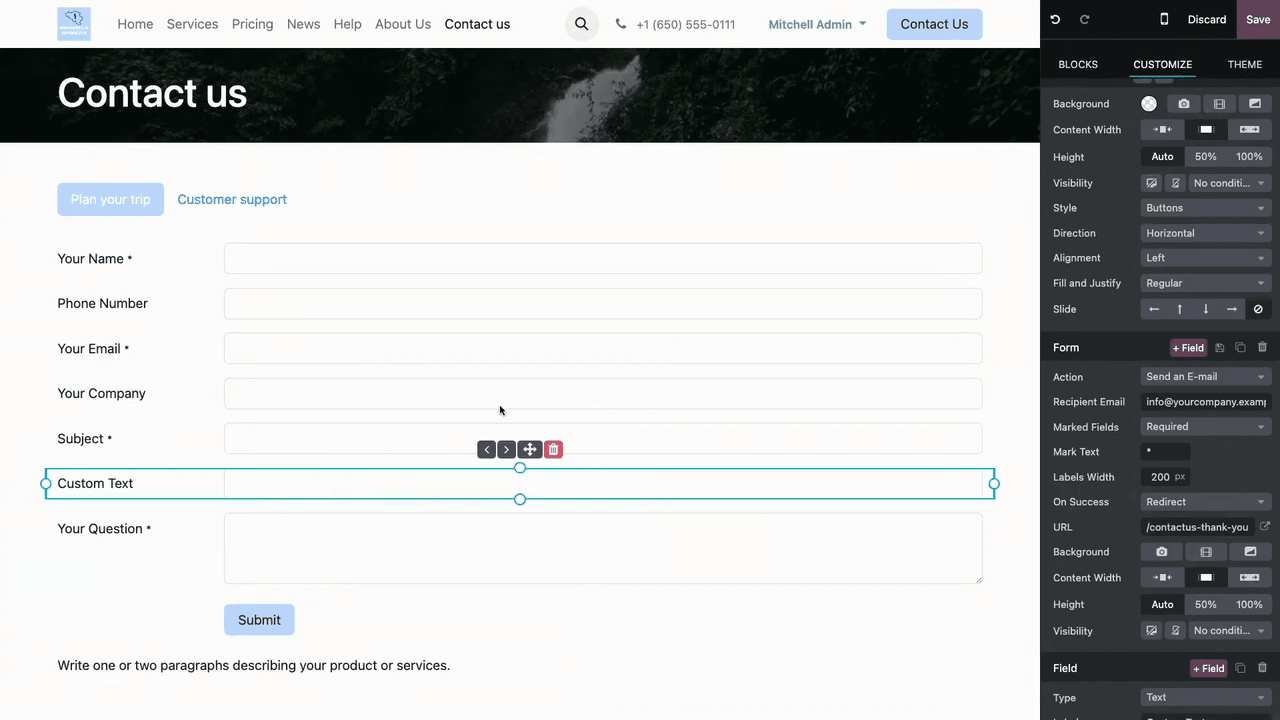
Adding, Removing, and Reordering Fields
- Remove a field: select it and click the trash icon.
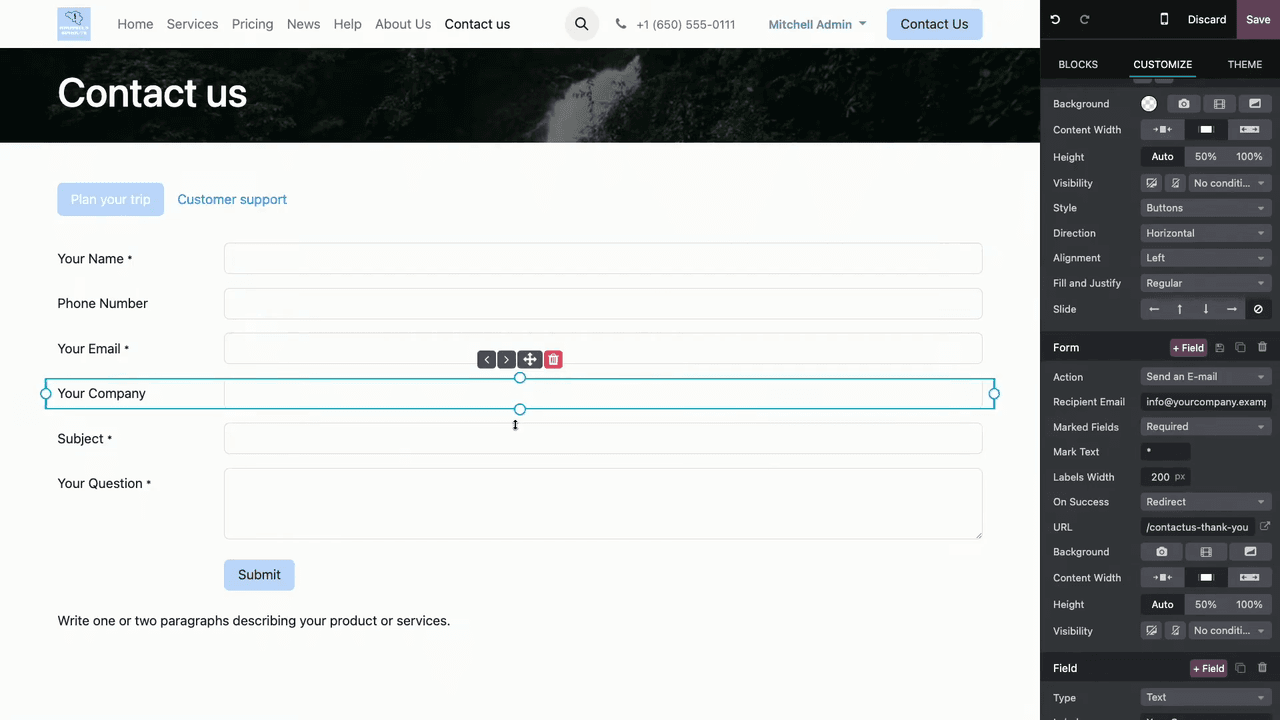
- Add a field: click the + Field button to insert a new one.
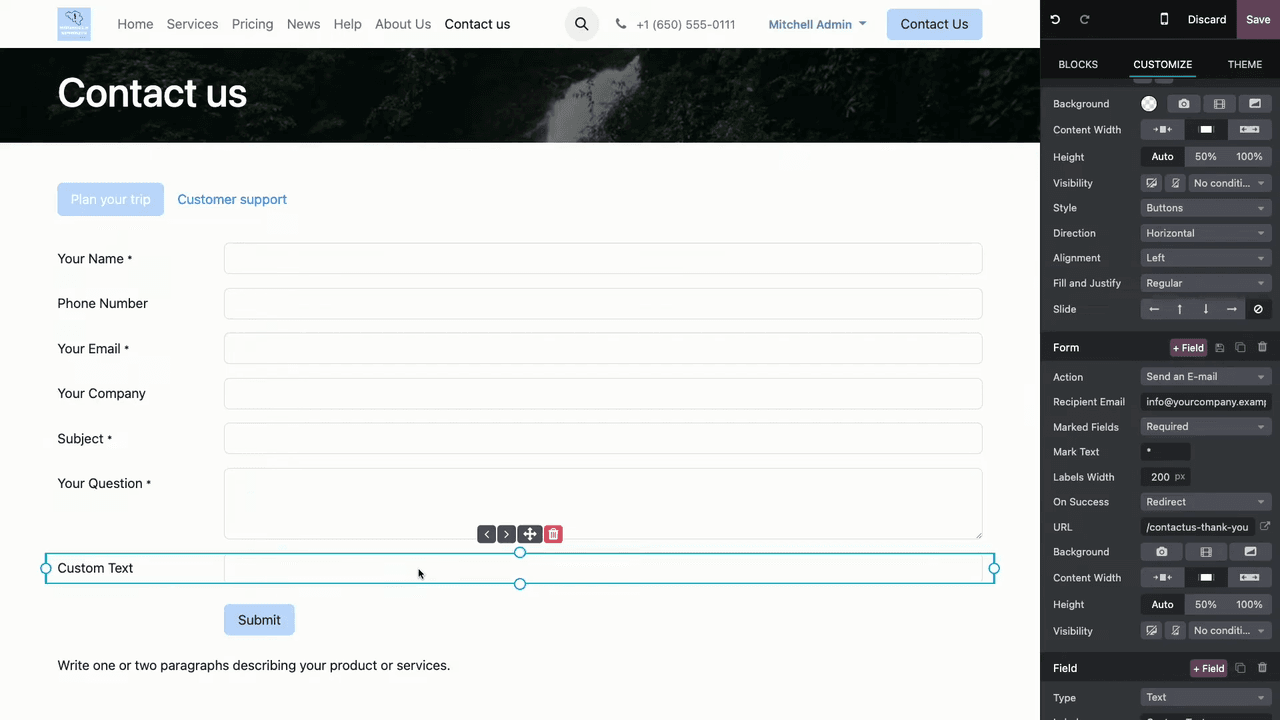
- Reorder fields: drag and drop, or use the arrow buttons to nudge fields up and down.
The Field Types You Have to Work With
Odoo offers several field types to match the kind of data you're collecting:
| Field Type | Use Case |
|---|---|
| Text | Short answers like name or company |
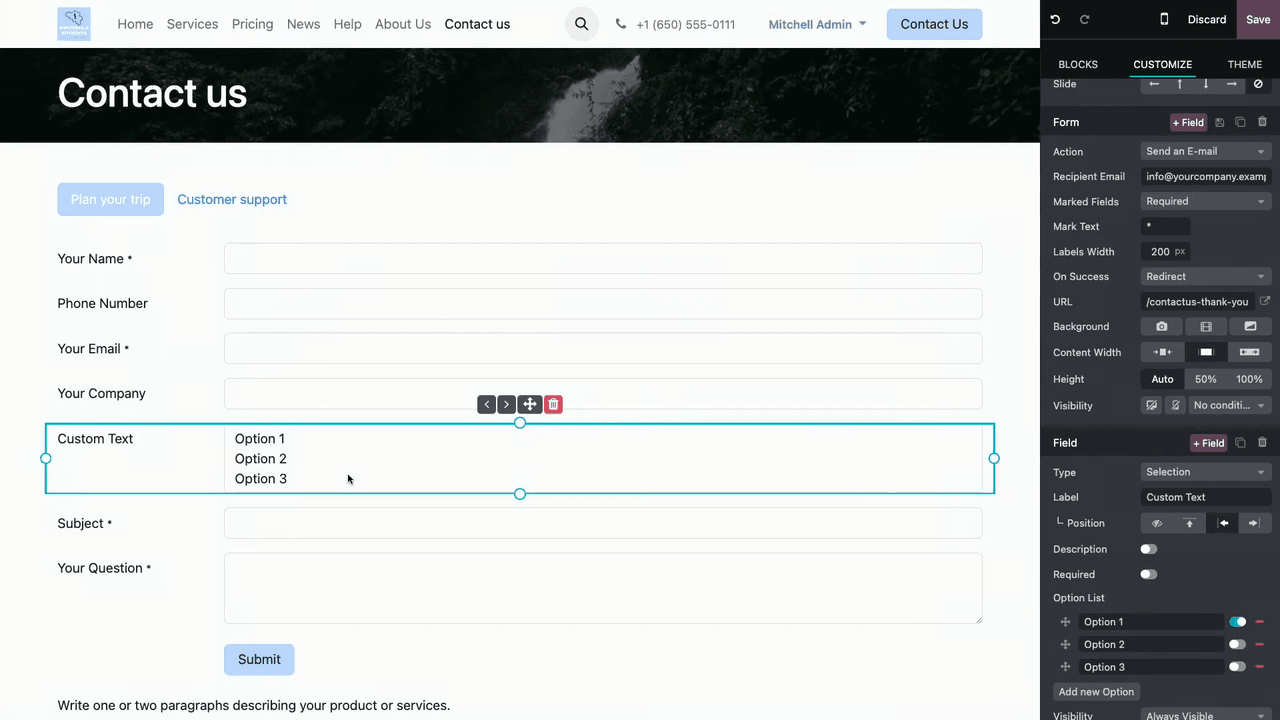
| Selection | Dropdown with predefined options |
| List | Multiple choice from a list |
| Checkboxes | Multiple selections at once |
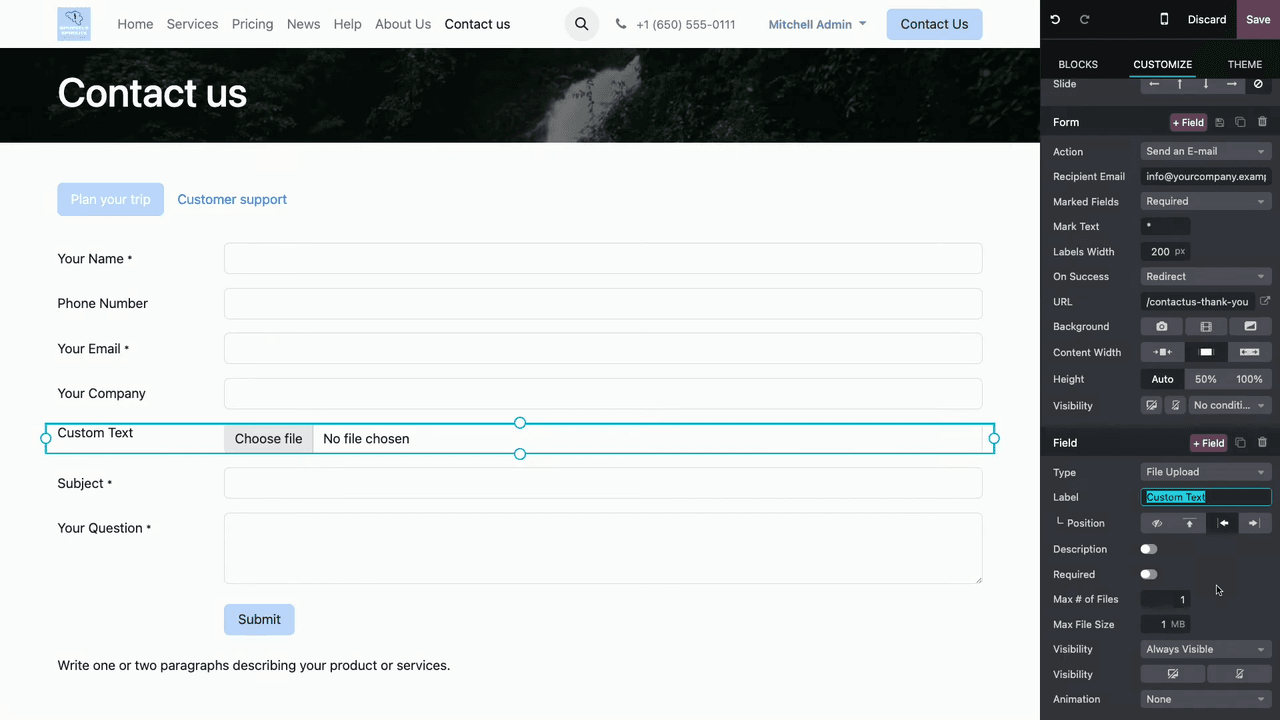
| File Upload | Attachments with a configurable max file count and size |
Per-Field Settings
For each field, you can configure:
- Label — the field name the visitor sees.
- Label position — where it sits relative to the input.
- Description — helper text below the field.
- Required — whether it must be filled before the form can be submitted.
- Default value — pre-filled text, handy for guiding what a visitor should enter.
Signalling Which Fields Are Mandatory
Odoo lets you decide how required and optional fields are flagged, using a star marker:
- Required — the star appears on mandatory fields.
- Optional — the star appears on optional fields.
- None — no star markers at all.
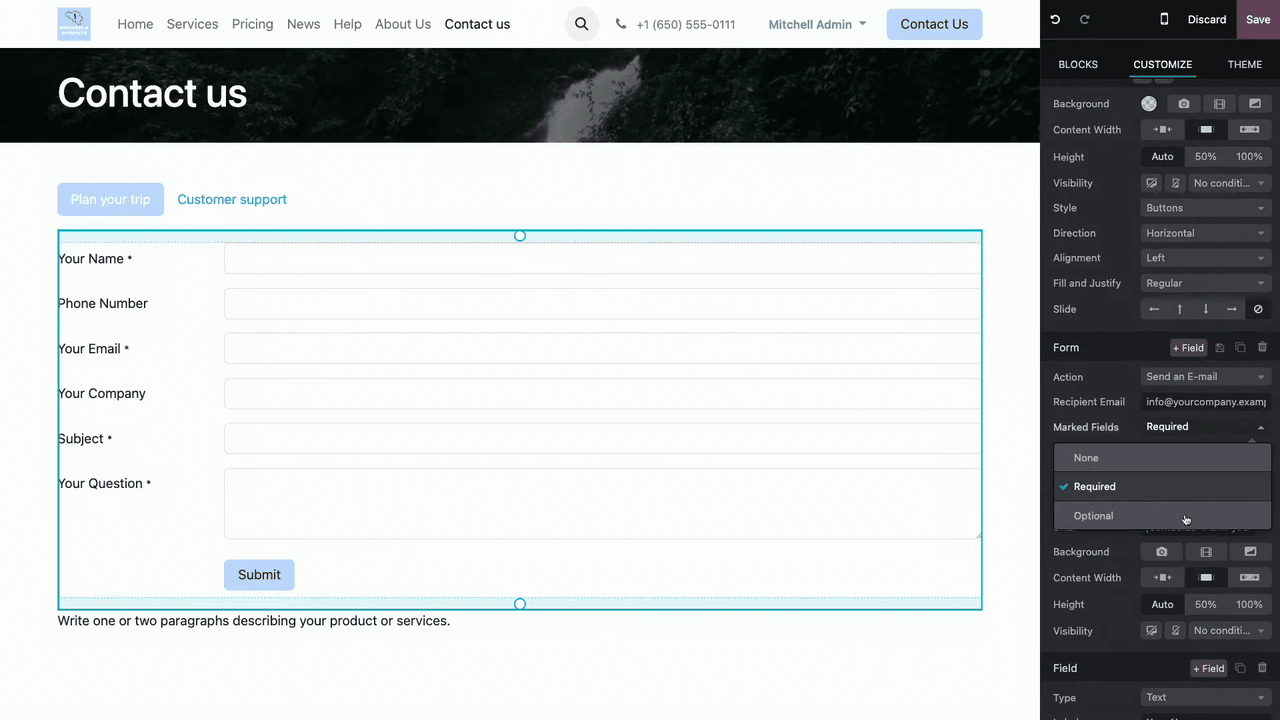
While you're here, adjust the label width to tidy up the layout and keep the form readable.
Deciding What Happens After Submit
Once a visitor submits, you control what they see next:
- Redirect — send them to a thank-you page (this is the default).
- Show message — display the submitted content back to them.
- Nothing — no visible response at all.
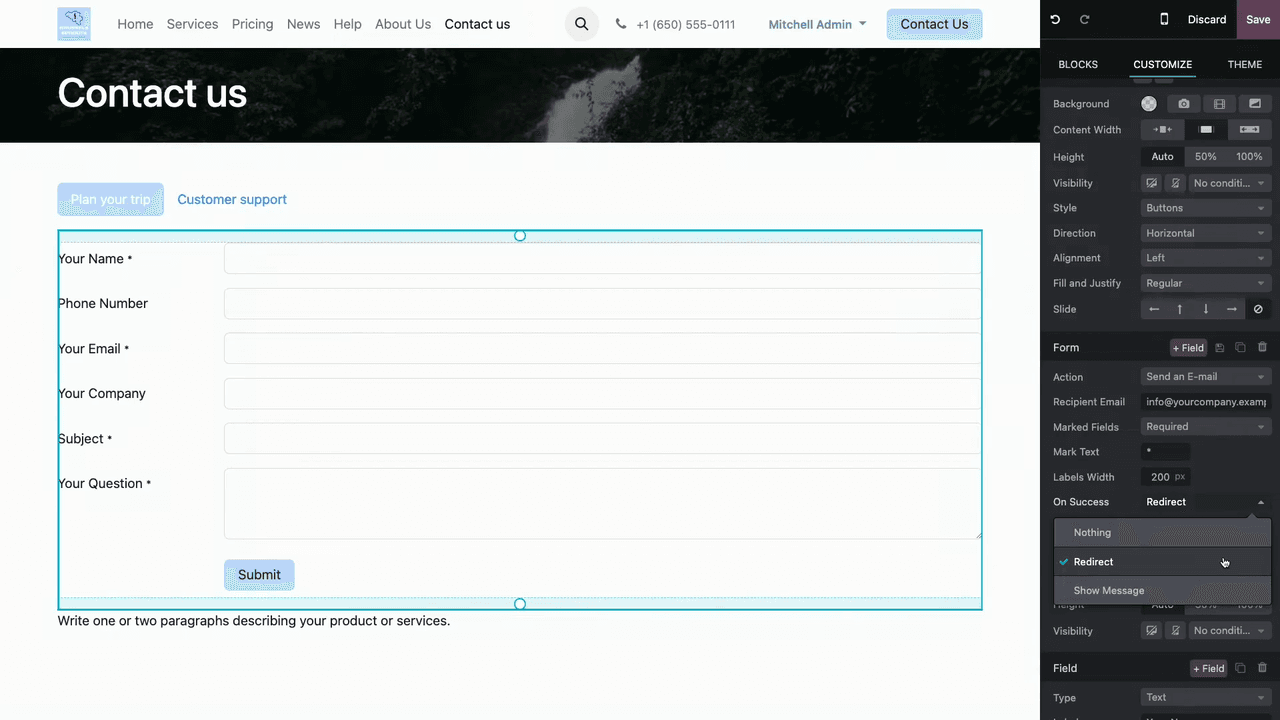
For most businesses a redirect to a short thank-you page works best — it confirms the submission landed and gives you a natural place to set expectations on response time.
Conditional Visibility: Ask More Only When It's Relevant
Conditional visibility shows or hides a field based on what the visitor has entered elsewhere. It's the trick that lets you keep a form short by default while still capturing extra detail when it matters.

To set it up:
- Select a field and open its Visibility settings.
- Choose from:
- Always visible — the field is always shown.
- Always hidden — the field is never shown.
- Visible only if — the field appears based on a condition.
- Define the condition by picking a reference field and an operator:
- Is equal to / Is not equal to
- Contains / Doesn't contain
- Is set / Is not set
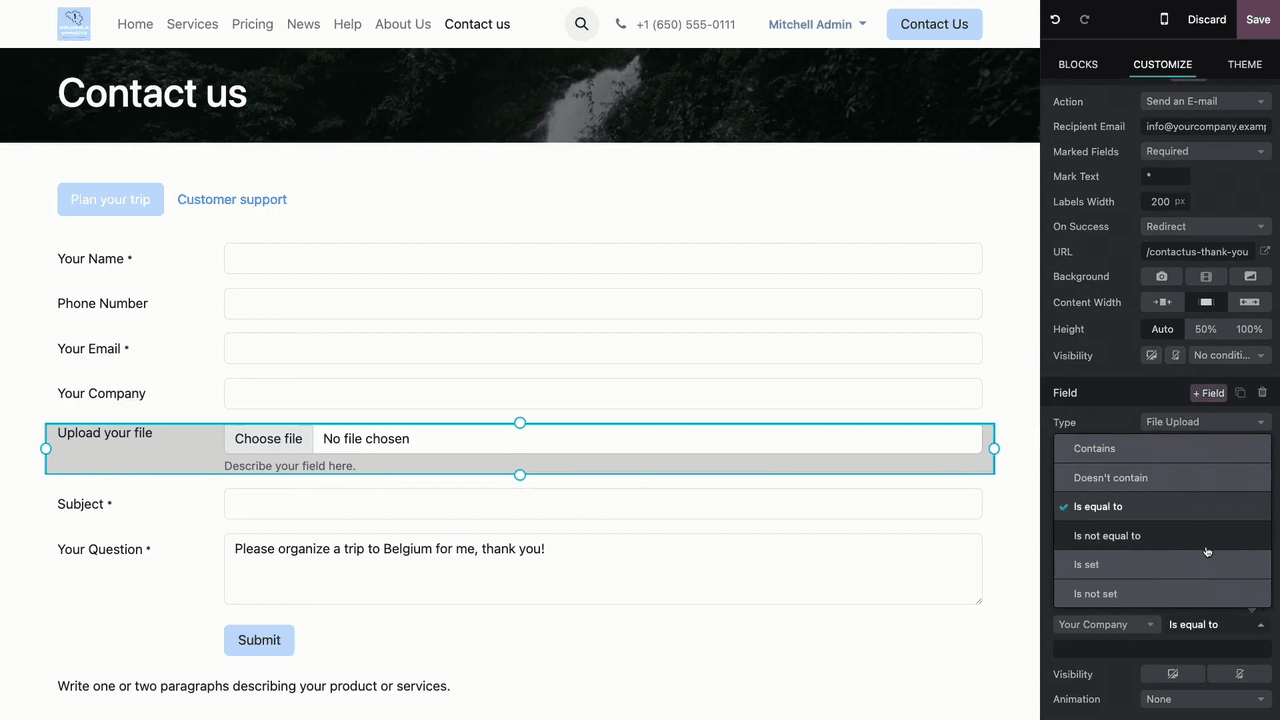
A practical example: show a file-upload field only when the "Your Company" field has a value — so a casual personal enquiry stays simple, while a business enquiry gets the option to attach a brief or specification.
A Setup Checklist Before You Publish
- Decide the form's purpose and pick the matching action.
- Set the recipient email or target app (CRM, Helpdesk, Project).
- Add and configure the fields you actually need.
- Mark required fields and set default values where they help.
- Add conditional visibility to keep the form lean.
- Choose the post-submission behaviour (redirect, message, or nothing).
- Use Tabs if more than one form belongs on the page.
- Save, preview, and submit a test entry before going live.
That last step matters more than it sounds. A form that looks right in the editor can still drop submissions if the action points at the wrong inbox or team — so always run a real test enquiry and confirm it lands where you expect.
Getting It Right for Your Business
A contact form built this way stops being a passive inbox and becomes the front end of your sales and support process. The setup itself is straightforward; the value is in mapping each form to the right action and team so nothing slips through.
If you'd like our team at APAA to design Odoo Website forms that feed cleanly into your CRM, Helpdesk, and Project workflows, get in touch with us and we'll map out the right structure for how your business actually handles enquiries.