Setting Up WhatsApp in Odoo: Connection and Message Templates for HK Businesses
A step-by-step guide to connecting WhatsApp to Odoo via the Meta API and building dynamic message templates for invoices, sales confirmations, and customer messaging.

Why WhatsApp Belongs Inside Your Odoo
At APAA, almost every Hong Kong SME we work with already runs their customer conversations on WhatsApp — it is simply where Hong Kong does business. The problem is that those conversations usually live on someone's personal phone, disconnected from the orders, invoices, and contacts sitting in the company system. Connecting WhatsApp to Odoo closes that gap: you can send invoices, sales confirmations, and marketing messages straight through the channel your customers already check every day, with the data pulled automatically from Odoo.
Odoo ships with a set of useful WhatsApp templates out of the box, and you can build custom ones for your own workflows. This guide walks through the full setup — connecting the Meta API, configuring webhooks, and building the dynamic templates that make the whole thing worthwhile.
Connecting WhatsApp to Odoo
Before you touch Odoo, you need a WhatsApp API app created in the Meta Developer Console. Odoo's official documentation covers that process step by step, and it is worth following carefully — most of the setup pain we see at this stage comes from a misconfigured Meta app, not from Odoo.
On the Odoo side, open the WhatsApp configuration panel for your business account. Under the Sending Messages section, five fields must be filled in from your Meta application:
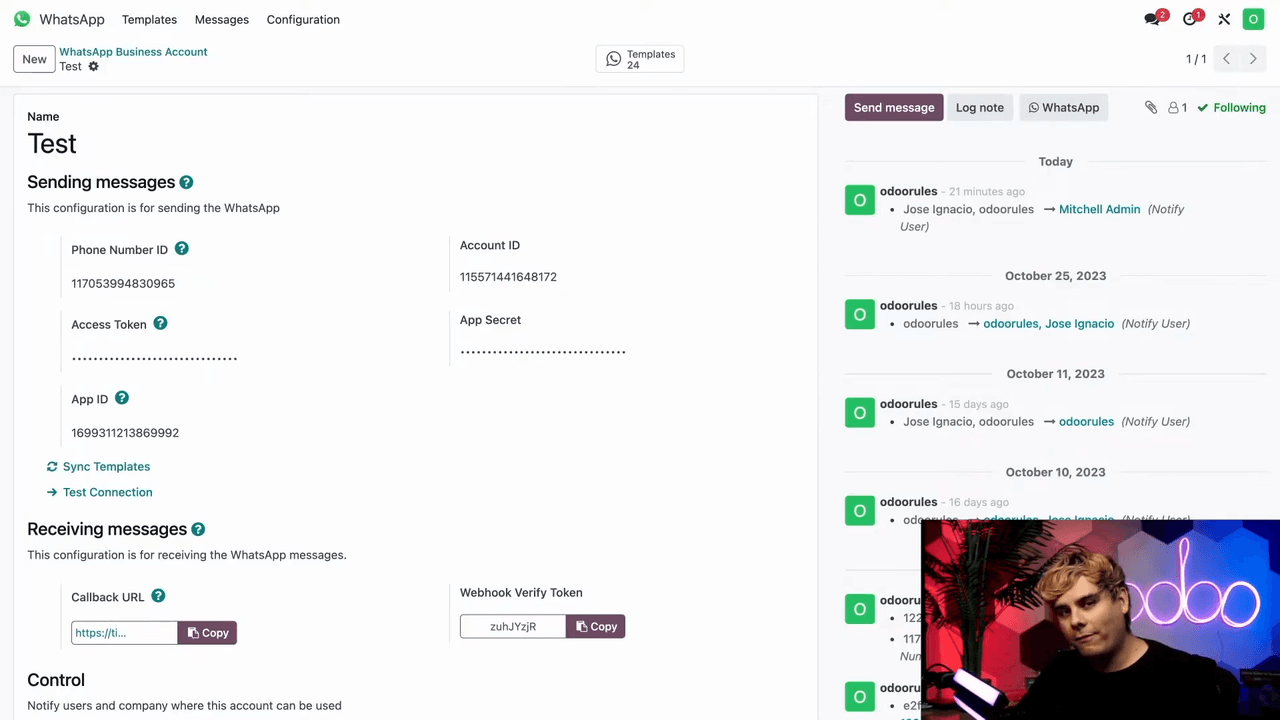
- Phone Number ID
- Access Token
- App ID
- Account ID
- App Secret
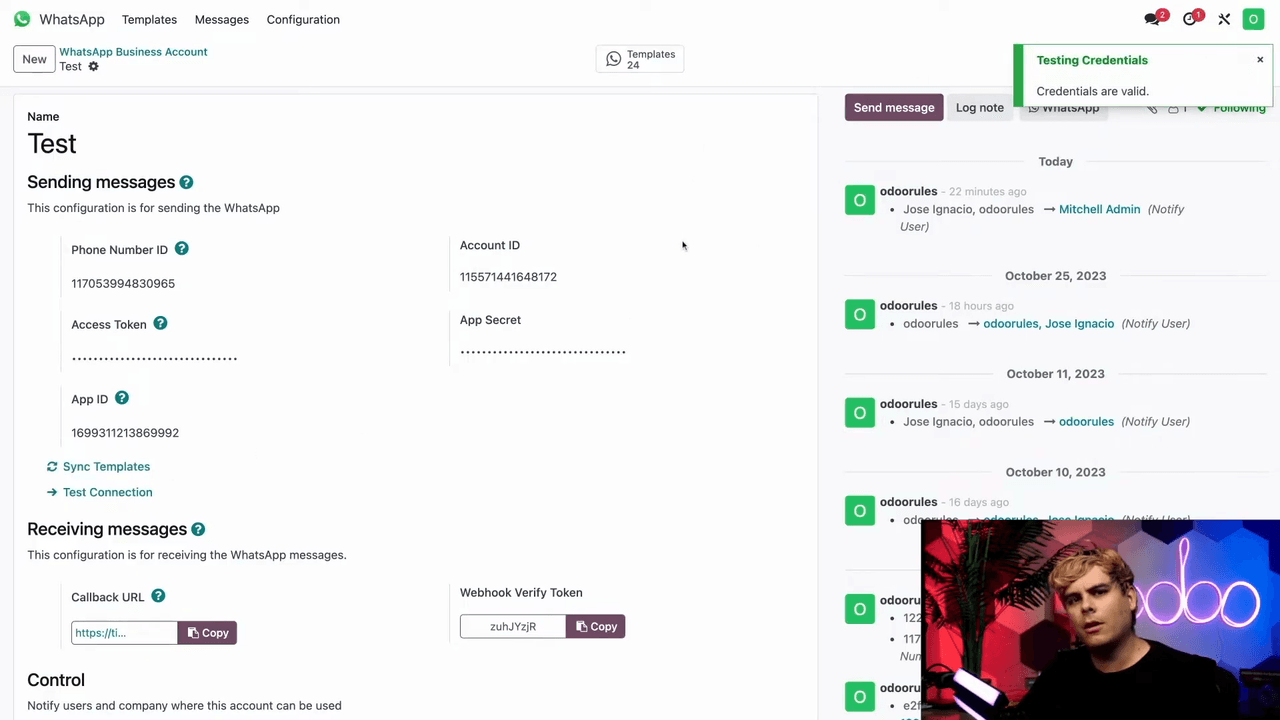
Once these are entered, click Test Connection. A green confirmation notification tells you the configuration is correct. If you do not see green, go back and check the values against your Meta app — a single character out of place is enough to fail the test.
Configuring the Webhook
When the connection test passes, Odoo automatically populates two more values:
- Callback URL
- Webhook Verify Token

These two values go back into the Meta Developer Console to set up your webhooks — the pathways that route customer replies from WhatsApp back into your Odoo database. Skip this step and your messages will go out, but the replies will never reach Odoo, which defeats the purpose of running it through your system in the first place.
Deciding Who Gets Notified
At the bottom of the WhatsApp Business Account configuration page, the Control section lets you specify which users are notified when a customer responds.
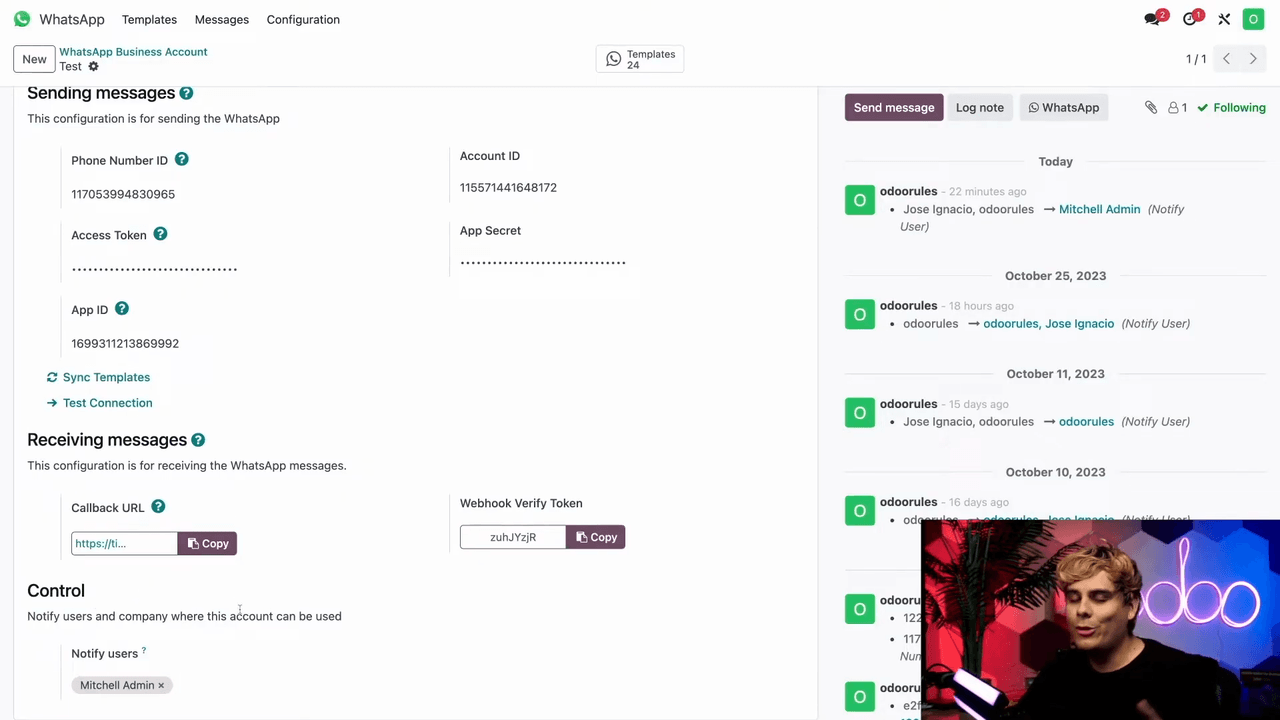
The notification rules work like this:
- The user who created the configuration is added by default.
- You can add more users manually.
- If no template message has been sent within 15 days, every listed user is notified of incoming messages.
- Otherwise, only the user who sent the most recent template message is notified.
For a growing business this matters: you can run multiple WhatsApp accounts in Odoo for different teams — help desk, sales, hiring — so the right messages reach the right people instead of one shared phone that nobody owns.
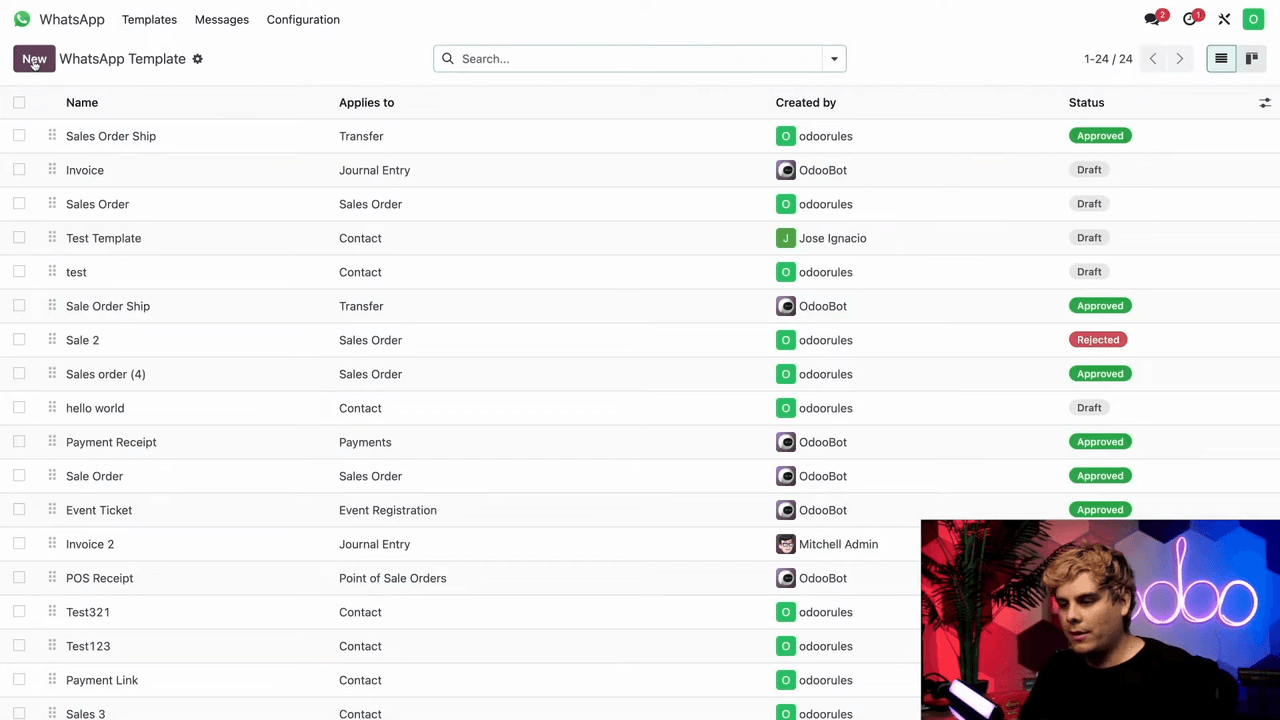
Understanding WhatsApp Templates
Meta requires templates for any outbound business message you initiate, so templates are not optional — they are how you message customers at all. Every template must be associated with a WhatsApp Business Account in Odoo.
To create a new template, go to the Templates menu and select New, or open an existing one as a reference.
Working Through the Template Settings
Each template has a handful of key fields. Here is what each one does.
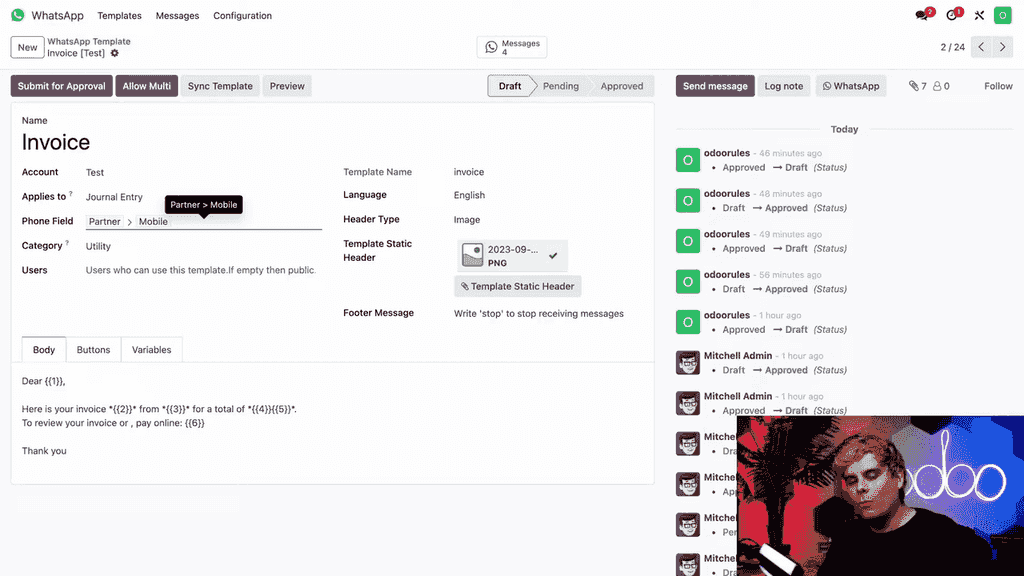
Applies To (Model)
This sets which Odoo model the template runs on — Journal Entry, Sales Order, Contact, and so on. The dynamic fields in your template pull their data from this model, so getting it right is the foundation of everything that follows.

If you are unsure of a model's name, find it like this:
- Enter Developer Mode.
- Hover over a field where the data lives — for example, the customer name on a contact form.
- An info box appears showing the model name.
Phone Field
Set this to Phone or Mobile, pointing to the phone number field in the model. That number must be registered with WhatsApp, or the message has nowhere to go.
Category
Choose the one that matches the template's purpose:
- Marketing — promotional content.
- Authentication — verification codes.
- Utility — transactional messages such as invoices and order confirmations.
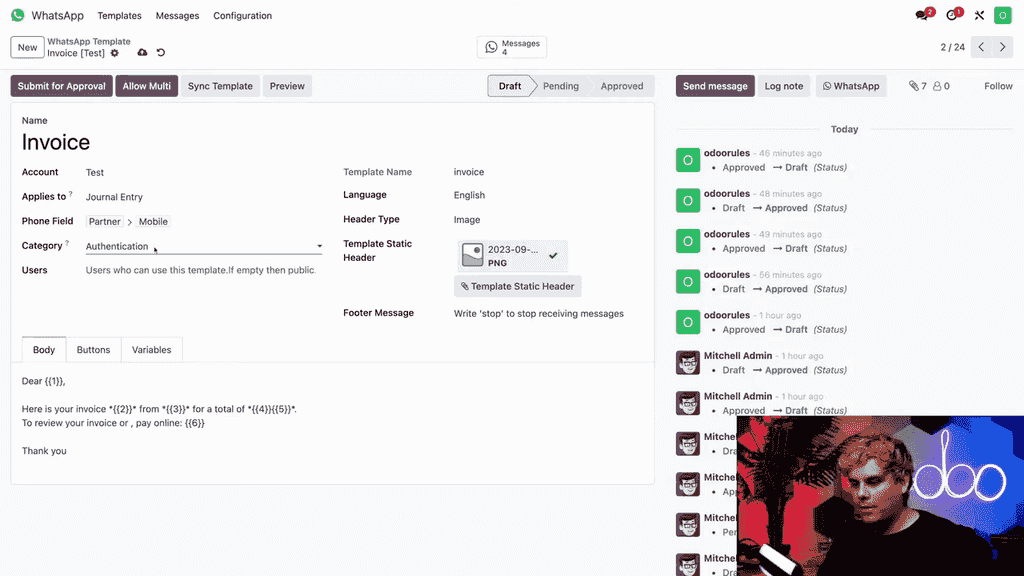
For customer transactions like invoices, use Utility.
Allowed Users
Leave it blank and every Odoo user can use the template. Otherwise, name the specific users who should have access.
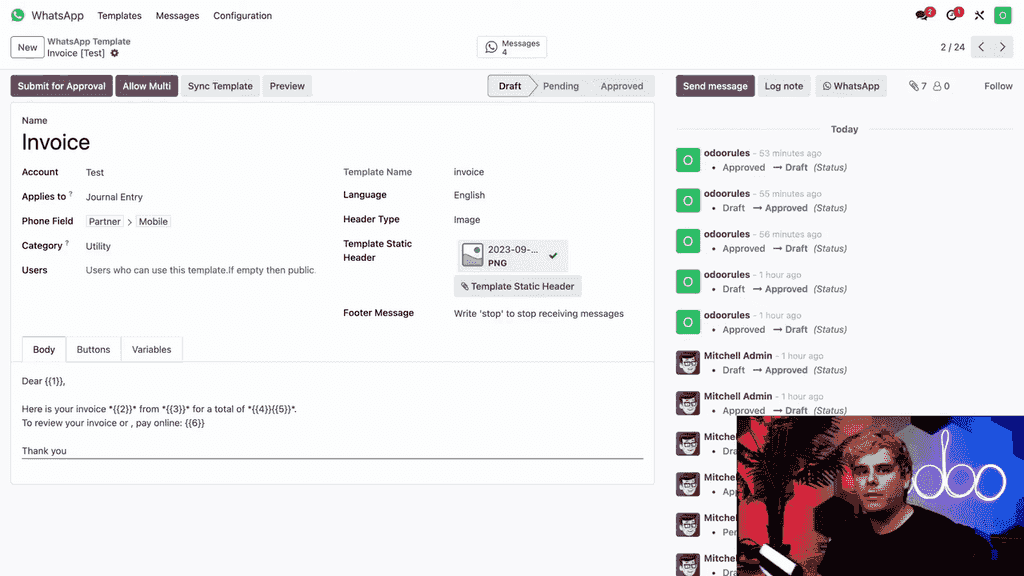
Additional Settings
- Technical Name — the internal identifier for the template.
- Language — set during template creation.
- Header Type — text, image, video, document, or location.
- Footer — text only, useful for opt-out reminders or short announcements.

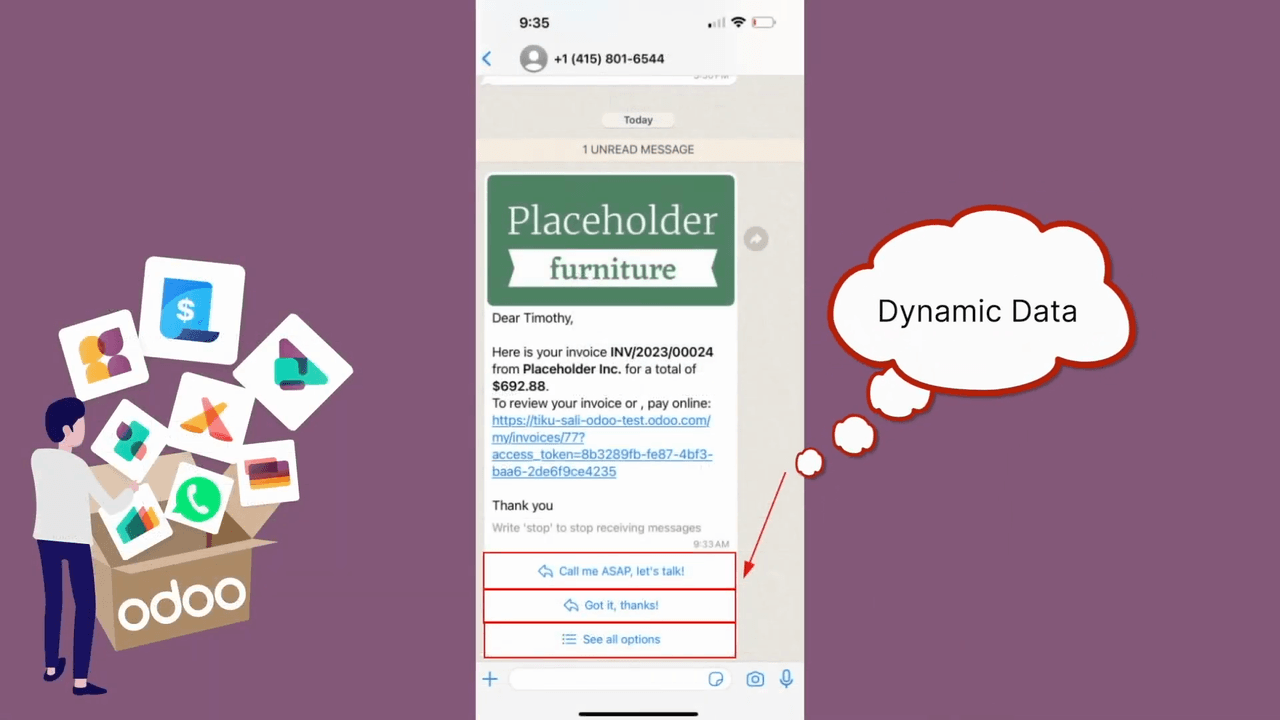
Dynamic Placeholders and Variables
This is where templates stop being static text and start doing real work. Dynamic placeholders are numbered markers — {{1}}, {{2}}, and so on — that you drop into the message body. Each one maps to a variable that pulls specific data from your Odoo database.
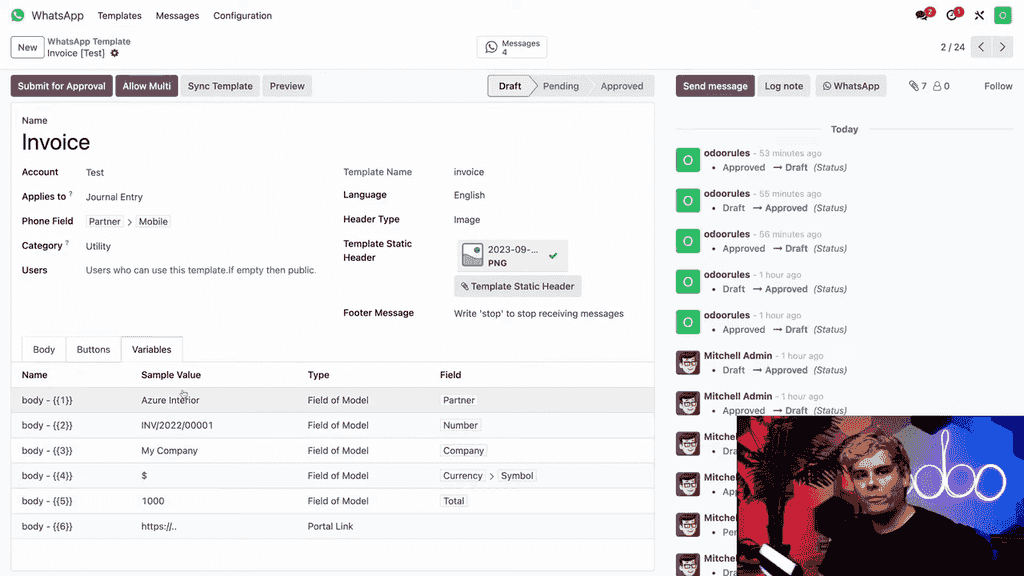
In the Variables tab, each placeholder has four properties:
- Name — the placeholder reference.
- Sample Value — preview data for testing.
- Type — the kind of data source.
- Field — the specific model field.
The Variable Types
| Type | Description |
|---|---|
| Username | Current user's name |
| User Mobile | Current user's mobile number |
| Free Text | Custom static text |
| Portal Link | Auto-generated portal URL |
| Field of Model | Data from the "Applies To" model |
Field of Model is the most flexible of these. It lets you reference any field within the linked model — partner name, invoice number, company, total amount with currency, and more.
A Worked Example: The Invoice Template
A completed invoice template fills in:
- Customer name
- Invoice number
- Company name
- Total amount with currency
- A portal link for online payment
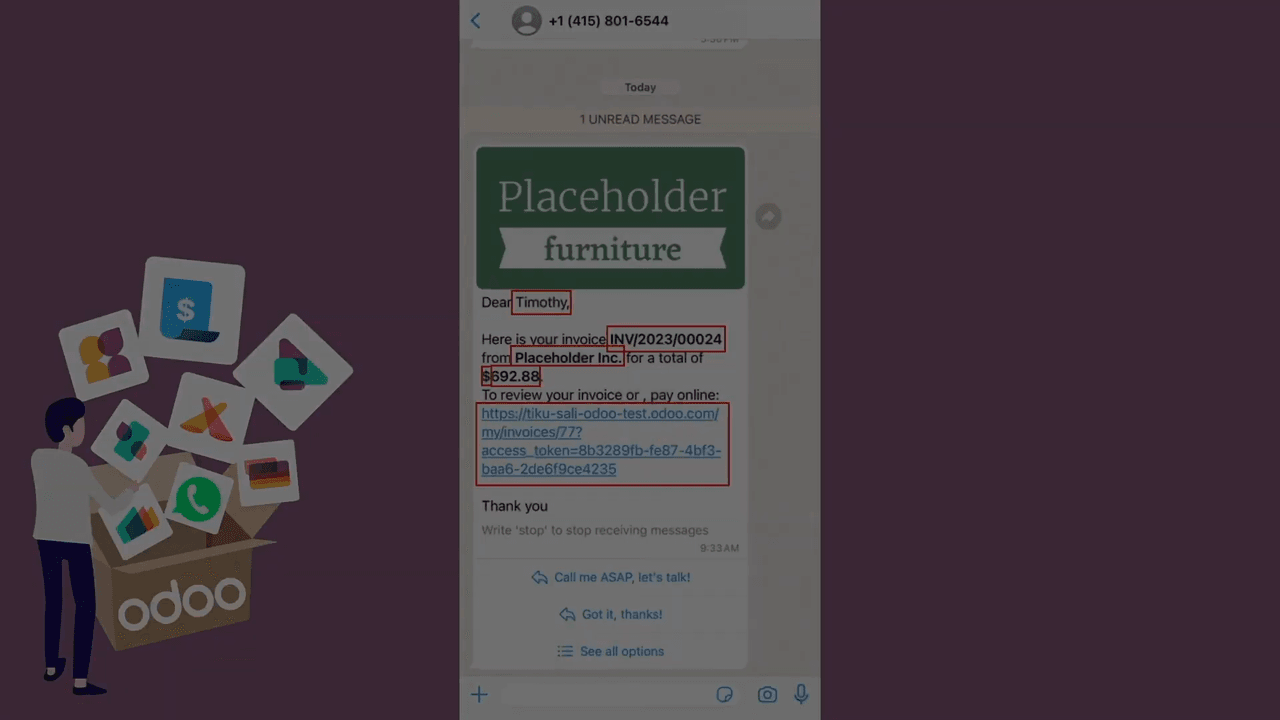
Every value is unique to that transaction and customer — one template, sent to a hundred clients, produces a hundred personalised messages with zero manual effort. For an SME sending invoices over WhatsApp, that is the whole payoff.
Adding Buttons to a Template
The Buttons tab lets you place interactive elements beneath your message. Three button types are available:
| Button Type | Purpose |
|---|---|
| Quick Reply | Pre-set response options for one-tap replies |
| Call Number | A direct phone-call button |
| Visit Website | A link to a URL |

Buttons make a message more engaging and easier to act on. Quick reply buttons sit directly below the message so the customer can respond with a single tap.
Allow Multi
The Allow Multi toggle controls whether the template shows up in the action menu for bulk sending. Turn it on when you need to send the same template to several recipients at once.
Submitting the Template for Approval
A template cannot be used until Meta approves it:
- Preview the template and confirm everything looks right.
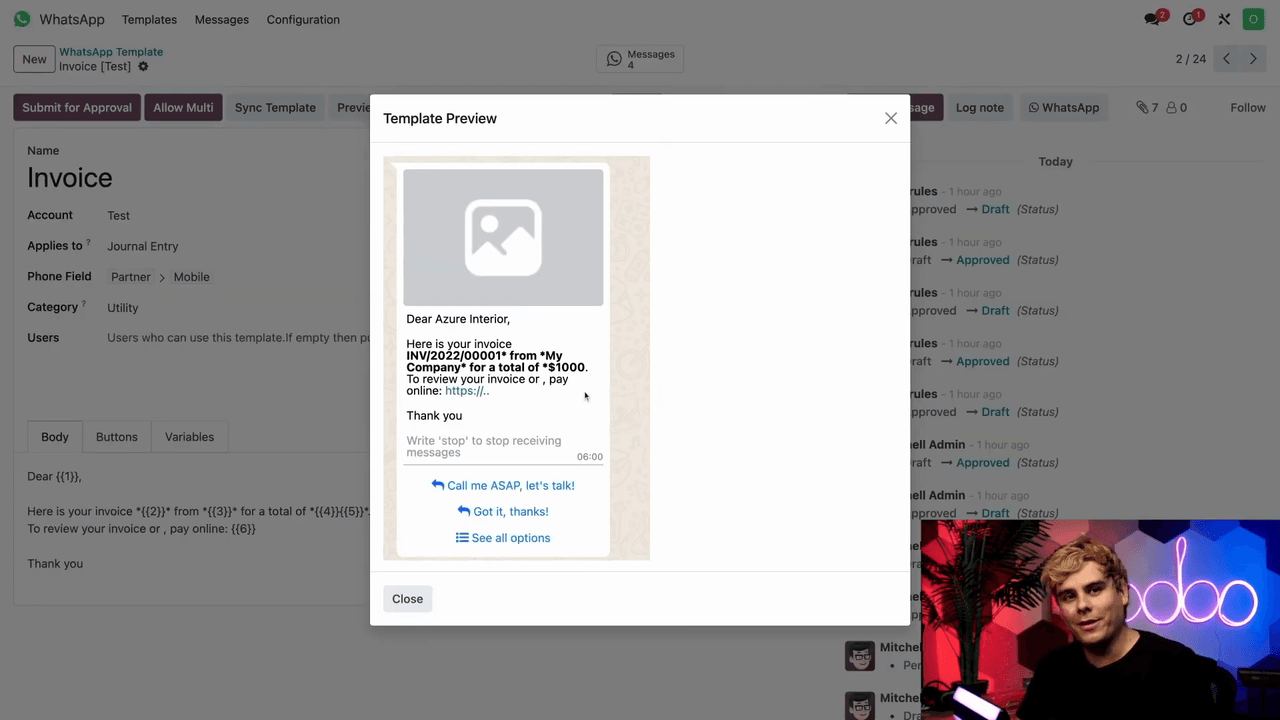
- Click Submit for Approval.
- Wait for Meta's review — the time varies with the template's complexity.
Once approved, the template is ready to use across your Odoo applications.
WhatsApp inside Odoo streamlines customer communication across sales, accounting, and support — all from the system that already holds your data. Our advice to clients is the same every time: start with the preconfigured templates to learn the mechanics, then build custom ones as your needs grow.
If you would like APAA to handle the Meta API setup and template configuration as part of your Odoo implementation, get in touch with us — we will get WhatsApp talking to your Odoo properly the first time.